
A few weeks ago, I picked up a Ryobi 9″ band saw that was on an incredible sale. We live close to an outlet, and one of the stores there is Direct Factory Tools, which sells factory-blemished or -refurbished Ryobi and Rigid tools. When the tools aren’t on sale, the prices are usually about $10-20 cheaper than Home Depot for the same, unblemished product; however, several times each year, they run 40% off sales, which makes things very affordable. The band saw was factory-blemished and was only $120, and it works great.
I know some woodworkers and people in general would balk at the idea of buying refurbished or blemished tools, but it’s a great way to build out your woodshop when you’re on a budget or don’t want to overspend on a tool you’re unfamiliar with or won’t use often. So far, I’ve bought a refurbished planer, belt sander, jig saw, and reciprocating saw as well as a blemished drill press from there, and all have worked perfectly. I’ve probably saved thousands of dollars buying tools this way, and in time, I’ll probably upgrade or replace them, but it’s been a wonderful way to develop as a woodworker without overspending.
I put off buying a band saw for a few years but finally succumbed to the realization that they’re incredibly useful. It allows a woodworker to cut curves and intricate designs as well as resaw lumber in a safe and controlled way. A jigsaw can cut curves, but it usually isn’t precise and doesn’t leave a clean finished product because the blade flexes. I also thought about buying a scroll saw but ultimately went for the larger and more powerful saw.
If you’re unfamiliar with scroll saws, they operate similarly to a sewing machine in that they have a small blade that pivots up and down. You’re able to make extremely precise cuts and tight curves with it and can start cutting from inside a hole with the detachable blade. But the biggest downside of a scroll saw is the maximum thickness you’re able to cut with it. While there’s a lot of overlap between a band saw and a scroll saw, there are things that can be done with one but not the other, so there’s a reason to have both. A band saw is more helpful for my needs at this time, so I went with that first.
After I got everything set up, this was the first time I’ve used a band saw, and thankfully, it’s really easy and fun to use. And perhaps the best thing is that it’s a relatively safe type of saw to use compared to a table saw. In the weeks since I bought the saw, I’ve been spending a lot of time familiarizing myself with it and working on some really cool projects that I want to share in this post.
Back Scratcher
With the band saw set up, I wanted to experiment with all the cuts that can be done on it, starting with cutting curves. For some reason, I decided to split a two-inch-thick piece of wood in half, and from there began making curved cuts. I started to see the shape of a handle coming out of the cuts. I remembered that my grandparents always had a back scratcher in their house and began making cuts to create one. It was really easy to get the curve of the “claws” of the scratcher. From there, I shaped the handle and cut out the spacing between the claws. Only taking about 10 minutes to cut out, I was amazed at how easy the band saw made things and was immediately hooked.
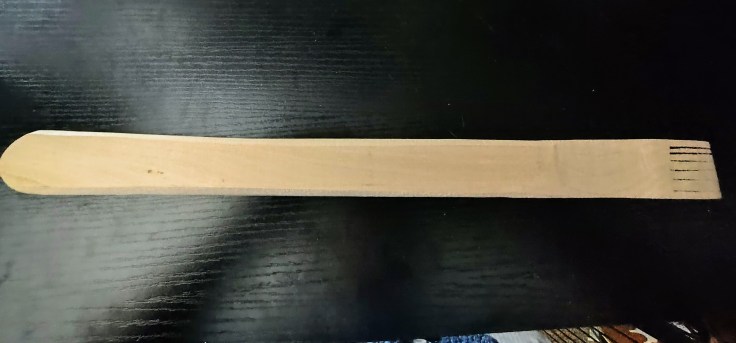
I had the second half of the wood I started with, so I quickly cut a second one, sanded everything on the drum sander attachment for my drill press, and was done. They aren’t perfect, but they work really well and can be improved upon. I also can see how handled items like kitchen utensils can be easily made with the band saw. I made wooden spoons in the past using a jigsaw and rotary tool, but it will be much easier now. Looking back, I now wonder if my grandfather made the backscratchers they had.
Thumb Book Page Holder
I love reading, and I recently saw these wooden page holders that go over your thumb so that you can keep the book open with one hand and not hurt your thumb. This was also the time when I was looking at band saw projects, and it turns out that Magz actually told me about these a few years ago, but I had forgotten about them. While these page holders can be made with other saws, the band saw just made it so much easier. I took a two-inch by four-inch block, found the center, and drilled a 7/8-inch hole with a forstner bit. Next, I drew a rough outline of what I wanted the shape to be and began freehand cutting it on the saw. With it cut out, I took it to the drum sander attachment and smoothed everything.
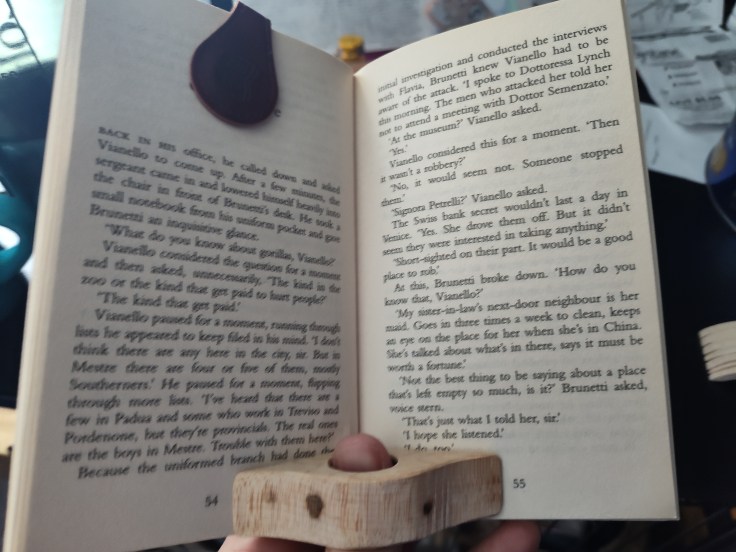
This was a really cool project that came together really fast. It took only about 10 minutes from start to finish, and I underestimated how helpful it is. Holding a book open with one hand isn’t comfortable and can put strain on the thumb. The page holder eliminates that problem.
Guitar Pick Holder
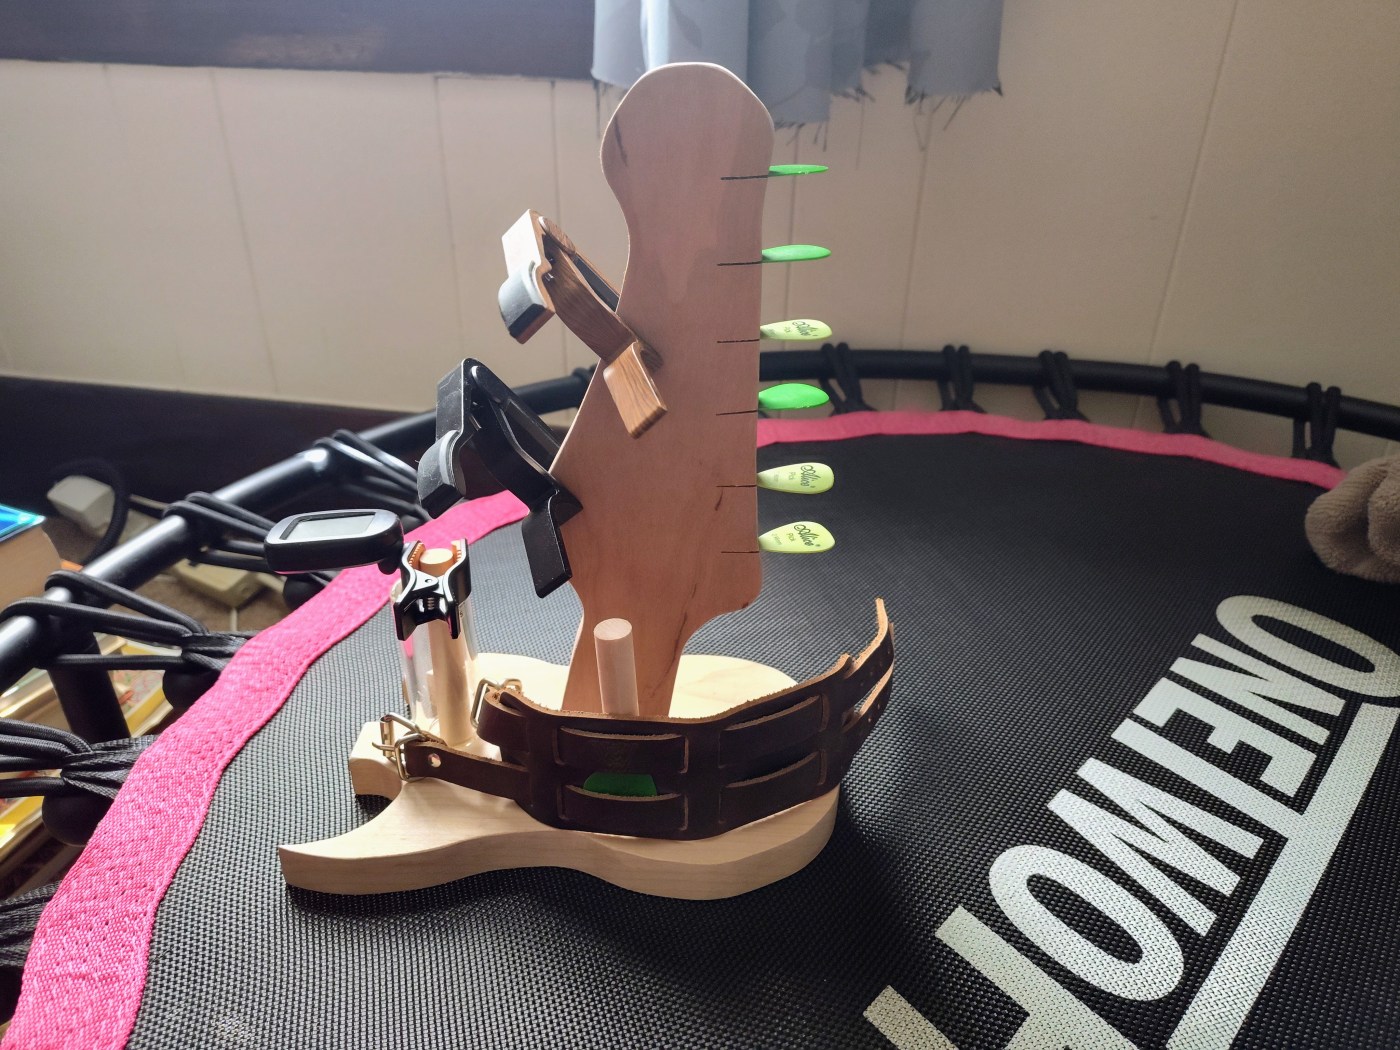
This project was the most complicated and complex of the ones I cover in this post. When coming up with projects I could use my band saw on, I began thinking about a way to clean up my guitar stand/amp holder, which has become cluttered with picks, capos, and cords. I wanted something to store everything to organize things a bit better. Initially, I thought about building a band saw box that is shaped like the body of my Yamaha Pacifica, but I then stumbled upon an image of a pick holder that looks like the headstock of a guitar coming out of the body. That sparked what I eventually designed and built.
I knew that I wanted this piece to be artistic and take inspiration from my own guitars. I have four guitars: three acoustics and one electric. I love my Ibanez acoustic-electric, which has a beautiful cutout in the body, but the head isn’t overly unique from other acoustics. Because of that, I wanted to use my Pacifica as the inspiration because it follows the Fender Stratocaster styling, which is one of the most iconic guitar shapes of all time.
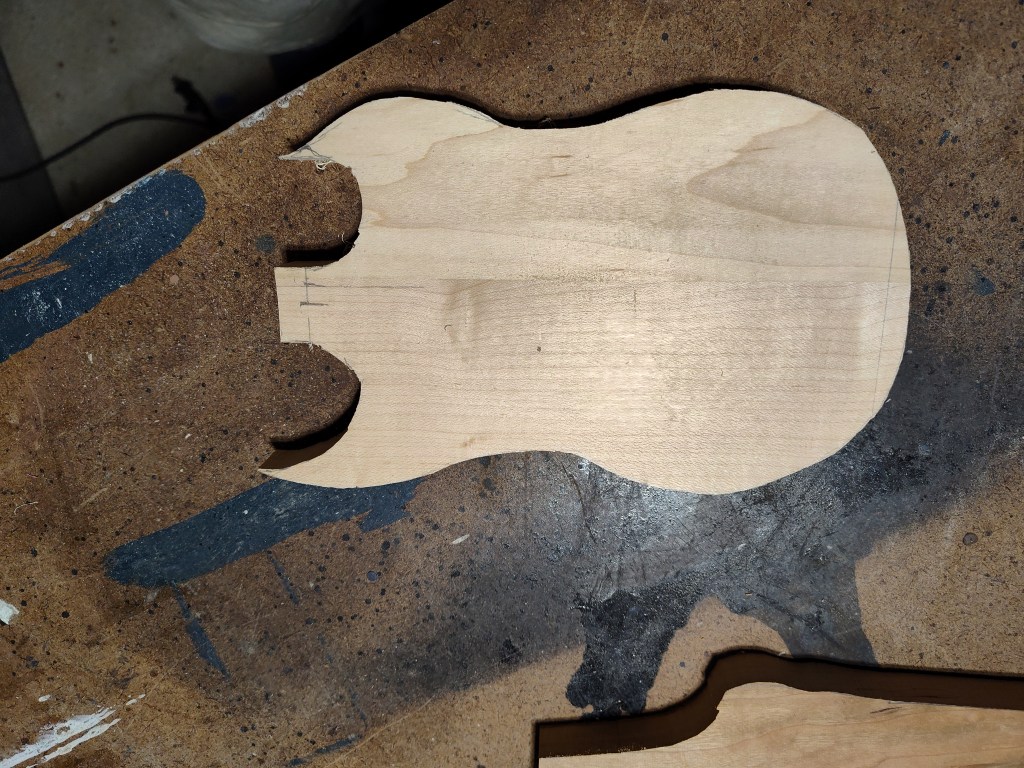
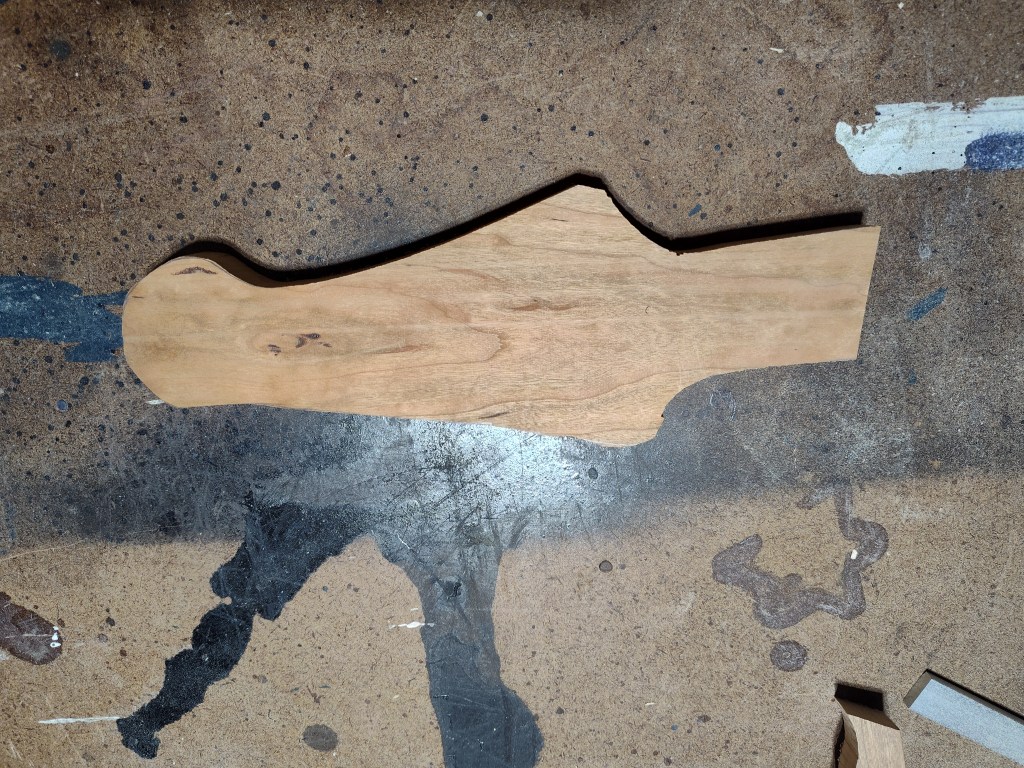
Designing it was a lot of fun because the base can’t be a 1:1 scale of the actual guitar, yet the headstock can be true size. I freehanded the shape of the body into my notebook and traced the head onto printer paper. I cut out the head shape and traced it onto the piece of cherry I wanted to use. For the body, I again freehanded the shape onto two pieces of oak that I joined together.
I quickly cut out the pieces, being careful not to cut through the “fins” of the body. From there, I took the pieces to the drum sander attachment until everything was smooth. I went back to the band saw to cut out the slots for the picks and attached the head to the body with two screws. Finally, I drilled two holes and glued dowels that I wanted to add to hold my slide and leather wrist pick holder. And with that, it was done.
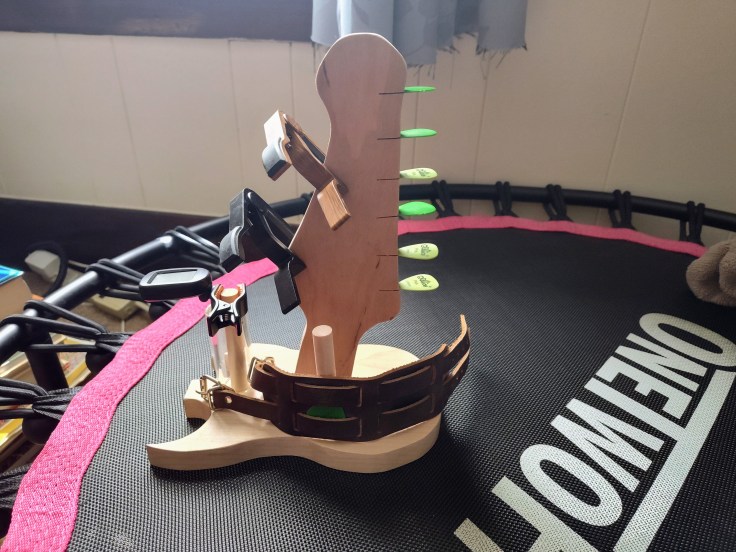
I think these projects have given me a wonderful start to using my band saw. None of them are necessarily perfect, but I learned and improved with each of them. I love my pick holder more than I can describe and am incredibly proud of how it turned out. I’m looking forward to what else I can build with my band saw moving forward.
 One Rabbit Riot
Very nice, that guitar pick & gear holder is wow.
LikeLike