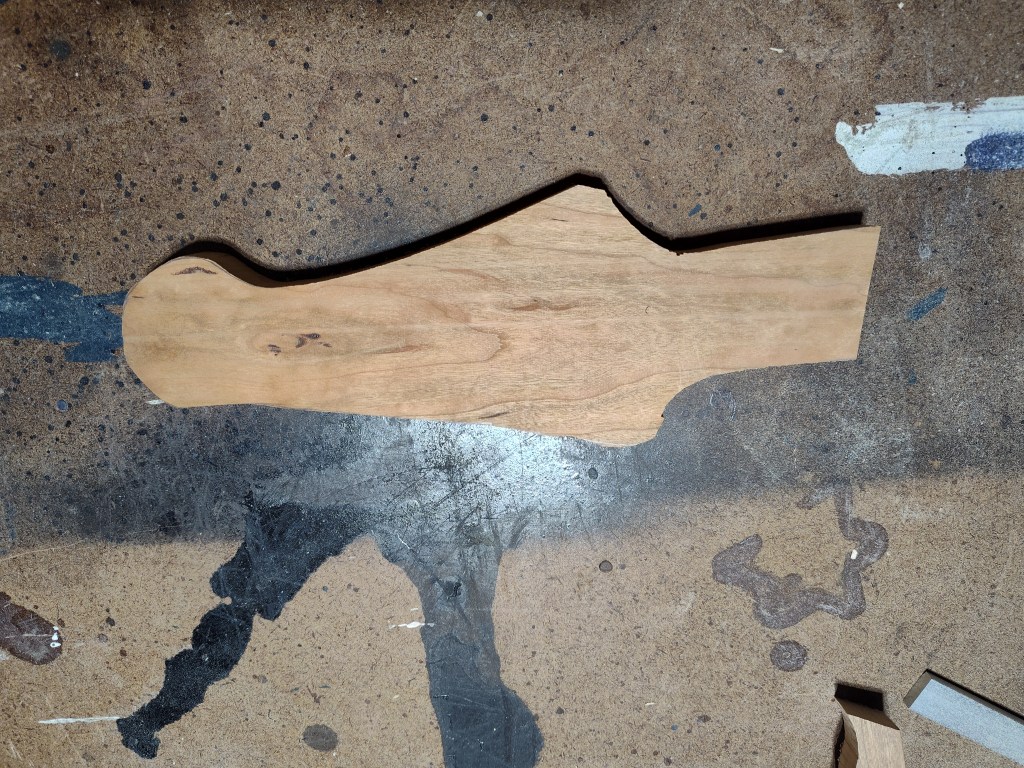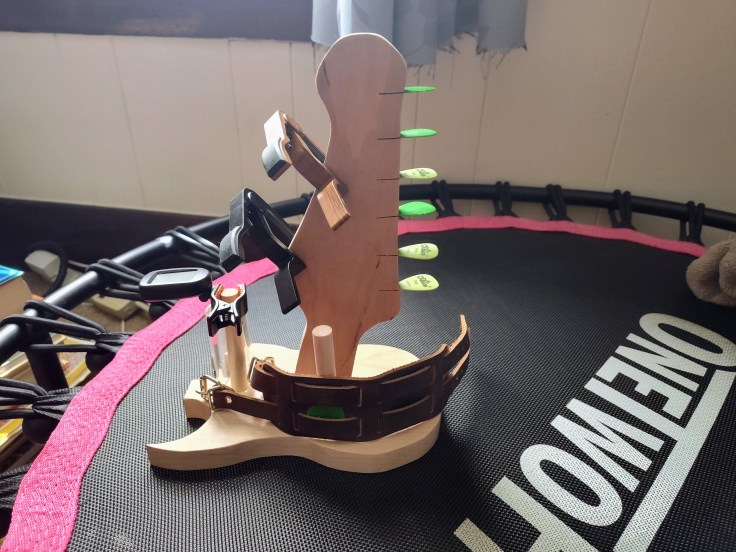
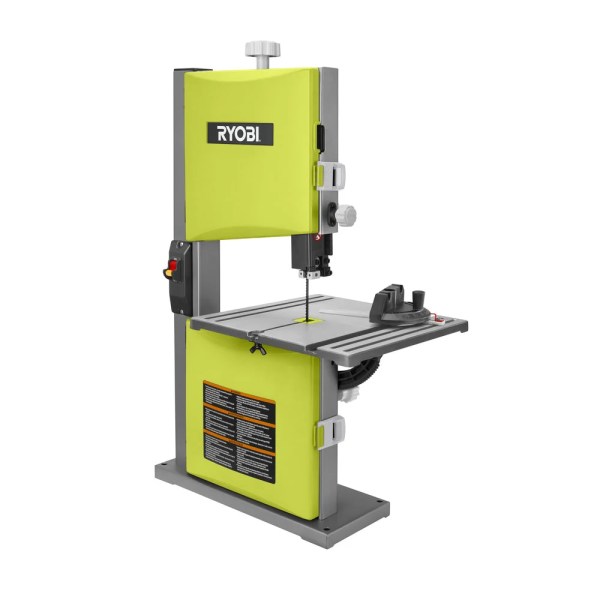
Two posts ago, I wrote about a series of woodworking projects that allowed me to use my new band saw. Prior to working on those projects, I had never used a band saw, and they gave me the opportunity to gain familiarity with the saw and make all the cuts you can on a band saw. After having the saw for nearly a month now, I want to give a review of the saw.
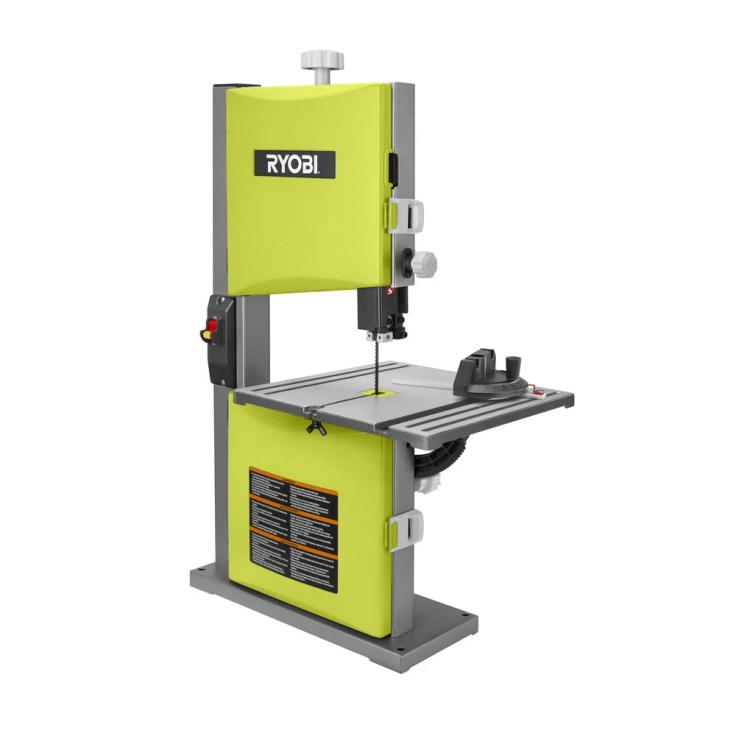
In this review, I will go over the pros and cons of the saw as well as if I recommend buying it. Something I won’t include in my list of pros and cons is anything I knew about the saw before buying it, including the size.
Ryobi Band Saw Specs
The band saw I bought is, to my knowledge, the only woodworking band saw that Ryobi makes. Here’s the link on Ryobi’s site. It’s a 9-inch band saw with a 2.5 amp motor. It’s a benchtop model and uses a 62-inch saw blade, which can be turned at a speed of up to 3,000 RPMs. It has a 6-foot power cord and has a table that is 14.75″ x 11.75″.
Pros
Portability & Weight
When considering tools, size and weight are two important aspects. I tend to buy benchtop versions because I don’t have the floor space in my shop to have floor versions of every tool. Currently, the only tools I have that are floor versions are my table saw, which collapses down and is on wheels, and my jointer, which is huge and takes up too much space. My drill press, planer, and band saw are all bench versions. Benchtop tools are small enough to be stored when not in use, which is a big convenience, especially if you don’t need the larger, floor version. Weight is a big factor in how portable these benchtop tools actually are. For example, my planer weighs 73 pounds. It’s movable, but it isn’t fun to lift on top of my table. Thankfully, the band saw is much lighter at 44 pounds, and it’s not awkward to lift and carry around.
Cost
A tool’s cost is indirectly connected to whether it is a floor or bench version. Because bench versions are smaller and often considered more entry-level, they’re typically more affordable than a floor version. My tactic when buying a tool is to buy the best I can find within my budget. It’s why I often look at our outlet’s tool store or Harbor Freight. Both make it easy to find quality tools at a fraction of the cost of the yellow, blue, or red brands. I’ve had great luck with Ryobi and Ridgid, which I can buy as refurbished or blemished from the outlet store, as well as Harbor Freight.
For example, my band saw at full price is $220 at Home Depot. At the outlet store, it was around $200 before their 40% off sale made it just over $100. Without the sale, the price would have been comparable to Harbor Freight’s bench band saw, which sells for $200. Grizzly makes one that is $325, and the prices go up from there. You can find cheaper versions on Amazon, but it’s wise to be careful of brands. Simply put, a $200 band saw that works very well is a great find. I will easily get $200 worth of use and fun from it.
Ease of Use
Band saws are one of the safest tools in a woodshop. You need to be careful of where your hands and fingers are in relation to the blade, but it’s not uncommon to have your hand within an inch of the blade. Cutting curves on it is a breeze. You simply turn the wood through the blade, and as long as you make relief cuts when trying to make tight turns, you will be successful. The ergonomics contribute to this. I really enjoy the height of everything. When it’s on my table, the saw’s work surface is close to chest level, putting me in a very safe position to make cuts. I also like where the power switch is, which is located to the left of the work surface. It’s easy to turn on and off with one hand, giving you the chance to kill the power if a problem arises.
Finally, it’s easy to make adjustments. Raising and lowering the clearance around the blade only requires the turn of a dial. Tilting the surface is only a two-step process, and replacing the blade looks to be fairly painless. You don’t have to be an experienced woodworker to use this band saw, making it a great tool for beginners and veterans alike.
Setup
From opening the box to making cuts, it only took about 15 minutes. The saw already had the blade installed, which made things very easy. The only parts that had to be installed were the table and the tilt wheel. The instructions were easy to follow and included clear pictures. You do need to make sure that the table is level and square to the blade, but patience and trial and error helped with this.
Power
Woodworking forums and Reddit are awful for “advice” when it comes to tools. The vast majority of the commenters are negative people who try to talk prospective woodworkers out of staying within their budget. To them, buying a band saw for less than $500 would be unthinkable. I bring that up to say that those threads will have you believe that a bench top band saw is going to be too underpowered to do anything productive. And I’m here to say that they’re wrong. Perhaps at one time, bench top saws were underpowered, but the modern versions seem to do very well. Like any saw, you need to be careful not to rush when making cuts, and the sharpness and quality of the blade will impact the cut’s success, but I’ve already worked with red oak, cherry, pine, and more and haven’t had any issues with the saw’s power.
Easy to Clean
This category is one that I didn’t think about when I first began buying woodworking tools. I have a Metabo miter saw that I love; however, the dust collection system is underwhelming. Similarly, I have a Ridgid table saw, and it’s the same story. I connect a vacuum to it when making cuts, but it only collects about 75% of the sawdust. After I finish using it, I go through and vacuum the sawdust from nooks and crannies, but I still have to take it outside once every few months and run compressed air through everything.
To contrast those saws, the Ryobi band saw has been really easy to clean. It has a dust port that can connect to a vacuum, although my shop vac’s hose is too narrow. Still, everything is open and easy to access with the vacuum. There are two doors to open to access the blade, and some saw dust will collect in there, but a quick pass of the vacuum cleans everything. I’ve never owned another band saw, so I don’t know if this is common among all band saws, but the Ryobi one is a breeze to keep clean.
Cons
Lack of a Work Light
I knew that this saw didn’t have a work light when I bought it, but what I didn’t know is how much of a detriment it would be. It may only be an issue because of how my shop’s lighting is, but depending on where I have the saw positioned in my shop and what the exterior lighting is (cloudy versus sunny), it can be difficult to see when making cuts. The shape of the saw’s frame can create a shadow across the work surface, making it tough to see where the blade is in relation to the line. A quick remedy of a portable shop light or a headlamp will address this, but a built-in light would have been really nice. My Ryobi drill press has one, and the same light on the band saw would make cutting easier.
No Fence
Again, I knew that the saw didn’t come with a fence, but because I hadn’t used a band saw before, I didn’t realize how helpful a fence would be. A fence would help with making straight cuts or replicating cuts across multiple pieces. I know that I can make a fence for the saw, but other bench top band saws, including Harbor Freight’s Bauer saw, come with one.
Miter Gauge Flimsiness
I’ve only used the miter gauge once so far, but I wasn’t impressed with it. A widely held opinion is that most miter gauges that come with saws are junk. The one that came with my table saw is okay, but it certainly isn’t perfect. The band saw’s miter gauge is pretty flimsy. There is more plastic than I would prefer, and it’s pretty narrow. I don’t think I’ll use it often, so it’s not a huge deal, but there is room for improvement with it.
Would I Recommend the Ryobi Band Saw?
Absolutely. I know that I don’t have anything to compare it to, but I love this saw. Its affordability, power, and maneuverability make it a no-brainer. It has made all the cuts I’ve needed it to, and I love the freedom it has provided me compared to using a jigsaw. Granted, I know that I won’t be able to resaw boards wider than 3 1/2 inches, but I’m okay with that. I have a table saw for that. If you or someone you know has been interested in expanding their woodworking tools with a band saw but doesn’t want to spend an arm and a leg on one, you should consider the Ryobi. It gets the job done and at a very reasonable price.