Playing Animal Crossing Has Improved My Style

As a kid, one of my favorite pastimes was designing. I loved the fashion styling flash games from Lizzie McGuire and My Scene. I designed my own catalog of clothes for a made-up brand with my friends in 4th grade, illustrating with my school supplies and piecing it together with scrap paper. Mary-Kate and Ashley’s movies captured my imagination through their use of clothes to characterize each sister’s personality.

That’s So Raven enveloped me in imagination, not from her psychic abilities, no, Raven Baxter’s closet pulled me in! Raven’s room was a stunner as well, like Zenon Kar’s space station cabin, and my Fashion Polly’s colorful playsets that folded out like Richard Hammond’s caravan. My friends and I discovered shows like What Not To Wear and Trading Spaces, which launched my sketches from clothing brands to interior design. I had a notebook full of room drawings. There were designs with slides, hammock beds, and intricate themes. I drew a Survivor-themed room with a tribal council area on the lower level, an outer space room with circular windows and futuristic lighting, even a beach room with a lofted bed, sunset paint scheme, and a pool placed in the middle of the floor. I wish I knew what happened to these sketches; it’s been such a long time.

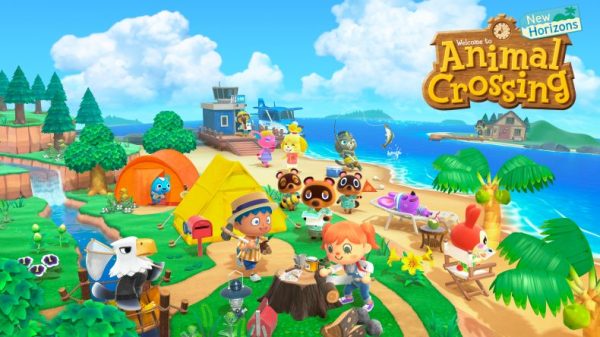
When I discovered Animal Crossing in 2020, I was curious what the fuss was about, and later the next year, we bought a Nintendo Switch, opening a world of design I thought was lost to childhood. I was thrilled! Animal Crossing New Horizons debuted in March 2020, and because of the unique time, it had a huge following for its charming island life. You begin your game landing on a deserted island as part of a Nook Inc. Getaway Package, and assist Tom Nook in developing the island with the help of Timmy, Tommy, Dodo Airlines, Blathers, Isabelle, and the villagers who move to the island with you.

But what about the fashion and the home decor? This game first places you in a tent that you upgrade into a house, with subsequent expansions costing large sums, but with a relaxed payment policy. You also gain the ability to design custom things with Nook Mile redemption upgrades, craft unique recipes from resources on the island, and buy items from Nook’s Cranny and clothing items from Able Sisters. A ridiculous amount of my gameplay, even years later, comes from pairing and collecting new clothing items for my character to wear on her adventures. This game loves coordination!

As a player who is well-versed in the Animal Crossing fashion catalog, I wait and anticipate finding my favorite pieces with each new island. The game has four seasons, with clothing corresponding to the season at play, including specialty garments for holidays. Currently, as I play in June, it’s wedding season and Able Sisters is selling traditional Japanese wedding attire, Nook Shopping is selling Father’s Day items, and International Children’s Day pieces, which include a paper crown that is oh so cute!

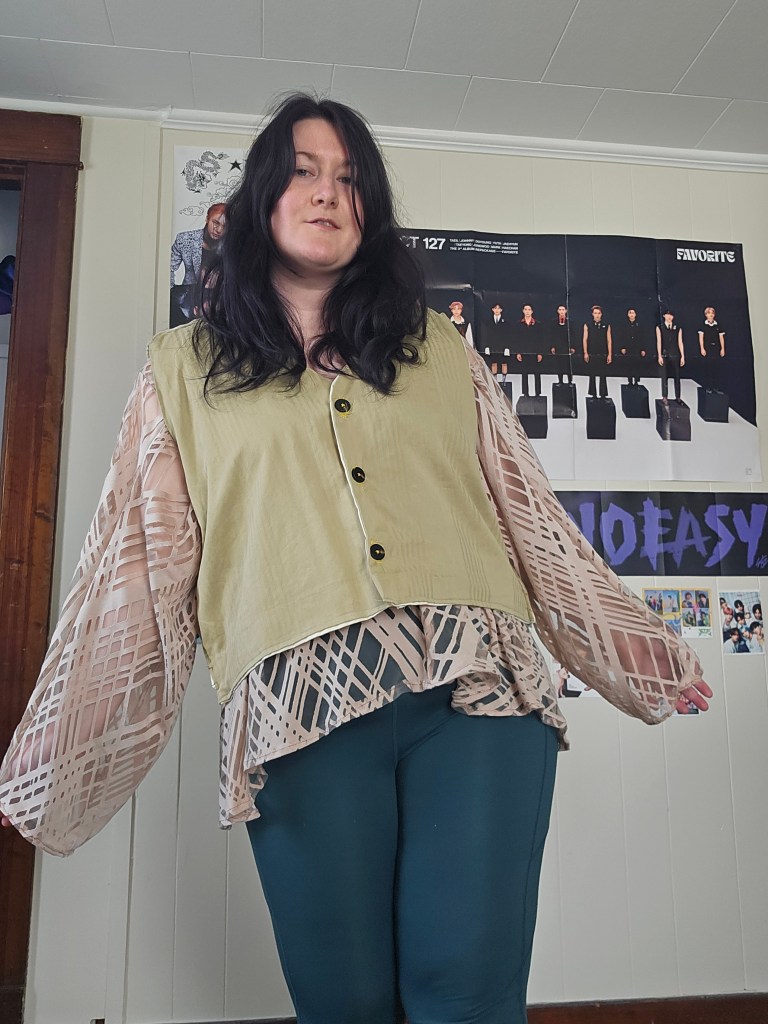
How has this impacted my own personal style, though? Well, it has brought me back to the mindset of creating a full look. Working from home or working in professional painting at jobsites for most of my adult life has killed the style I used to have. I no longer felt the need to put together a look, but instead I got used to throwing on pieces and wearing things for function, not fashion. But that’s not who I really am, just what the environment of life drifted me into. I was missing intentionality, Animal Crossing lit that spark once again. My little character doesn’t just get dressed to do life; she wears a head-to-toe look with hats, bags, glasses, specialty socks, clever shoes, cute tools, and interestingly paired garments. This game got me out of jeans and a t-shirt, or a hoodie and leggings, because this game has trousers in many fabrics and shapes, shorts in colorful prints, skirts in a bouquet of fancy, coats, hats a plenty, tops that span the seasons – it’s a blast to explore! There are dresses – modern and traditional. I can where a kimono! I change her outfit at least once, maybe three times a session. You can also curate hairstyles and experiment with colors.

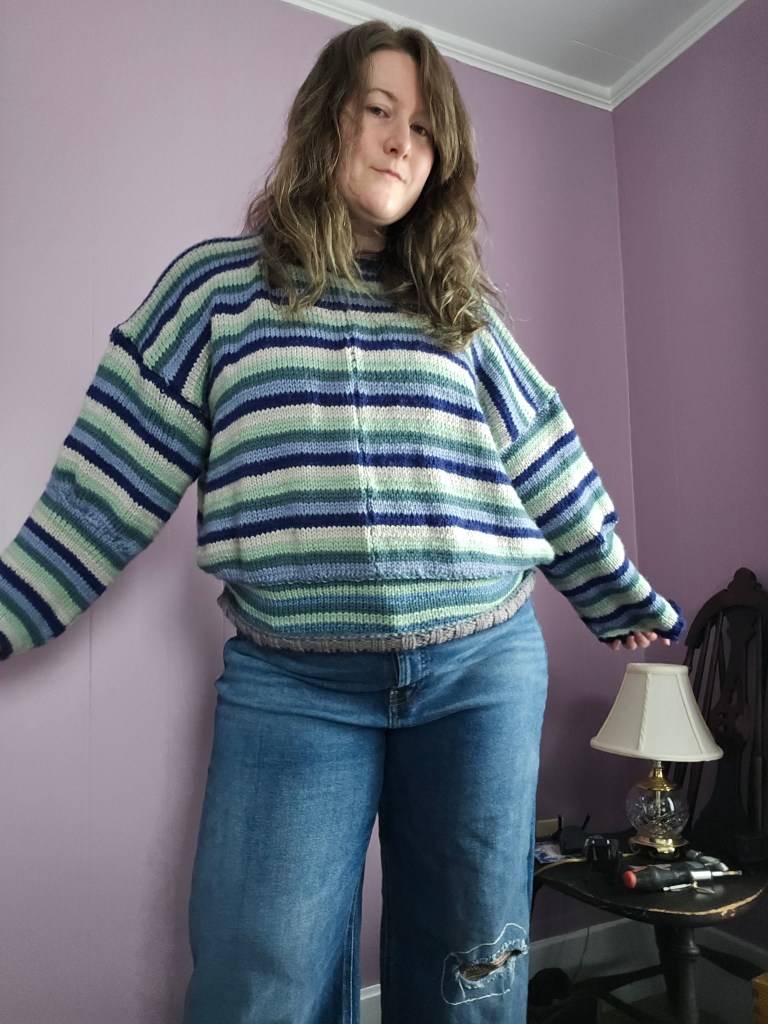
This exercise has shown me that pink hair is something I’d like to try. It’s my most-used fashion color. It has inspired me to introduce cute socks of varying heights and weights to my wardrobe, even making some of them. I’ve started wearing hats anytime I leave the house – it pulls the look together! My taste in bags has changed; no longer an option for a sleek purse that looks designer, instead give me a duck bag with feet. I love colorful knitwear, flowing skirts, and shoes that are beyond my comfort zone of boots and Converse. Taking those moments in the game to pair weird combinations together has positively impacted my design sensibility. When I plan a sewing or knitting project, I take into account what I’ve learned from dressing up my character, seeking to inject the whimsy and delightful wares of Animal Crossing into my real-life closet. I’m not the only one; I’ve seen this across Pinterest, YouTube, and Instagram.

But what about interior design? Well, this game not only presents the opportunity to design your house and the island, but you can also download Happy Home Paradise to design vacation homes for clients. This has really challenged me in a fun sandbox way to care about how a room is put together. I’ve become far more intentional about my furniture layout, what types of pieces I want to bring into my space, and how I want to pair pieces for a style that tells a story.

Buying a house last year was the icing on the cake of this new foray into design, as we have painted rooms and dug the garden beds, I’ve felt like it is Animal Crossing come to life. I have this canvas to put my stamp on. Moving from rented landlord-beige homes to a space where we can be colorful, it has shown me that the little details do make a space more welcoming and conducive for creating. The simple act of moving our dining room table from one side of the room to the center, allowing for walkways on either side, has made the room a place I want to be instead of a place I pass through. By filling the empty gaps of cabinets in our kitchen with tables, shelves, and a microwave stand, we have transformed the empty space into a room that feels complete. The simple change of painting my sewing room lavender created an entire mood, a calming and happy vibe that makes me excited to work within those four walls. The garden beds and the screened-in porch have been works of dimension, the outdoor space has useful and designated spaces for us to use that make it more beautiful and purposeful.

I am filled with a sense of possibility again, like the girl who sketched those rooms in a notebook, instead of a person muddling through life. In this time when we feel burned out by AI and stale creativity, it’s been electric to feel the sparks of imagination. The crafting aspect of the game has inspired me to be more creative in my own house. We repurpose, re-finish, and build things in our house from scratch. Because of life’s twists and turns, I have a lot of second-hand pieces that at first felt like a let down, like I was poor, but now I see them as incredibly meaningful items that I have the pleasure of caring for in my home. The game’s customization tools, such as kits for sale or the custom services of Cyrus, demonstrate how a coat of paint truly pulls a room together without buying something new.

Did I think when I purchased Animal Crossing New Horizons that I would see an impact on my own design sensibility? Not at all, but it has been the gift that keeps on giving. It’s an incredibly cozy game, full of wonder that I have grown fond of, year over year. Four years later, I still look forward to running around the island, hunting for recipes, wishing on shooting stars, and besting those pesky Happy Home Academy judges. I hope that I never lose my zeal for dress up and design because it is such a fun little way to relax in this wild and wacky world.

I Made Furniture From Fabric Scraps

Do you ever look at an item you want to buy and think, how hard can that be to make? Well, that’s exactly how we got here.

Floor Culture

I’ve been moving my sewing room around, I took down my sewing table and moved to the floor. Which I know sounds extreme, but seriously, sitting on the floor is underated. My back and hips don’t get tight and my posture is improving. In the West, I think we have been foolish to move away from sitting on the floor and should acknowledge how wise other cultures are to sit on the floor for health and posture.

I have a wicker chair that is good for sitting in when I want a break from the floor, but what I was missing was an in between piece of furniture that I could move depending on my needs. I settled on a floor cushion that could be used as a seat, a workspace, folded up in a cushion or rolled into the corner for yoga to add more stretch breaks to my life.

Quick Fix

But here’s the catch, I decided I needed this piece of furniture on a whim and that’s what I am trying to remove from my purchasing decisions – less impulse purchases. I want to become less of a consumer and use what I have, so I thought could I make what I want? Similar cushions for sale online were 100-400 USD and with the tarriffs looming, I was feeling a bit nervous to buy something.

But then I remembered my Mom made a pouf, she knit the cover. I’d watched Morgan Donner make things from her scrap and fashion a mattress from braided fabric. I had also begun saving my fabric scraps and sorting them into bags that were taking over my crafting closet. I just had to settle on the cover fabric and design.

Design and Materials

A large rectangle seemed like the ticket with corners I could sew crisply and easily stuff at the end. There was this one extra wide cut of fabric I bought from Joann’s last summer which caught my eye. It’s a fabric I bought because I enjoyed the design but didn’t want to wear it. It looks a bit like denim and had a lovely swirl pattern that I thought, would compliment the lavender paint of the room. With the fabric sorted, it was time to tackle the pattern and stuffing!

I measured the fabric into two large rectangles and four slimmer sections to form the sides. These I sewed inside out to leave only one end open to stuff. I sewed this by hand over the course of a day, I’d say in total the sewing portion of this project was the easiest part. What lay ahead next was tricky, blister inducing  and stressful.

Stuffing and Scraps

I had bags upon bags of scrap fabric in varying sized pieces ready to be repurposed into stuffing, but the thing with fabric cabbage is that it’s not uniform. Which means there will be a lot of cuts to make. This I foolishly chose to do with my old fabric scissors, instead of using my rotary cutter and mat. I wish I had. The repetitive cutting motion wore a blister on my thumb and aggrevated an old injury on my finger joint.

My hands were tired, weak, and wrecked by the end of day one. Worse the cushion was 1/3 full. Not what I was expecting! How could it take that much stuffing?! With my bags of fabric scraps depleted, I moved on to new sources of cushion comfort. Such as yarn that I was given secondhand, which I had no creative plan for. This yarn was a super bulky, acrylic yarn, about 300 yards left, and perfectly fluffy for stuffing. I cut this into pieces and carried on auditing my stash.

I repurposed some old clotbes into stuffing, a blanket Mia’s little bunny chompers had chewed into swiss cheese, and more leftover yarn floating around my sewing room. Yet, I still lacked the floof I was after so I broke down and browsed the interweb. I knew polyfill was an option, but it’s also polyester and the point of this was to repurpose and use up things, not go to Walmart for polyfill, which happened to stretch very little. When I made a bolster pillow for our couch out of an old sheet, I went through 5+ bags of it. Whuch made me wonder, are there alternatives to polyfill on the market? There are! I found a small business, selling cotton filling that shipped. This got me to comfortable fluff, I still need a bit more but I’m going to revisit it later.

Voila! A piece of furniture made (mostly) from what I had in my house that used up some trash in the process. I am pleased. 😁

Potato Technology’s 2024 Autumn Winter Collection

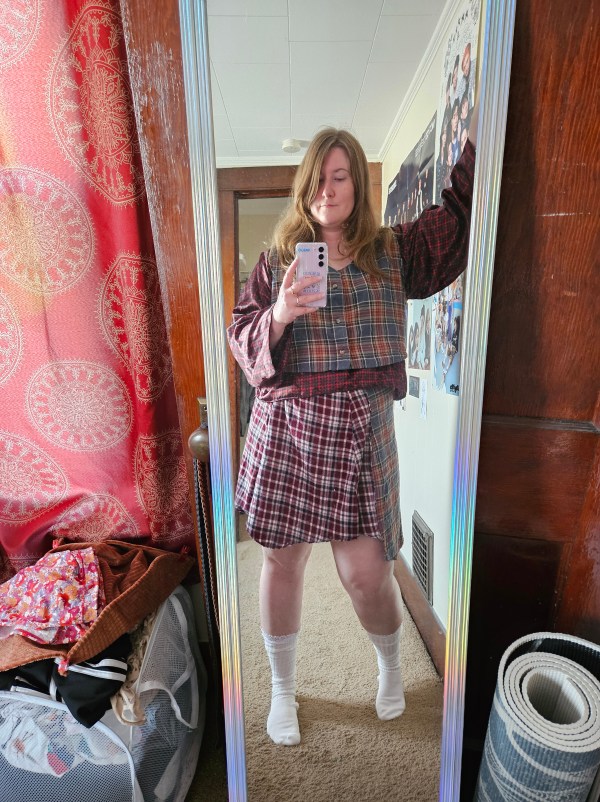
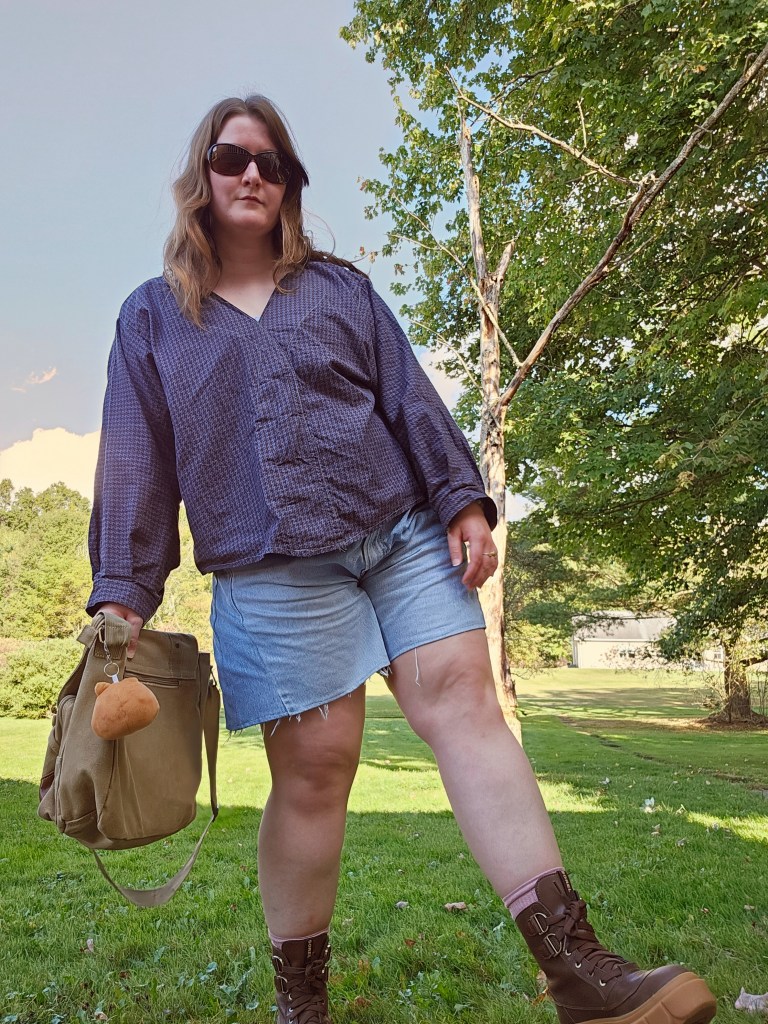
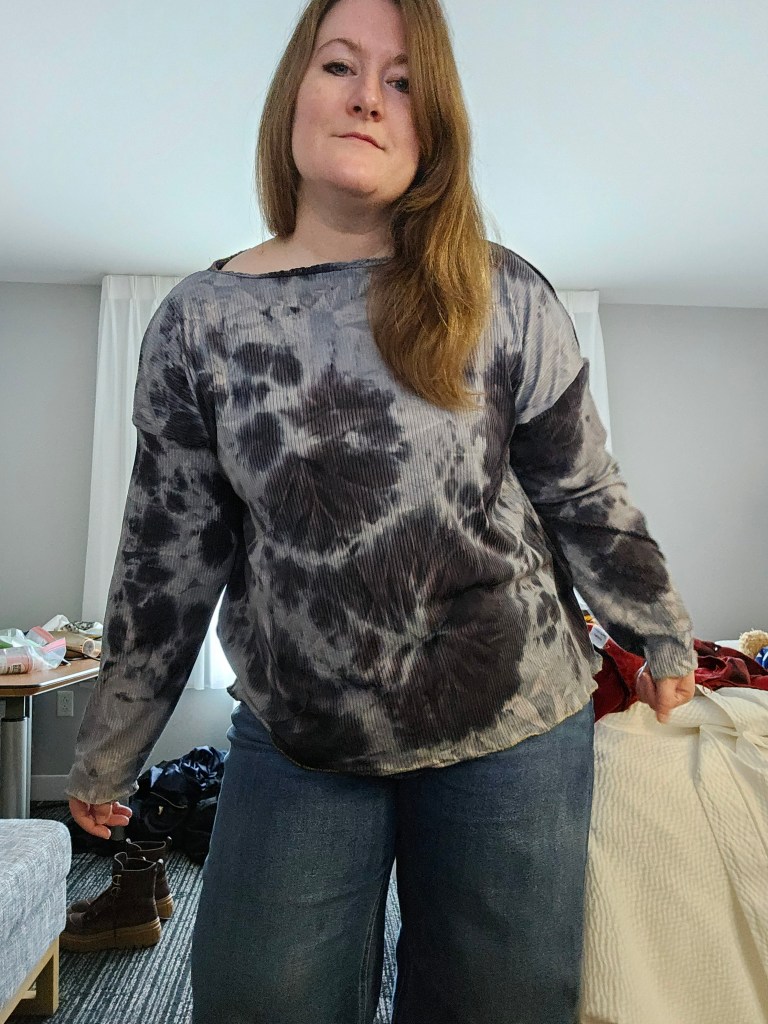
This collection was about upcycling, trying new techniques, and making things that expressed what I like wearing based on previous designs I have made, but with a twist. The items I designed were 75% sourced from existing materials. They were upcycled from items in my closet, hand-me-downs from my mom or grandparents. They were made from destashed yarn I acquired or fabric that had been in my stash for a long time. I focused more on creating with natural materials like wool, linen and as always, I love cotton.

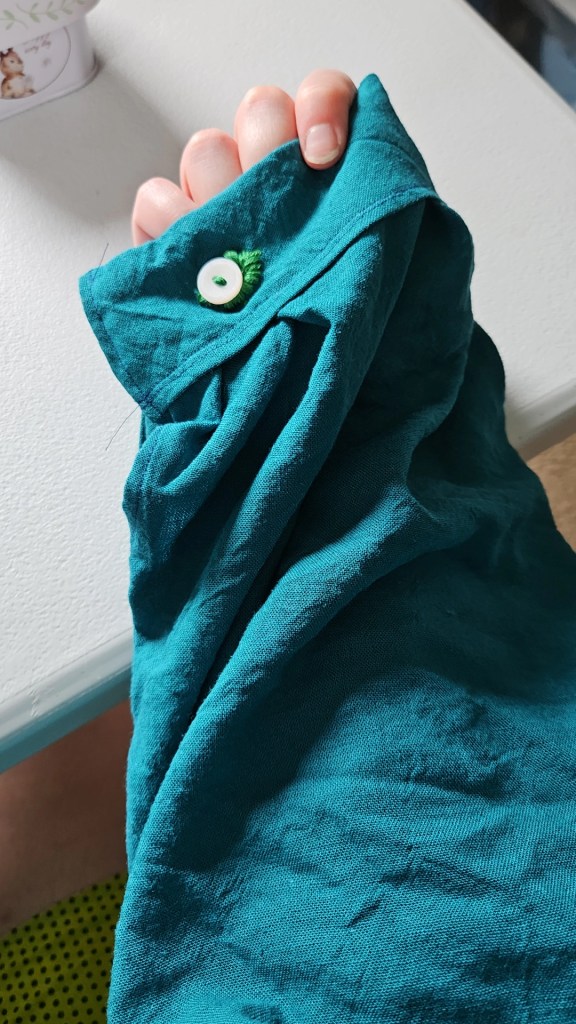
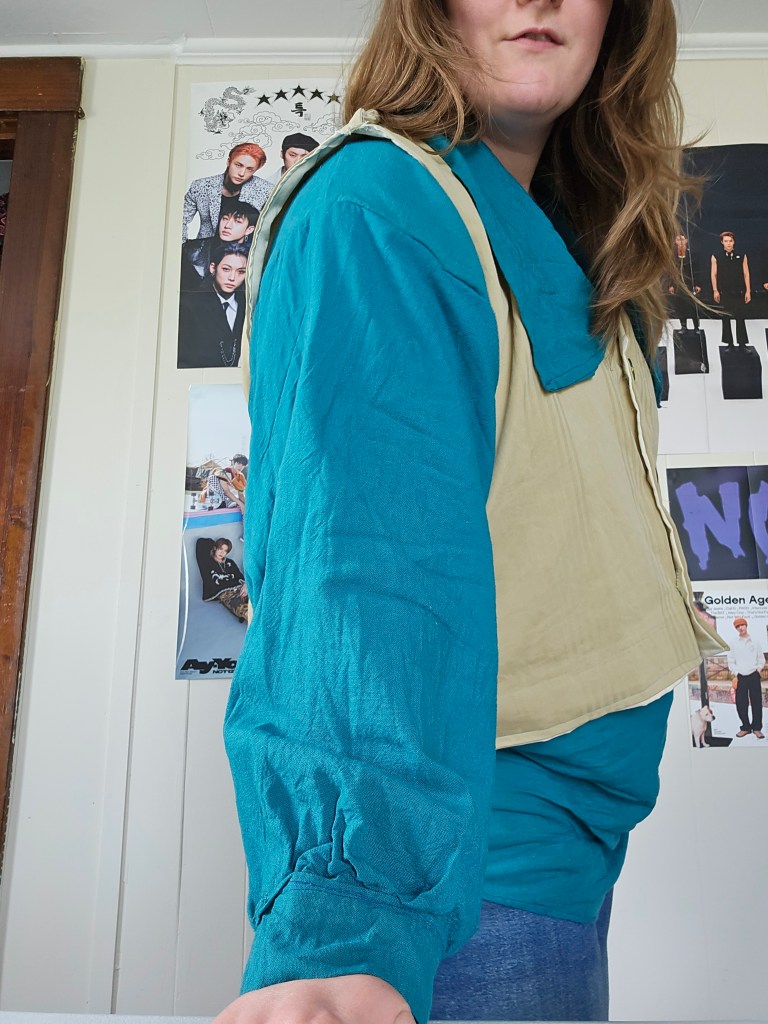
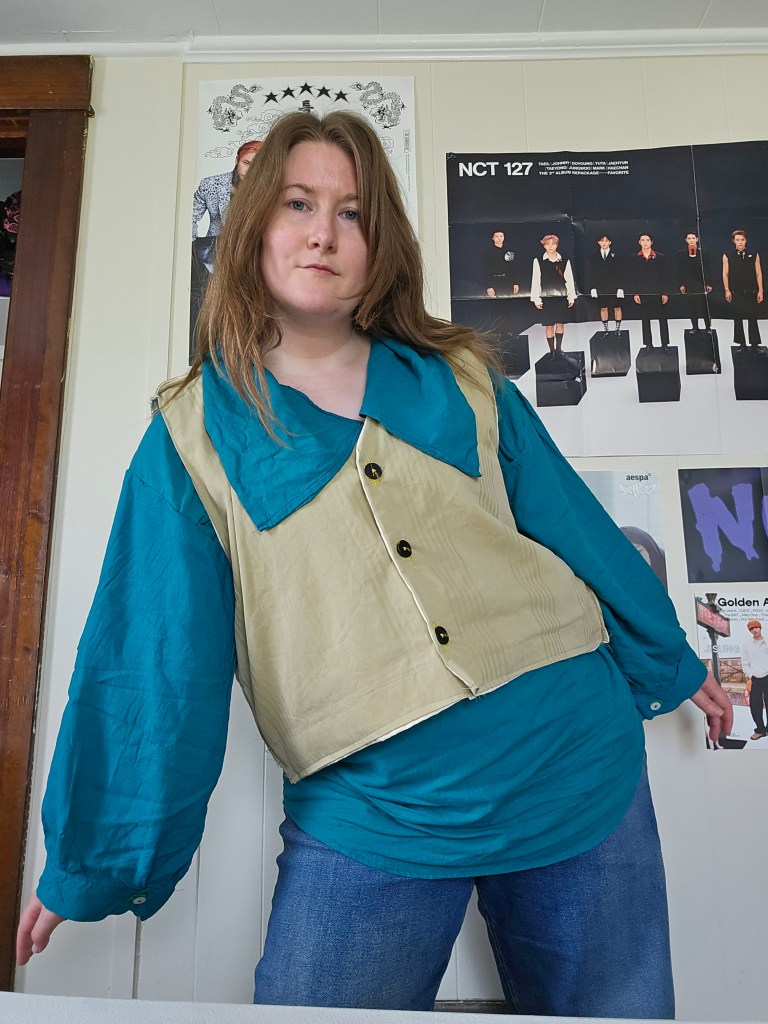
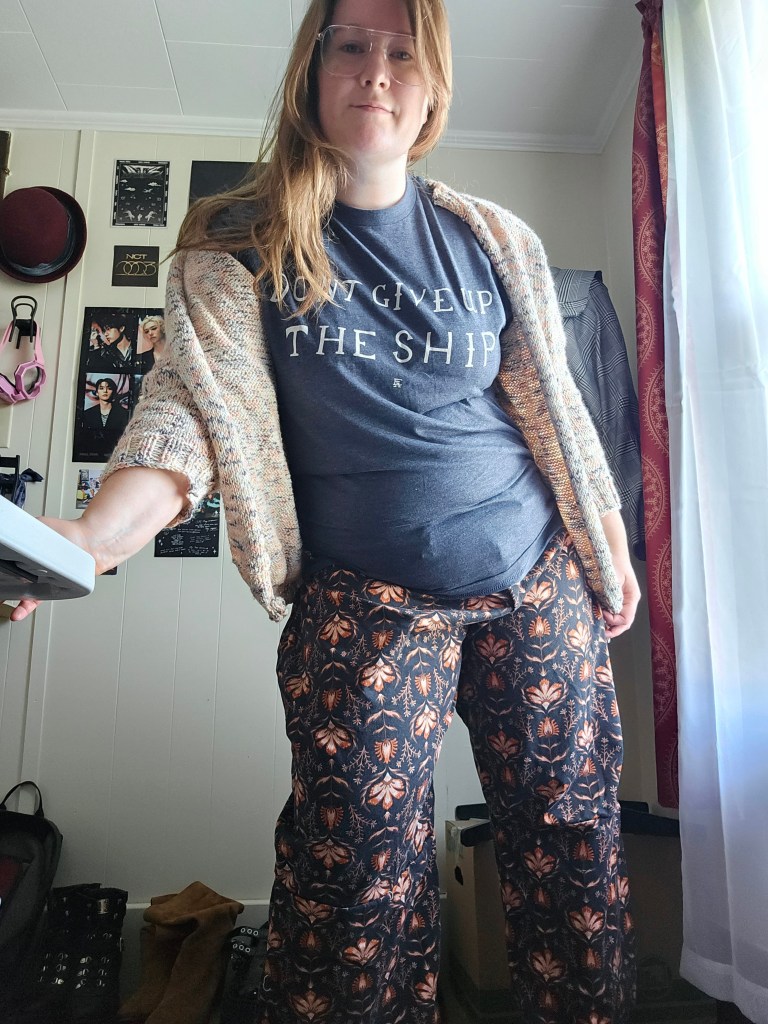
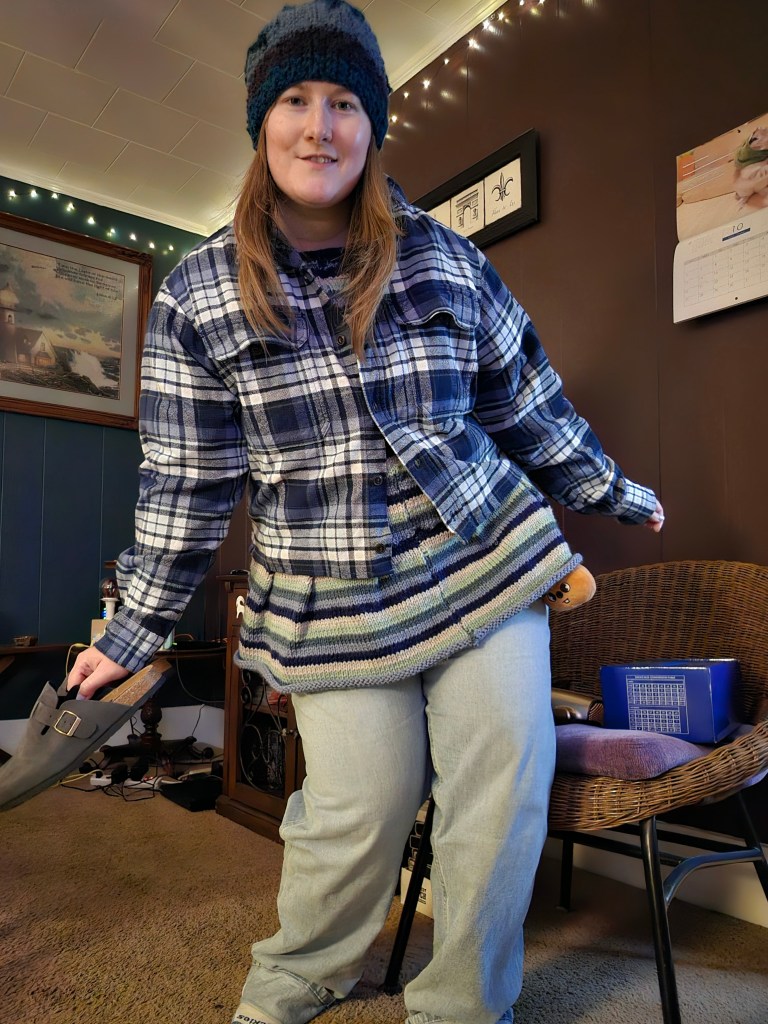
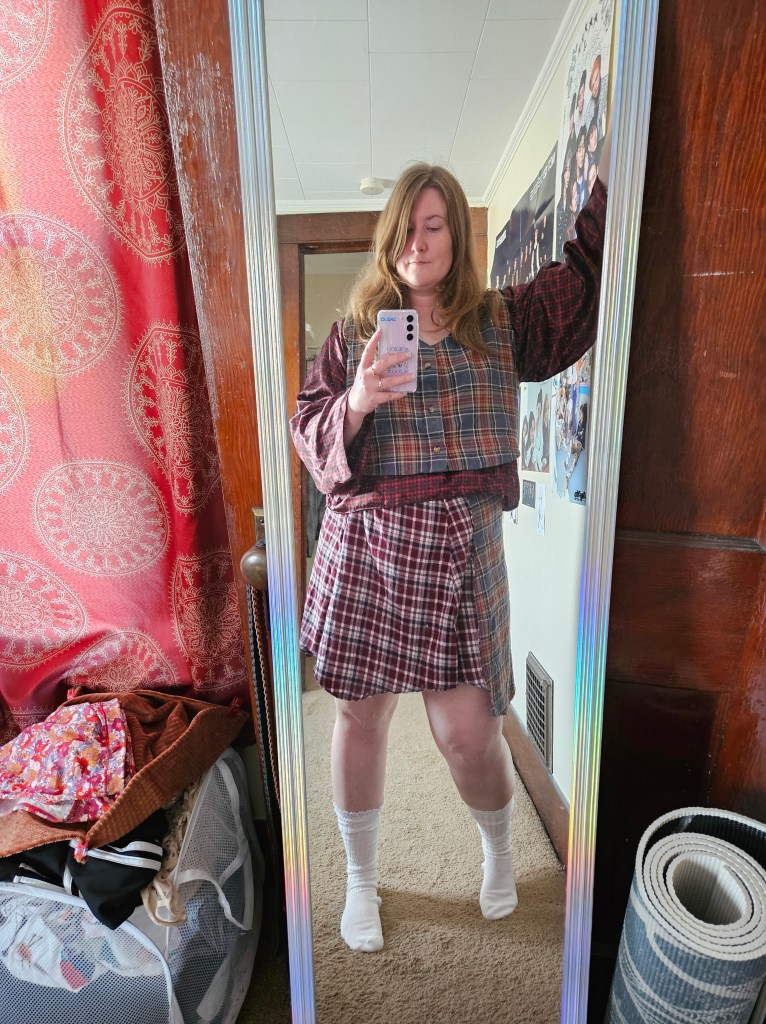
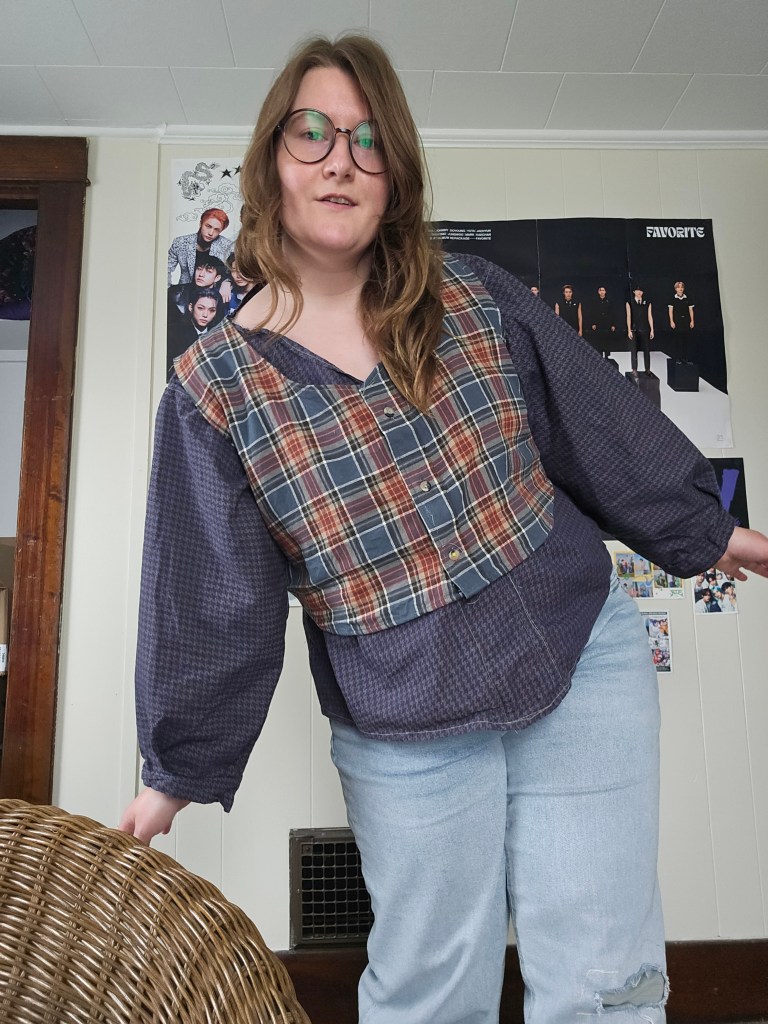
Vests were made from pillow cases and flannels. I re-worked a sweater from the existing sweater and leftover yarn. I dyed denim, deconstructed denim, and made some interesting new shorts and skirts. I combined leftover flannel from Christmas stockings to create a plaid and denim kilt. I used the cut-off sleeves of flannels from my vest projects to create a skirt from four flannel sleeves. I dove deeper into the world of trousers with two new patterns – a floral and railroad stripe. With each pair, I experimented with fastenings and pockets. I constructed my first “Mr. Darcy” shirt from teal linen using Bernadette Banner’s instructions for the body. I put my own spin on the collar, choosing a wider collar similar to a sailor collar that is popular in anime and J-fashion.

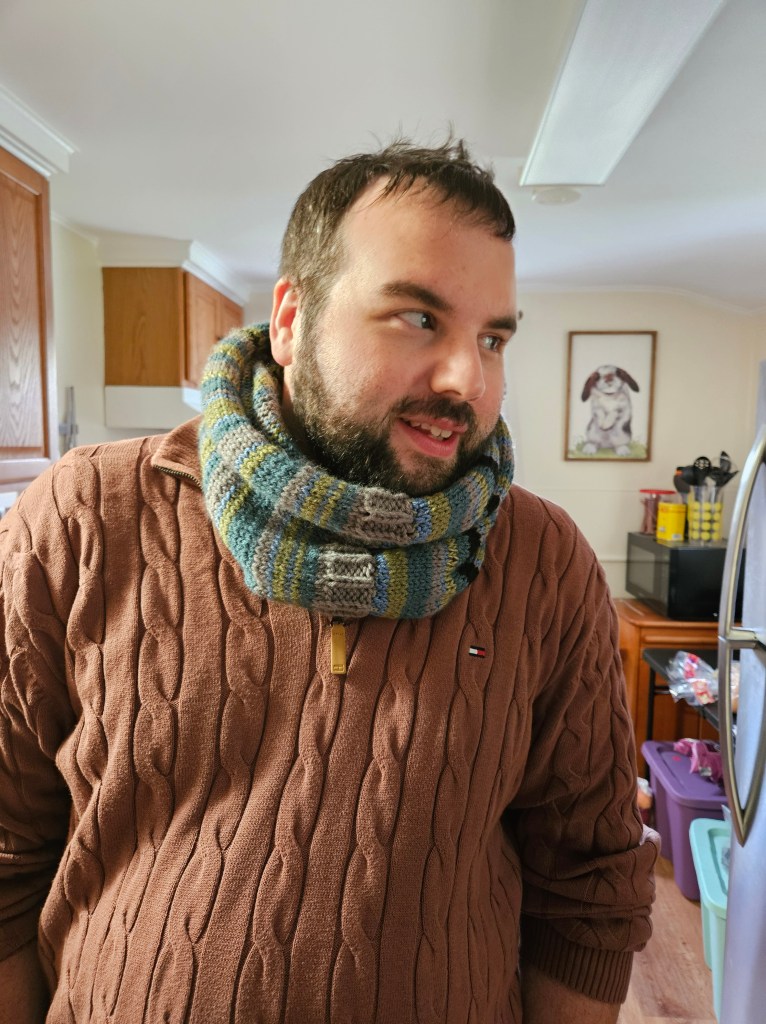
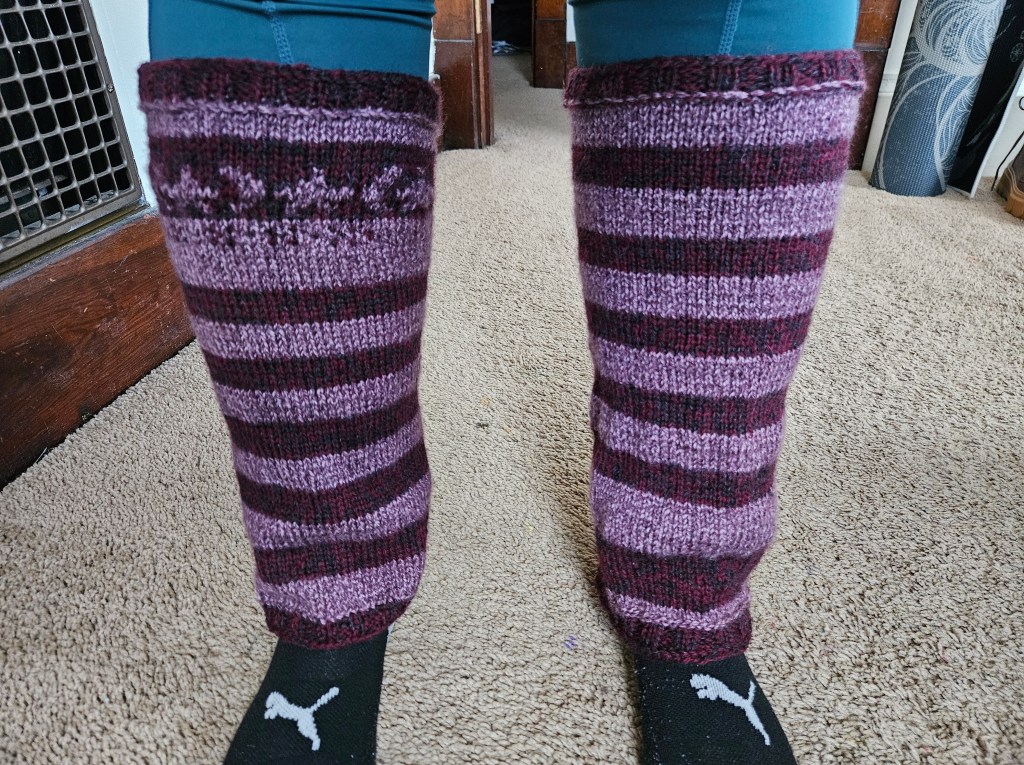
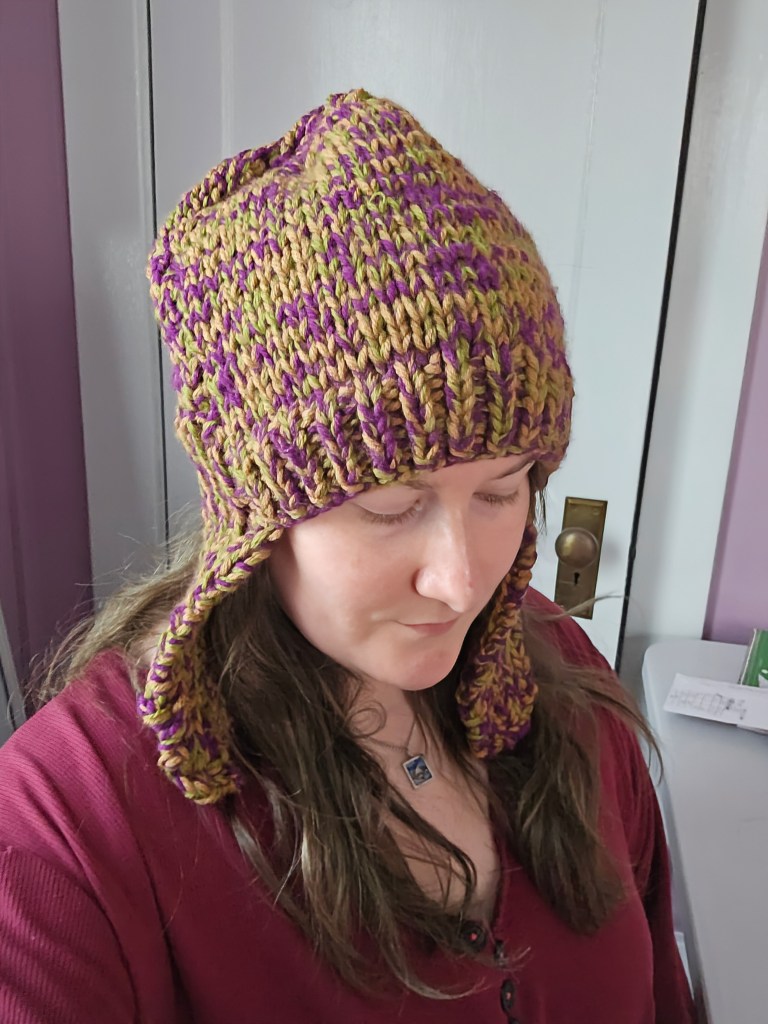
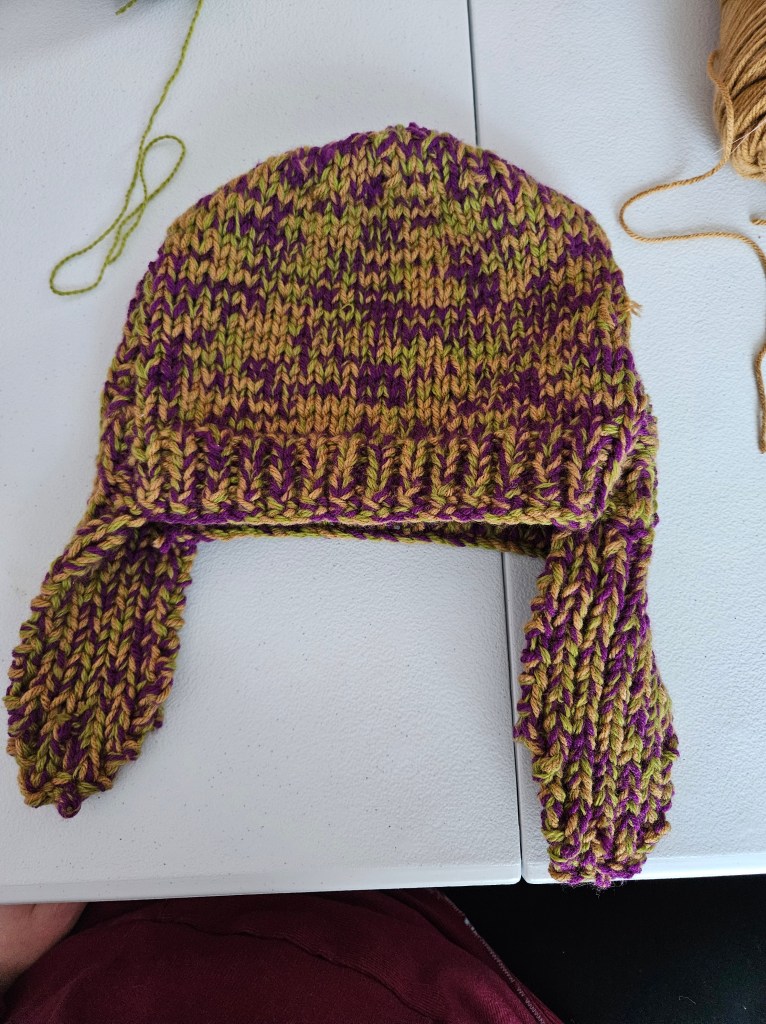
This was the first season I experimented with colorwork in knitting. I made a knit star motif hat from yarn that was leftover from my Magic of Scrap Yarn Cardigan. I made leg warmers, a squirrel motif mitten, and a melange of acrylic and wool to create this ear flap hat that reminds me of medieval European helmets. Although this season of creation was chaotic, I’m not sure if I even included all the projects I worked on, it was a time of great learning. It taught me that fashion design is more than taking raw material and cutting it into a new form.

Great design utilizes new and old. Fashion is about reusing, not wasting, and making things beautiful with careful craftsmanship. It does not mean it needs to be expensive, or need to be made by a great master couturier, it just needs to serve a purpose. We have lost sight of the purpose of fashion, but these projects of upcycling have reminded me that fashion is more than shopping, it is more than consumption, it is about the materials, the vision, the function.
Bunny Plush Keychain

Recently, I shared a Knit Star Plush Keychain Pattern, but that wasn’t the only keychain I’ve been working on. Behold, a knit bunny keychain made from repurposed fabric! This keychain was inspired by my Skzoo Quokka plush keychain which I have styled on my purse and belt loop. I was tempted to buy more as this trend has been all over my feed this year, but that’s unrealistic. So I thought, in Jeremy Clarkson fashion, how hard could it be?

This key chain was made by repurposing a pair of underwear, that was weirdly made without any stretch. They had no purpose but to be trashed, which I didn’t want to do because they were brand new and I liked the pattern and color story. So I wondered, could I translate this to a plushie and I could make this plushie into a keychain without buying any materials beyond the keychain hardware? The answer is yes!

I used a pen to draw pattern pieces onto the underwear by designating the fabric into four ear-pieces, two head-pieces, and a rectangle piece that would be used to connect the keychain hardware. The rest of the fabric was cut into small cut pieces that would be used as the stuffing. This worked like a dream!

I chose to sew this item by hand because of the small nature of the project. The pieces were too small and delicate to sew by machine with any semblance of control or care. It was a quick make and took one day to complete. I sewed 90% of the ears, turned them right side out, stuffed them, and then set the ears aside. Next, I repeated this process with the circle for the head and stuffed it. When I was certain that all the stuffing was divided between the three pieces adequately, I sewed closed the ears and head. Next, I attached the ears to the head. Finally, I sewed the rectangle and threaded it through the loop of the keychain before attaching it to the bunny plushie. I opted for an abstract look so I did not decorate the bunny plush with a face, therefore if it spins around it doesn’t matter what side is facing out.
Overall, this was a quick and thrifty project with the hardware coming in a pack of two for $2.99. I used the other clip on the knit star plush project. This type of plushie could be made with any scrap fabric you have and could be adapted into other animals. It would be an easy DIY gift too!

Sewing Stretch Fabric Struggles

Do you ever spend time learning a skill just to forget it when you need to use it? That’s me. That’s how I sew stretch fabric on my machine. I just jump in and completely forget that I need to first properly adjust the tension and stitch type or else mayhem ensues. Mayhem like my machine having a nice little snack on my fabric.

Sometimes the machine gets extra bold and drags the hem under into the bobbin’s domain, jamming the machine. This is what I am talking about:

In the moment of panic, when I realize the fabric is stuck down in the machine a few thoughts dance through my mind.

  • Why didn’t you sew this by hand?!
  • You did it, you finally broke the machine you maniac!!
  • It’s ripped to shreds, isn’t it? The whole project might be gone in a moment.
  • This machine hates me. How do other people sew so effortlessly??

But it’s not the machine’s fault and it’s not the fabric that caused this, and it’s not even my fault. It’s morally neutral, it’s an accident and a learning experience to grow from!

As I was writing this, I caught myself crafting sentences to describe the situation with very negative and demeaning language towards myself for making a simple mistake. (A mistake that once I freed the fabric from the machine, I corrected and carried on to make the finished garment. The tight thread tension actually made a happy accident, a lettuce edge hem.)

It is not something that I should hold with such severity against myself that I internally tell myself I am an idiot, a lousy sewist, or useless.

Because how would I respond to hearing someone say that to another person? I would be disappointed in the speaker and make them stop.

How would I respond if I spoke with such aggression to another person? I would be ashamed.

I am learning through these sewing setbacks to temper the internal monologue and be a more gentle and loving person towards myself, to maintain better mental health, and establish the practice in my mind so that I can be a source of gentleness and kindness to others.

How do you speak towards yourself and others when they make a mistake?

Garments I Want to Try Making Again

Two summers ago, in 2022, I tried my hand at making dresses and separates with some mixed results. Some pieces I loved but had fit issues, some were poorly constructed and just fell apart, and some were made with the wrong materials for the project and were doomed to fail from the start. But as a new sewist who is self-taught, it was the only way I was going to learn, by experimenting and making and then doing it all over again.

In 2024, I’ve seen a huge jump in my skill level. I’m beginning to feel comfortable with the craft and I’m wiser about my fabric choices, which makes me think about these former projects. Could I make a better version of them? Have I leveled up my skills enough to do these projects justice and have them in my closet for years to come?

The Blanket Dress

Original Materials: Cotton Flannel, Satin Blanket Edging

Issues: Sleeves fall down and fabric stretches with wear. Not enough structure and bad pattern matching.

2024 Plan: Choose a cotton shirting with more body and keep the plaid pattern or if I stuck with the light cotton flannel, I would add a lining to give structure. Pattern match when cutting out pieces because I can tell I didn’t try at all! Add tie to the back shoulders to keep the sleeves on my shoulders. Add a button placket or zipper to fit the dress to my body better. I would make the bodice even, because I can see how each side of it is a different length.

Will I make this again? Most likely! It is one of my favorite pieces from my early designs.

Amalfi Coast Girl Slip Dress

Original Materials: A very lightweight polyester silk that I found on clearance at Joann Fabrics.

Issues: Very thin, made me paranoid. Being a slip dress I felt uncomfortable, like I forgot to get dressed.

2024 Plan: Lining! I would line this 100% now because that was just silly. I would pick a better fabric though, this one was hot and difficult to sew. I would also fix the bunching in the skirt and fit the bodice better because it looks messy.

Would I make this again? Yes! Potentially this summer if I find the right fabric.

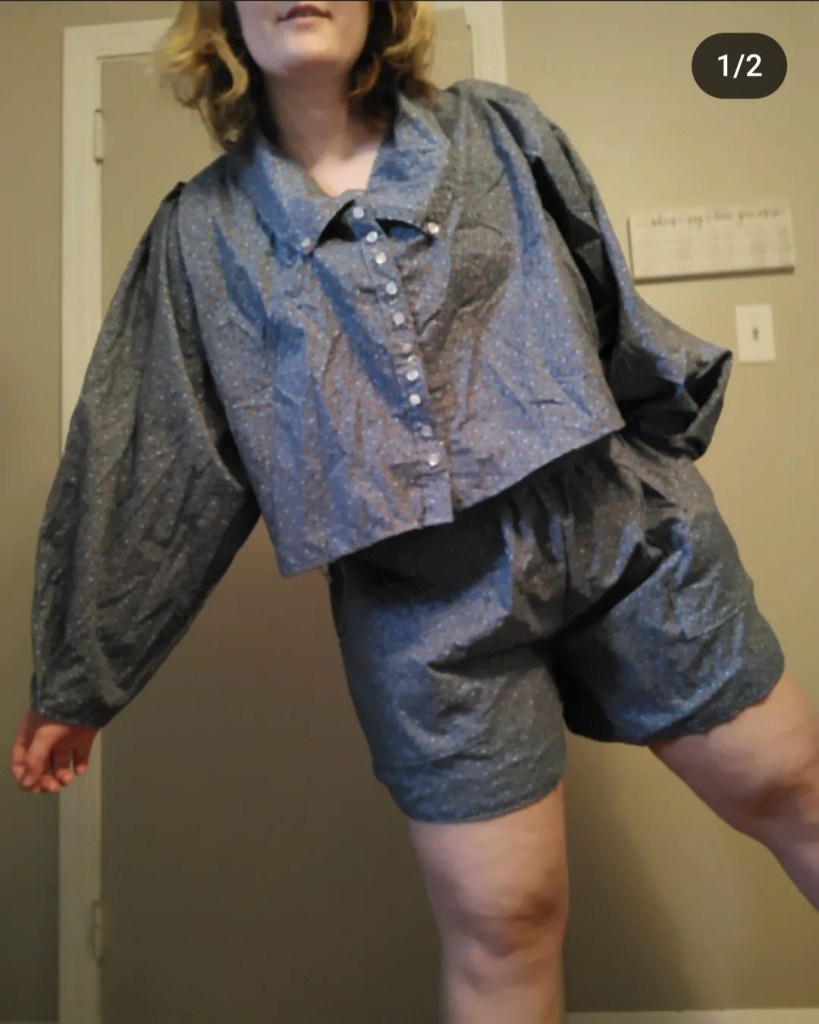
“Linen” Two Piece Set

Original Materials: Vintage Quilting Cotton from my Gram’s stash. Snaps and buttons (because button holes scared me).

Issues: Not real buttons, this was a hassle. The shirt was a bit short and too boxy. The shorts were an absolute mess because I didn’t have a french curve or a proper pattern to make shorts from. The seat was too narrow and the the rise too short, the waist band I didn’t fold over so it provided no structure. A side zip and snaps were an okay closure but they never felt truly secure.

2024: I would buy the cotton gauze fabric or buy linen for the look I wanted. The quilting cotton made this feel like pajamas and it made a little unsure about wearing it out. I would make a proper fitting pair of shorts this time and a real button holes. Other than that, I’m quite pleased with my original idea.

Would I make this again? Yes, it was chic and comfy, if only it had been constructed better I may still have it.

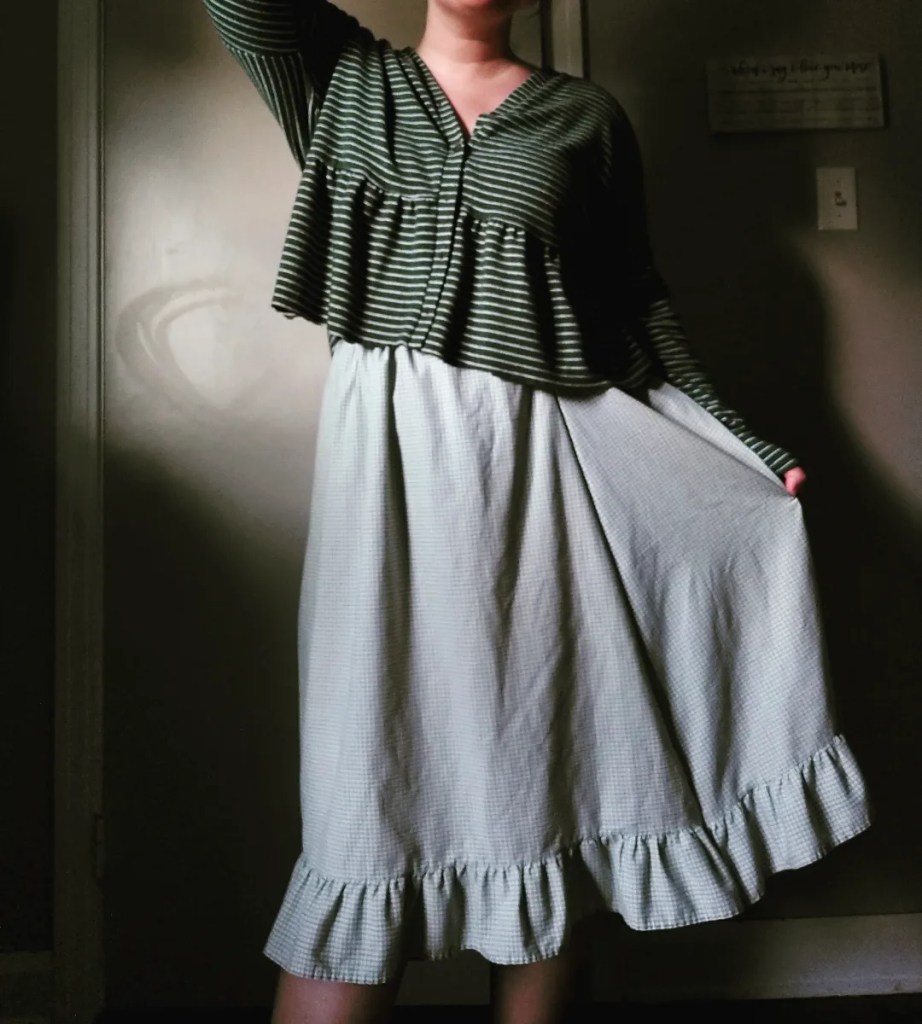
Cropped Cardigan and Ruffle Skirt

Original Materials: Two upcycled pillow cases and a hand-me-down dress I cropped into a cardigan.

Issues: The pillowcase was stained and see through. The cardigan was made from a fast fashion piece that was terrible quality that made it feel weird on the skin. I like the appearance of this look more than I did wearing it.

2024 Plan: Opaque quilting cotton or shirting to feel comfortable. Knit the cardigan in a cotton yarn or a linen yarn to make it versatile for Spring, Summer, and Fall.

Would I make this again? Yes, it’s already on my to do list. I would wear this for so many things.

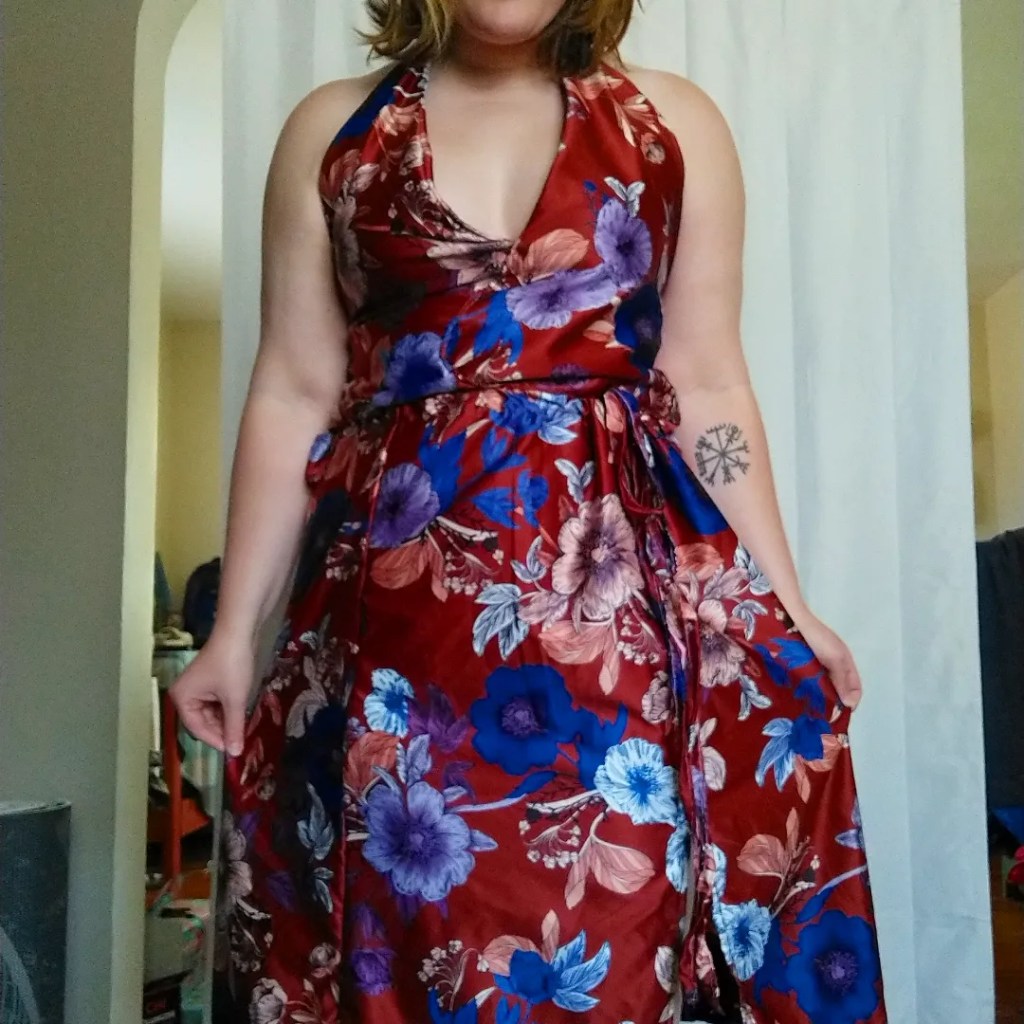
Silk-ish Halter and Wrap Skirt

Original Materials: A satin polyester from Joann Fabrics. Snaps and a tie made from the fabric.

Issues: My halter top gaped, it was poorly draped and did not feel secure at the back snaps or neck snaps. The skirt did not have enough volume. I didn’t feel like myself in it.

2024 Plan: I would properly drape the bodice and add bust cups potentially to the top. I would also not make it a two piece look because I wouldn’t wear the pieces separately. The fabric was nice and I would use something like it again, although I would love for it to not be polyester.

Would I make it again? No, it doesn’t fit into my wardrobe. I would use a similar fabric again for a dress, but not a halter dress.

Create a website or blog at WordPress.com

Up ↑