A Procrastinator’s Temperature Blanket Guide

Did you know that you can find daily highs and lows in a database to use for temperature blankets? I didn’t either until a year ago. (Yes, this project post is long overdue.)

I learned this from the lovely Toni Lipsey of TLYarnCrafts, which saved me when I spontaneously decided to make a temperature project last year for Christmas…after Thanksgiving.

I am a last-minute Christmas gift maker, along with many people out there. I am not special or organized, but I’d like to change the second one. Anyways!

What is a temperature blanket?

It is a fiber-based project, knit or crocheted, whose color palette and sometimes its pattern are determined by the daily weather of a specific location over a certain time span. I thought you had to track every day, but you do not, which is amazing because you can make this project on a whim. Although the actual work time will be longer than you may expect, it was for me.

It’s a fantastic stash-busting project or a way to use colorful yarn you may not put together in the same project. You can do whatever you want, and that is what makes this project such a special one. Your color changes will be different depending on what date range you choose and where you live.

It’s like a fiber fingerprint of a certain time, a memory, crafted into fabric.

The traditional date range is a year of weather, usually highs, which is what I did with my first project, but you can do whatever you want, and isn’t that amazing? You can do lows, weather patterns, etc. I had the idea of honoring a family member’s birthday by researching the temperature on their birthday every year since they were born. It truly is a free-form, fascinating way to engage with crafting and nature!

Materials, Temperatures Recorded, and Yardage

I chose to stash-bust my backlog of half-used acrylic skeins for a random color palette, but it can be whatever you like. You can use wool, cotton, or alpaca. You can plan an entire color palette that is unique to your design sensibility. I think an ombre in the same color family would be lovely if you can find the yarn swatches to do this. I think that with the right design eye, this usually random-looking project can look exquisitely planned out.

I believe the most important part of the project is getting the data recorded down into a spreadsheet or notebook, whatever fits your crafting style, so that you can see what temperature ranges are the most common and therefore which ranges will be the most common through the piece. I had a really tough time deciding this, and in hindsight, I wish I had tallied how many of each I had before knitting, because for one color, I almost ran out! It would have been so much easier to have swapped the colors I was using according to the yardage I had instead of choosing at random. I think that is why crafting practice and crafting community are so vital to this work, because sometimes you don’t know until you try, and sharing our experiences informs the greater knowledge for us all.

For my temperature data, I am an analog gal, so I recorded my temperature highs in a notebook and checked off each day as I went to keep track of my progress. I highly suggest doing this in some capacity because otherwise, you are going to have to count rows, and checking off progress in a spreadsheet or notebook is just quicker.

If you are a beginner knitter or crocheter, might I also recommend Caron or Big Twist acrylic yarn for this project? The value for yardage and lack of splitting of these yarns make a huge difference for a first crafting experience, so that this project easily transforms from a skein of yarn to a lovely blanket made with your own hands.

Would you make a temperature blanket? Have you ever tried to make one before? Did you enjoy your experience?
It’s Okay to Admit You Don’t Like It

A place I didn’t expect to reach this year, was the mental head space of dislike for a dream I’ve had for most of my life. Now could it be burnout and I just need a break? Probably. But I also think it might a healthy thing to acknowledge something you thought you would love, may not actually bring you joy as you wished.

What am I talking about? Sewing. I don’t like sewing as much as I want to. It is tedious, extremely complicated, and requires a level of patience I lack. I’ve been a sewist for 5 years now. I devoted a large amount of my time over the past five years to the study of garment construction, and I realized that it is not my medium, yarn is, and its not a failure to admit I don’t like sewing as much as knitting and crochet.

I think I have known this for about a year, yet refused to verbalize my feeling because it felt like I failed the one thing I always wanted to do. But why is that a failure?
Just because it’s not my passion, doesn’t mean I am going to stop sewing. I think having this space to put less pressure on it to be “my thing” could make me enjoy it more!

Because then I am free to create, to fail, to be a slow learner, to take breaks from sewing when I am ready to cry. I don’t have to feel pressured to get my skills up to par for selling my work. I don’t have to feel pressure to design my own patterns or build a business on sewing. I can go back to basics of what has always been at my core – art. I am an artist, I don’t set out to be, but I know its there inside me too afraid to commit to the bit.

I love what sewing brings me. It’s a fantastic skill to have. I can design my own clothing made to measure and that is luxurious even if my sewing skills are mid.

I can experiement with my style through upcycling. I love how I can recycle and repurpose fabric instead of donating. That is a important part of comsumption. We buy and buy but don’t think about the life cycle of the garment, but with needle and thread you can leave the buy and declutter cycle.

Sewing has taught me to be a wiser comsumer as well. I buy garments that I can’t sew. Complex garments. I also price compare fabric against pieces in store to figure out what is more cost effective to sew. Such as buying a 6.99/yard, one yard cut of cotton jersey to make one long sleeve basic tee. You can buy these from retailers for 35 USD compared to sewing one for 7 USD.

It’s not always cheaper, but sometimes it is and that is a huge win!

Finally, by allowing myself to feel these feelings, my hope is that I will be free to explore and create unencombered by goals of monetizing my hobby, instead that I enjoy the creative process again.

Have you ever tried sewing? Did you find it challenging?

Halloween Crochet Vest

Every October, I feel more alive. I don’t mean to sound like a cringe, halloween obsessed person. I think, October fills me with life because it is the first wave of chilly air, and gray, rainy skies. Summer’s heat and bright sun, is great, but I feel burnt out from the stimulation by the end of August. It’s a time to reset and rest, in the spooky season and colorful leaves.

For another reason, I’ve realized this year, Halloween feels like a recharging time, because it is a holiday that is just about fun. There is no family meal, no presents, no longing or ache for those who have died. It is a holiday that does have a focus more on death but in this healthier other space.

It gives me room to breathe before Thanksgiving and Christmas, and the anniversary of my Grandma’s passing, to feel free from this heaviness. For a moment, things feel simple and joyful again.

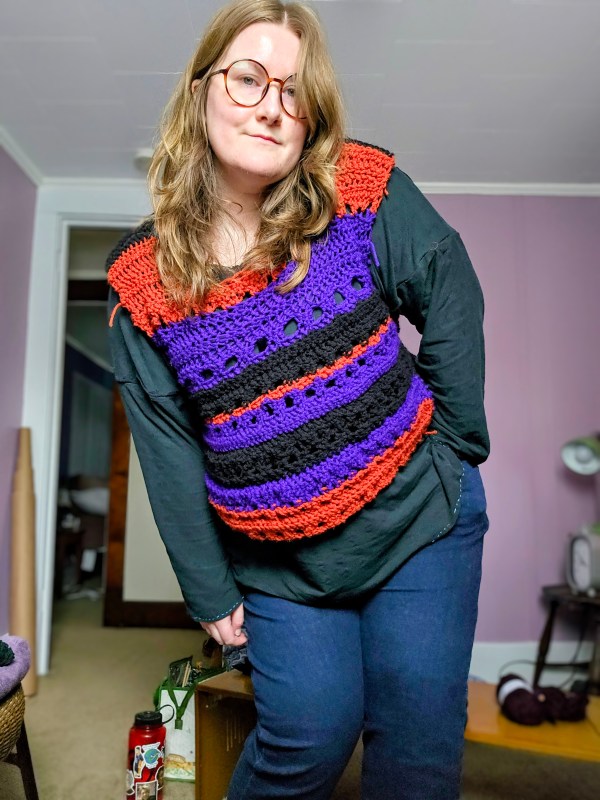
So to honor this time, I made my first Halloween themed garment with a self-drafted pattern using granny stitches, double crochet, and treble crochet to make this pullover vest breathable.

Purple, black, and orange are colors that work with my existing wardrobe so I believe this piece will fit in all year around…aside from the summer, for obvious reasons.

This is just one of many Halloween inspired creations, I am brewing up. I excited to see those come to life soon!

As a fellow neurodivergent person, or a neurotypical, do you look to October as a time to recharge? What’s your favorite “ber” month?

Granny Squares, Maybe Not For Me?

This is an interesting reflection for me, because granny squares, and crochet in general was my crafting white whale. Since their rise in popularity in the 2020s, the granny square technique, with its colorful bursts of color called to me.

They looked so different from the form and function of knitting. I found myself bamboozled by their craftsmanship, yet enamored by their novelty and variety. Which brings me to a shocking revelation – I don’t think I like them after all.

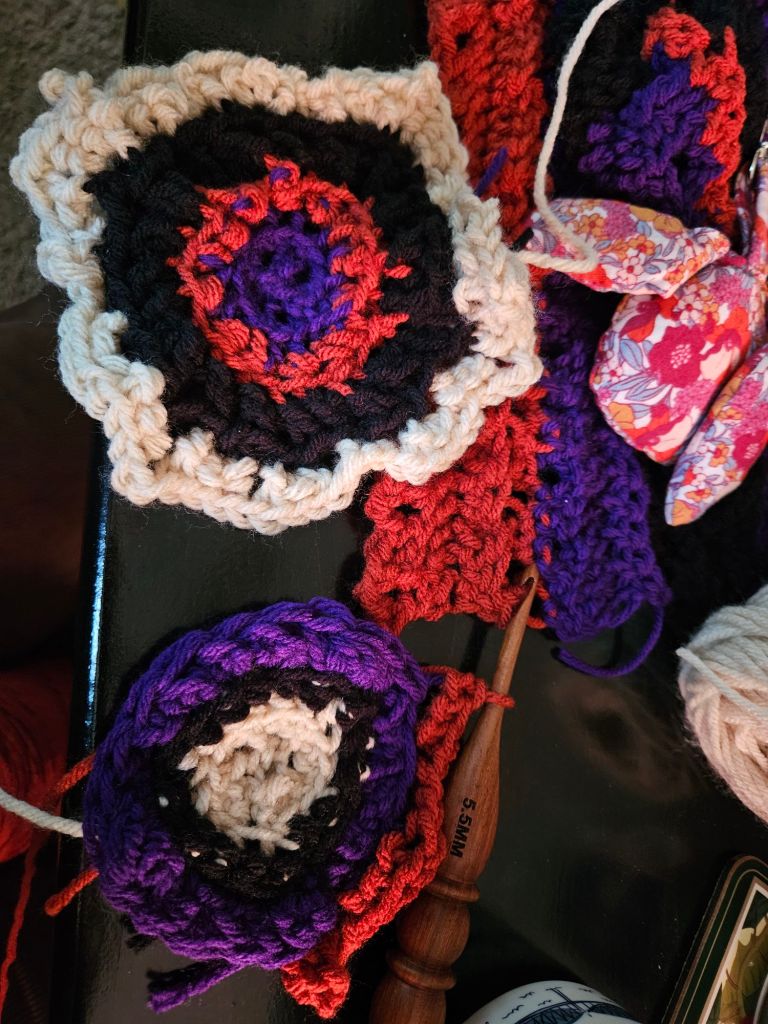
Yeah…I was not expecting this to be my reaction after crocheting four squares with a brand new colorburst square pattern for a halloween sweater I am working on.

The Importance of Design Point of View

So why, as soon as I made dedicated granny squares for a halloween project, did I not like them? I spent hours learning the colorburst granny square pattern. I struggled with the techniques of the cluster stitch, and the treble crochet corners, but didn’t give up. I expected to feel a sense of accomplishment and excitement, but instead I felt unsatisfied.

This surprised me. The squares and the design of the crochet cardigan with the squares added, didn’t feel like me. I didn’t like wearing them. It clashed with my own personal design point of view.

There was nothing wrong with the design, it just wasn’t me, and neither are the granny squares. And so, I think this is part of being an artist and the process. Learning the new skill is not a waste of time, even though it felt like I was wasting my week working on this design. If I want to be a designer and find my thing, I have to try things that won’t always feel like me, and adjust accordingly.

It’s all apart of the journey.

Forest Creature Hat

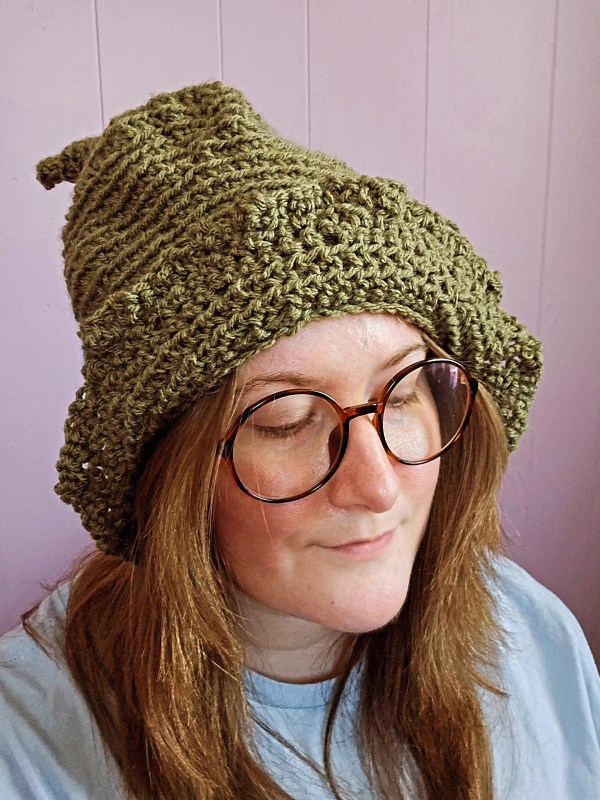
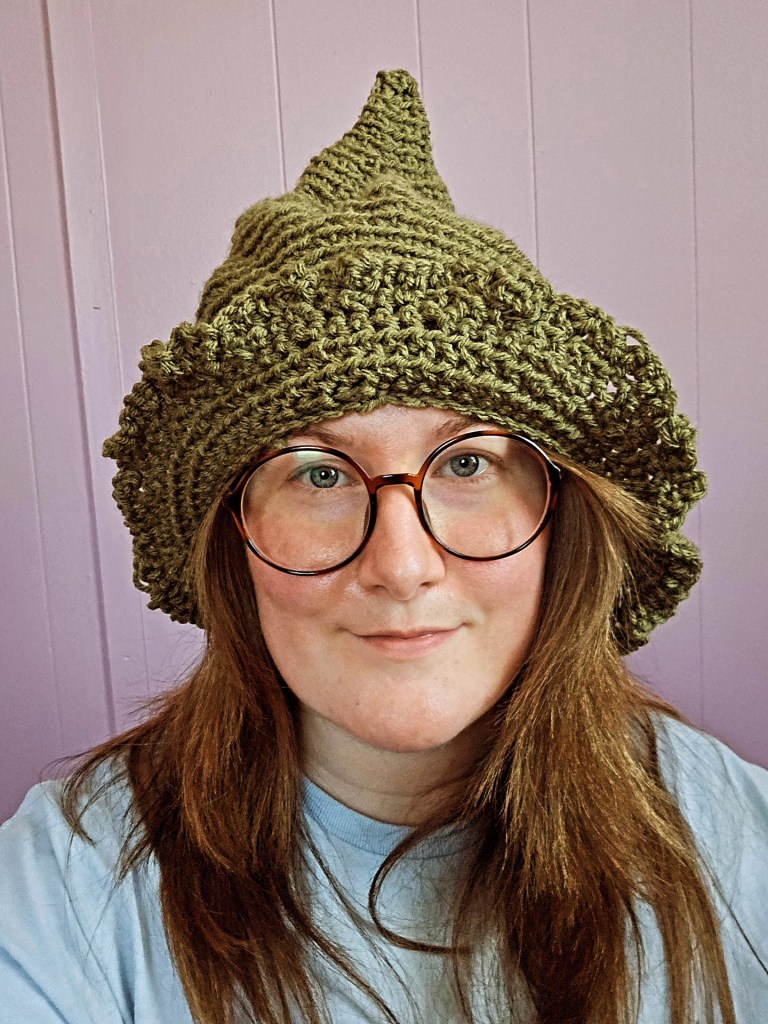
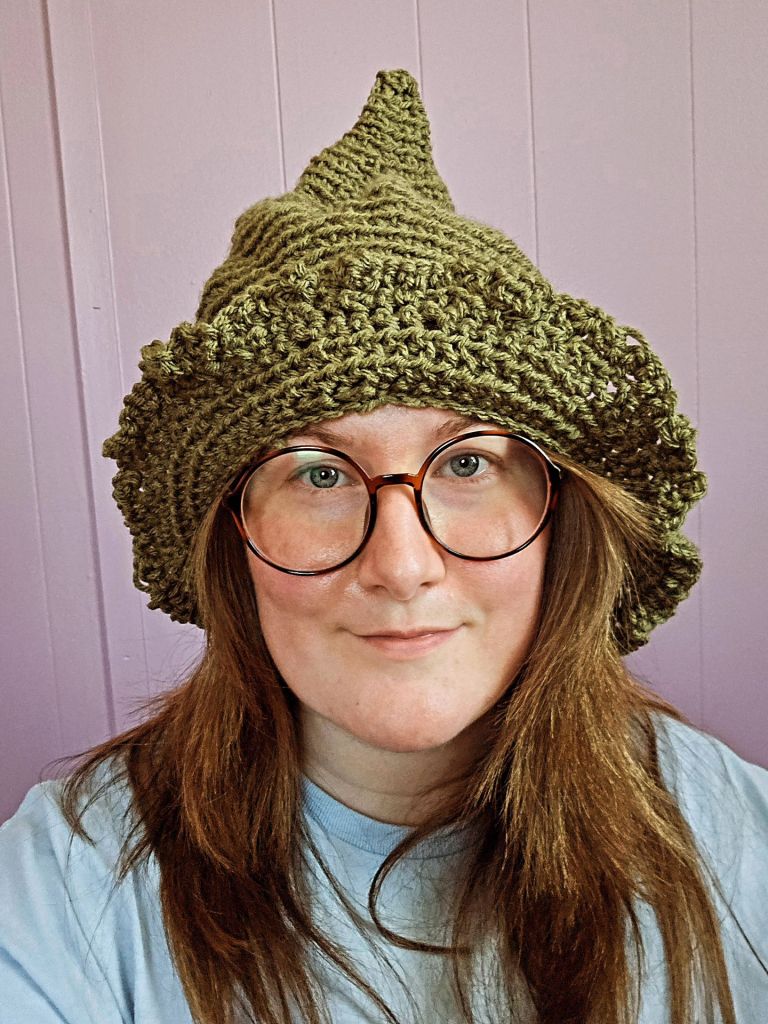
Have you ever wanted to look like you emerged from a cozy video game? Maybe you’d like to wear a hat that reminds you of spooky season? Behold my new crochet adventure, not my first hat, but the second stitched together for this autumnal season.

This hat is inspired by the pointed witch hats, either sewn or made from yarn, that make an appearance in October, either in patterns that I see advertised or inspiration sources online. I didn’t want to make anything too witchy. I am not aiming to be a witch; I am looking for something fantastical. My hat is more of an allusion to the pointed, wide-brimmed headwear, while also aiming to be something a bit historical, rural, maybe hobbity in form.

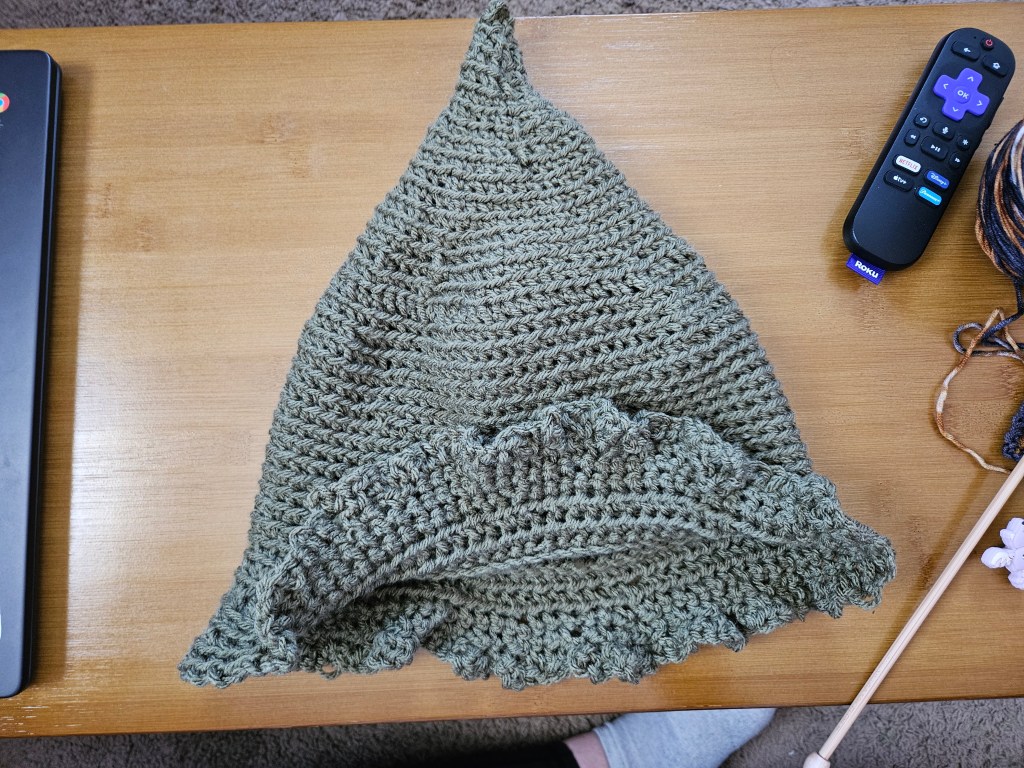
The inspiration image I used for this project is a hat from Animal Crossing: New Horizons – the frugal hat. It is a subtle nod to a scarecrow, while it could belong in the wizarding world. I chose to crochet this project for the ability to sculpt the hat in a way that is freeform. I love how crochet lets you create without managing all the stitches on a needle; instead, I was able to switch from the hat portion to the bill with ease. I crocheted onto the side of the hat and used varying stitches of single crochet, double crochet, and granny stitch to add the frilly volume to the bottom.

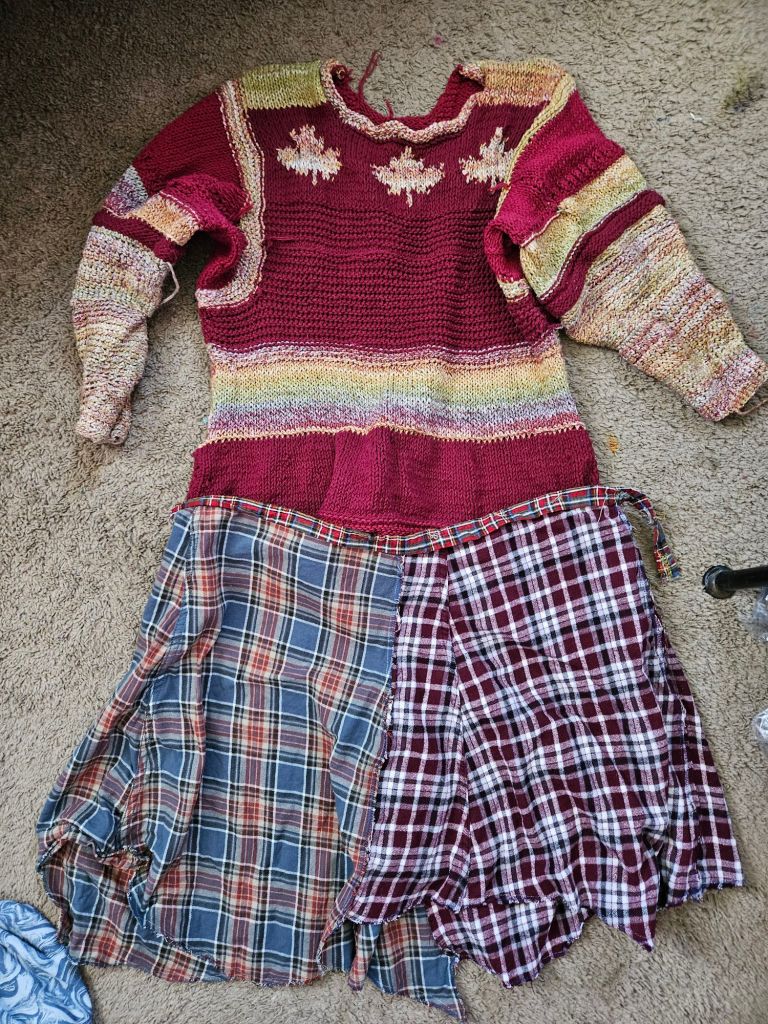
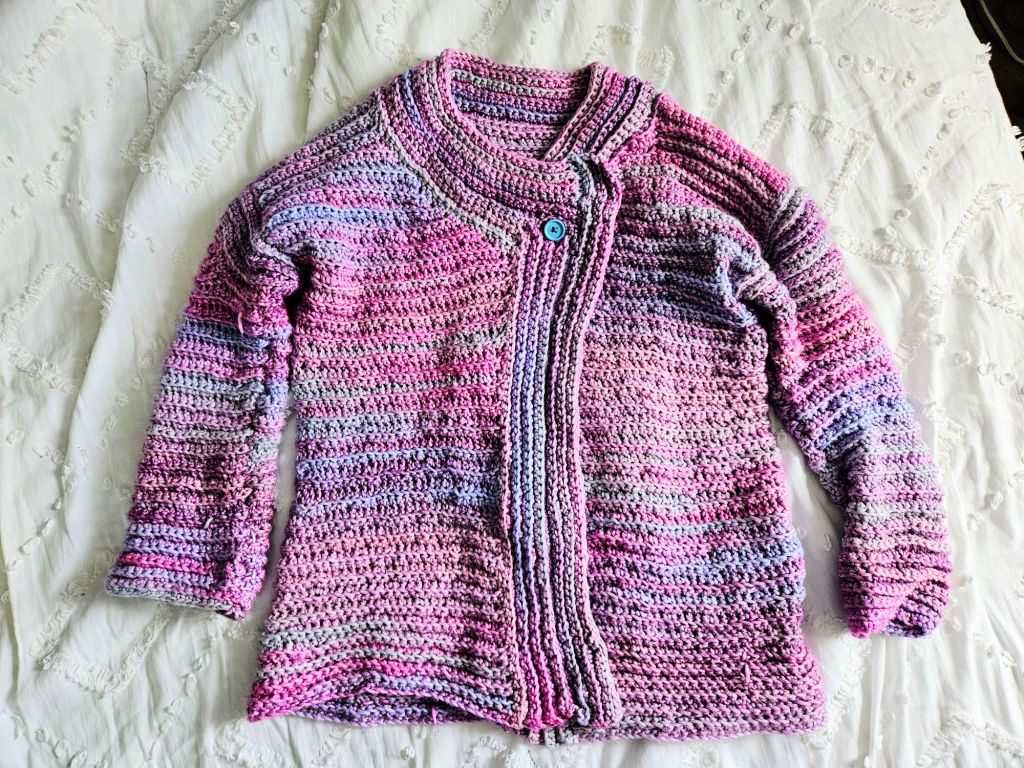
Another reason I chose to crochet, over knitting this hat, was to provide the hat with more structure than knit stitches. Crochet stitches have more body to them. This was a scrap project, using leftover yarn from my first sweater dress, now a cardigan, made in 2023. Which was also scrap yarn, from a previous scrap yarn project – my cat ear beanie from 2024. As time passes, and I make more things, I love seeing how projects are connected through materials over time, because scrap yarn is kind of magical. It’s always worth it, in my opinion, to hold on to the extras for these random projects that call for just a little bit of yarn.

Finally, this hat project was inspired by one other seasonal topic, the state of my country. It just never stops right now….ahhhh!!!

Am I living in the 1950s? No, but dang was this what McCarthyism was like? I’m sick of the FBI telling Black Americans not to mourn Assata Shakur. Charlie Kirk is being touted as a martyr by MAGA and the primarily white church, tainting the message of the gospel with that Nationalist sham of a funeral, complete with Hitler-esque photos by the orange man. It’s getting ICY in a lot of places nationwide. So, I made a witch hat, because the Salem Witch Trials of 1692 and 1693 were not about witchcraft.

Instead, they were about religious extremism, sumptuary laws, xenophobia, and social tension. It was profitable to report your neighbor as a witch. You could gain financial and political power by reporting people who did nothing wrong. So I made a witch hat, because I am done with the injustices being played off as not that serious, and I am tired of our own political witch hunts. I feel helpless and angry all the time because of the Idiocracy. So I made a hat to try to do something creative with my feelings.

This forest creature hat, named by my sibling, was designed by me and created using worsted-weight acrylic yarn with a 5.5 mm crochet hook.

Bring the Fall

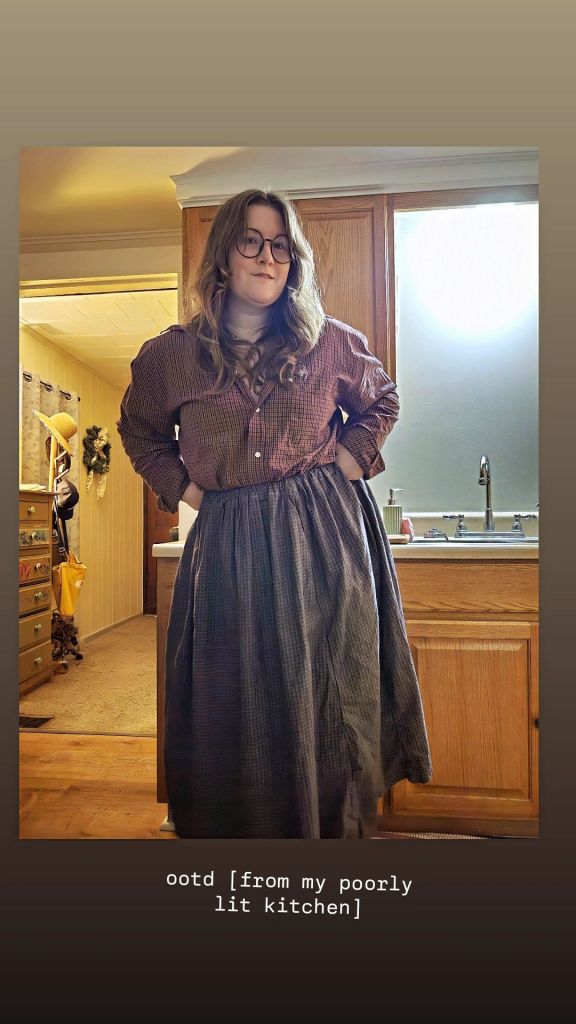
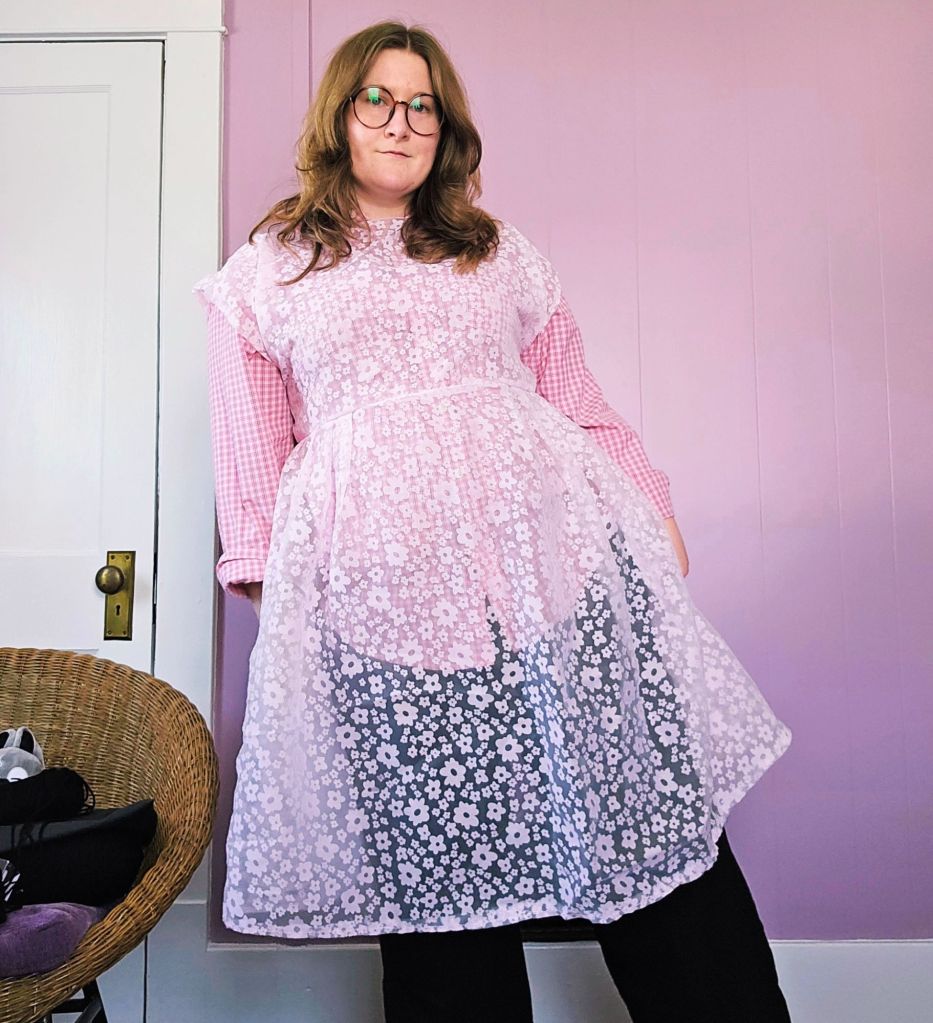
I have been a bit lax with my writing lately, but I’m feeling inspired. The chill returns to the sunny blue sky, orange steeps upon the leaves, and the need to stay warm welcomes me back with open arms. I love fall. I love sweaters, flannel, corduroy, and denim. Getting dressed when the weather is crisp.

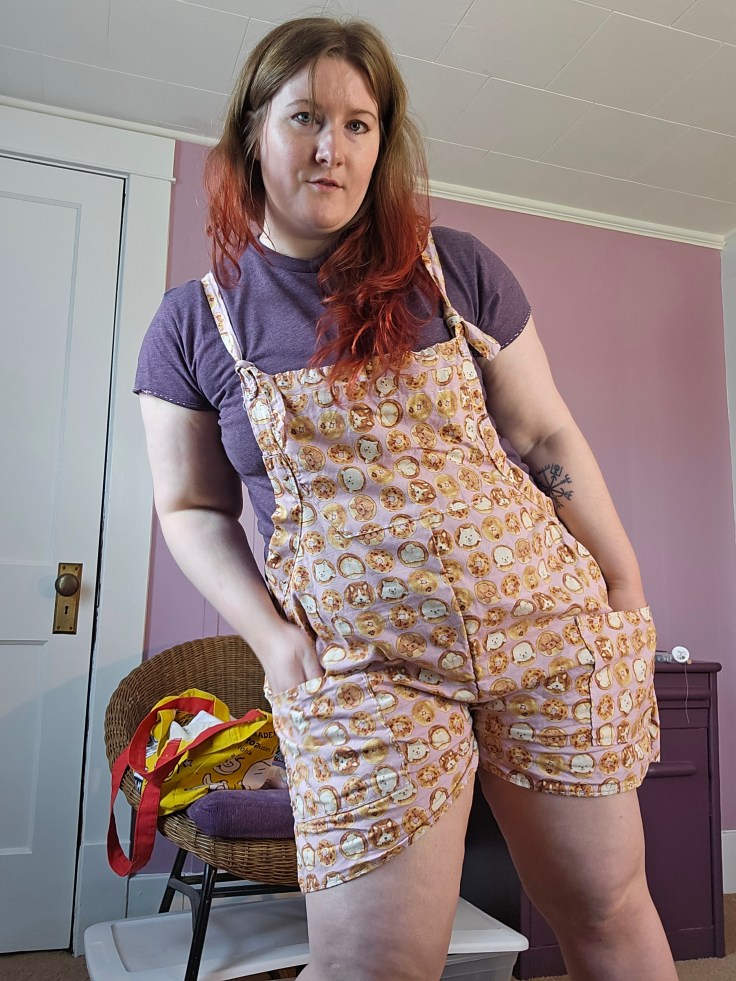
These are my favorite outfits, I’ve worn recently, using pieces I have sewn, thrifted, or upcycled. The only piece I bought new is the overalls, because I failed to make my own.

I’ve been getting into whimsy-goth style, like Practical Magic. I’ve been layering with sheer, with knit, and with textures. I’ve been drawn to brighter colors for the darker months. I’m trying to find the joy, before the year ends, and find a better way to end this challenging 2025.

So now that I have sat with my thoughts for months, finding my way out of the woods with my crafts, I am going to get chatty again!

I think what is bringing me the most excitement right now is kpop. Karma has been a wonderland. Chaeyoung of Twice’s solo release was Black Keys perfection. Nmixx new Blue Valentine era is thrilling, Red Velvet-esque, and the most exciting sryling I have seen from a girl group other than Twice in 2025. Taeyong is coming back from the military in December and I am beyond ready for punchy NCT to be back. It’s been 18 months of change and sadness since he left, we need the NEO king back. I’m also impatiently waiting for fellow NCT’s Yuta to release his full album at the end of October.

In other things, Mia is doing well and we are so bonded. It’s everything I hoped for! I’m excited for Saskie & Co’s second book to be released – Saskie Knits. I’d like to get my hands on both of her books. The Great British Bakeoff is back, and that has made for a lovely few weeks. I’m learning new crochet stitches, such as the waffle stitch and granny stitch. I can identify single crochet, half-double crochet, double crochet, and treble crochet stitches. I have also mastered using my yarn swift and ball winder!

I am faltering on my language learning, with a steep decline in practice sessions since June. But I have begun to hear the difference between Korean and Japanese. Even being able to identify a YouTube AI mishap where a kpop song had English subtitles with kanji appearing instead of hangul. By reading the Japanese, I concluded they did not match. I can also tell the difference in speech patterns between Korean and Japanese, identifying key grammar structures. So, I guess, if nothing else happens this year with my language learning, it is marinating up there and I am retaining it.

There have been some really trying personal things going on behind the scenes, that although I probably share too much on here, I can’t discuss. But I can say I have never felt more like I have been drowning than this year. As we head into fall though, I think the source of the stress is healing and I am grateful to be moving towards peace.

My last bit of good news is that I got a rebounder! Also known as a miniature trampoline for cardio. It is a blast. I can’t wait to get healthier and hold less tension in my body.

What exciting things are on your horizon?

I Am My Own Crafting Worst Enemy

This is an unplanned part three of my “Drafting Shortalls From Scratch” because I did not succeed in making my overalls for winter. Although I have made shortalls twice this summer, a few silly, but very human mistakes, led to the project going awry. This is what I think went wrong:

  • Flew too close to the sun when tailoring
  • Planning < No Plan
  • Lack of Focus
  • Measure Once, Cuss Twice
  • I kinda hate sewing when it feels this hard
  • Putting too much pressure on myself
  • Not Buying Enough Fabric
  • Not Mocking Up
  • Not using my Patterns when I’m stuck
  • Research the Basics

It’s so easy to think we’ve got this and be too confident when going into a project. With knitting, this approach of fearlessness had led to some great projects, but with sewing, this artistic type of approach crashes and burns. Sewing is fabrication, as weird as that sounds. I think I was prepared to sew such complex tailoring projects, such as my shortalls, this summer, because I spent the spring building a screened-in porch with Kyle. Woodworking is very similar to sewing, I learned! It is about measuring, planning, creating things in a specific order, and constructing something that is built to last. When we started working on the porch, I never imagined how much it would teach me about garment construction. But it gave me a template to focus on. Who knew that woodworking would be such an inspirational experience for me?

So why am I sharing this? I am really struggling to accept that sewing is not coming easily to me; no matter how much I practice, it continues to challenge me. I’d like to invite you to join me in not giving up on those things in our lives that are hard.

Part Two: Sewing Overalls Step by Step

I’ve been looking at how to make a custom overalls pattern, based on drafting techniques, which I began with this post: Drafting Shortalls from Scratch. But how to construct them? Well, that’s what I plan to explore today! To do this, yesterday, I cut out another pair of overalls, this time for the fall-winter-spring season, to retrace my steps.

Step One

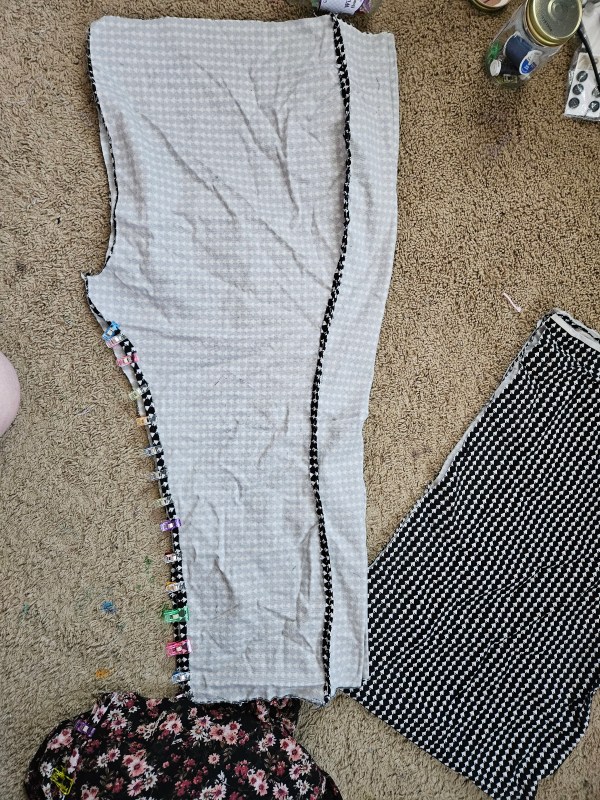
With your pieces cut out according to your measurements, you should have four leg pieces – two front and two back. The next two bib pieces should be cut out, with the back piece cut a bit differently to accommodate the straps. This is to anchor the straps at the middle of your shoulders to keep the overalls securely on your frame.

Step Two

I like to begin with the pants or shorts portion of an overall project, because they are foundational to the silhouette. I like to pin the leg pieces together to try on before sewing. Remember to leave several inches of the outer thigh seams pinned for the flies and buttons.

Once you know that the pieces will fit, with seam allowance accounted for, I begin sewing the leg pieces together, leaving out the crotch seam and the top part of the inseam, to attach the two pieces as one pair of pants. After these have been sewn together and I have tried them on, I will move on to the bib.

Step Three

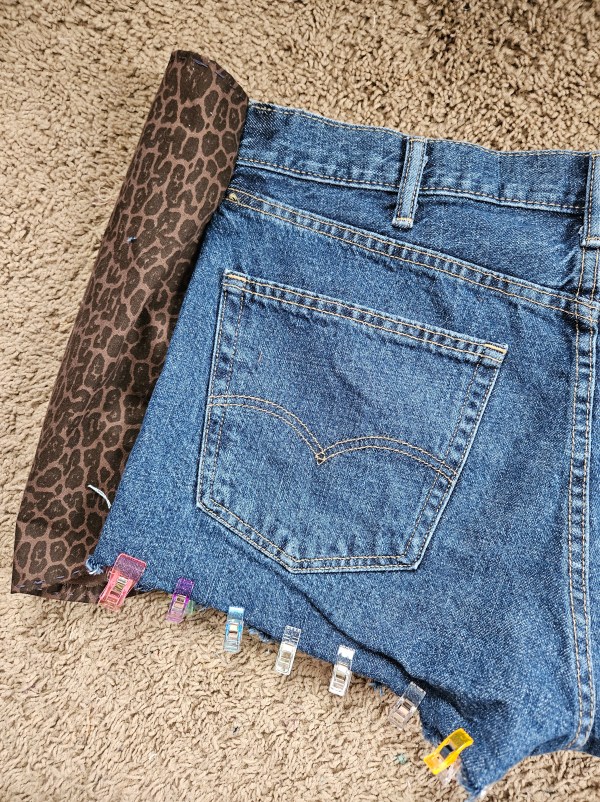
For less bulk, I like to cut the seams of the crotch portion and leg seams that will join together, with pinking shears, to make my hems less thick. This lets the sewing machine, or your hand sewing needle, pass through the seam with ease, and is more comfortable to wear.

How do you join pants? Well, you leave the top of the inseam open so that those two inseams will line up together, making the two legs join at the top where the pelvis is. Remember this is a bifurcated garment, so you want your final shape to be two tubes, joined to make one tube at the top. I’ve messed this up several times; it’s okay even if you sew it wrong the first thousand times. That is what mockups and seam rippers are for!

Step Four

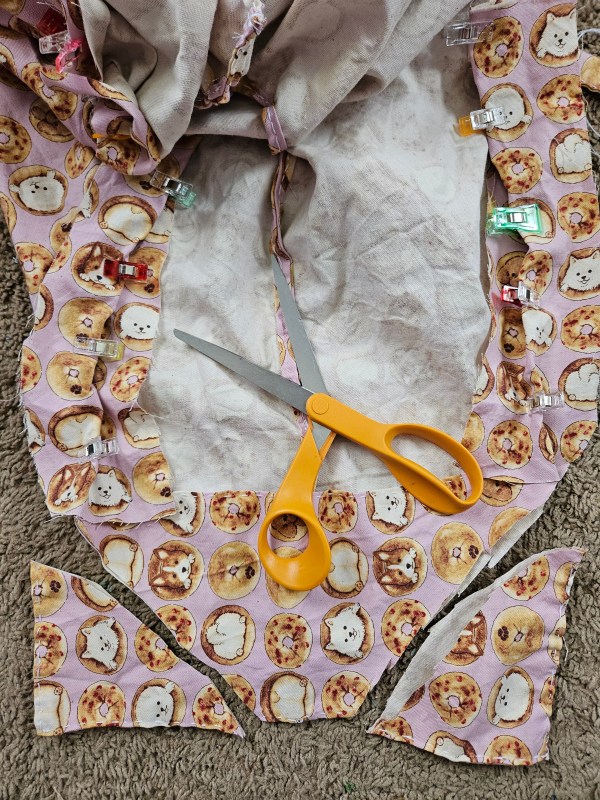
For the bib of these overalls pictured above, they were cut into short pieces, so I just had to join these pieces together. I added a facing to the inside of the bibs, which is just a piece of the fabric’s right side facing inside, so that the bibs are finished cleaner around the neckline.

I inserted the straps between the facing and the bib for a clean and secure stitch. The straps were finished with a loop on either side of the front bib to tie around, instead of the metal fastenings. I was inspired by Lucy and Yak Dungarees.

Step Five

The final touches are the bias tape, the side buttons, and the five pockets. I find the bias tape the most mundane thing; therefore, I choose to do that next, which is a 1-2″ ribbon of the fabric used to finish the raw edges still exposed on the sides.

Step Six

Next, I created the flies on either side by folding over the fabric to make the button placket and button hole placket. This was planned out when I cut out the overalls. After making the button holes and finishing them with either the machine or by hand, I mark out on the other side where the holes overlap to mark for buttons.

Step Seven

Finally, I sew the pockets. I chose a large, half-rounded bib pocket on the front, two smaller rectangle pockets on the backside, and medium side pockets sewn across the hip. Next? Enjoy your creation and feel a sense of accomplishment. You did something hard, and probably felt lost at times, but you persevered to learn a new skill. It’s not cringeworthy to try. So go for it! ❤

I Found A Local Yarn Store!

If you have been following my blog this year, you will know that I was feeling a bit frustrated, that I didn’t have a local yarn store to turn to after Joann closed – but that’s no longer the case! I found a local shop thanks to the Yarn Discovery Tour of North Eastern Ohio. How wonderful is that!

As a Western Pennsylvania resident, it was a little bit of a drive, but not too far to visit the lovely Three Sheep Gallery and Workshop of Boardman, Ohio. This yarn shop had so much for me and my mom to check out – spinning wheels, weaving looms, yarn brands galore, project kits, needles, hooks, etc. I picked up a sock kit with a superwash merino and nylon blend fingering weight yarn that is self-striping. I was excited to try this sock kit because it came with a free pattern from Urth Yarns. This sock pattern has been full of surprises, some good and some challenging. It is a toe-up sock pattern, based on traditional Turkish sock design.

I’ve never made a toe-up sock before, I’m excited to learn new techniques, but here is where I am struggling. I bought double-pointed needles, on recommendation for sock knitting, and they are wonderful needles, but dang, the combo of a new sock technique and new tools has been frustrating. I’m getting laddering on the sock every time I start over, and I feel a bit on the edge of tears because these needles were expensive – 21 USD! On top of the sock kit for 29 USD for 100 grams of yarn and a PDF pattern. I feel a lot of pressure, from my own mind, because I was not paying attention to the price and feel like I made a mistake, but I need to remember that new skills take time. With patience and practice, the skill will come in time.

The second project I purchased was a scarf kit with two yarn hanks of worsted weight wool and a pattern from Urth Yarns, that my mom also purchased so we will have matching scarves! I’m so excited. The biggest blessing of this day was the opportunity to share what I love with my mom, my Scott, and my Kyle. I am truly grateful for all that these guys did to make this a great day of bonding for my mom and I, and for the four of us. It’s been a heavy few weeks after losing our beloved Sully, and getting a day to explore a new yarn store, learn about weaving, and getting to meet the lovely owner of Three Sheep was a bright spot after days of gray.

Drafting Shortalls from Scratch

Did you know, that through simple measurements,  reference photos, and a few tools, you can draft your own clothes? Not just a t-shirt or a circle skirt, but big projects!

That’s how I have made some of my most ambitious projects, no patterns required!

What is Pattern Drafting?

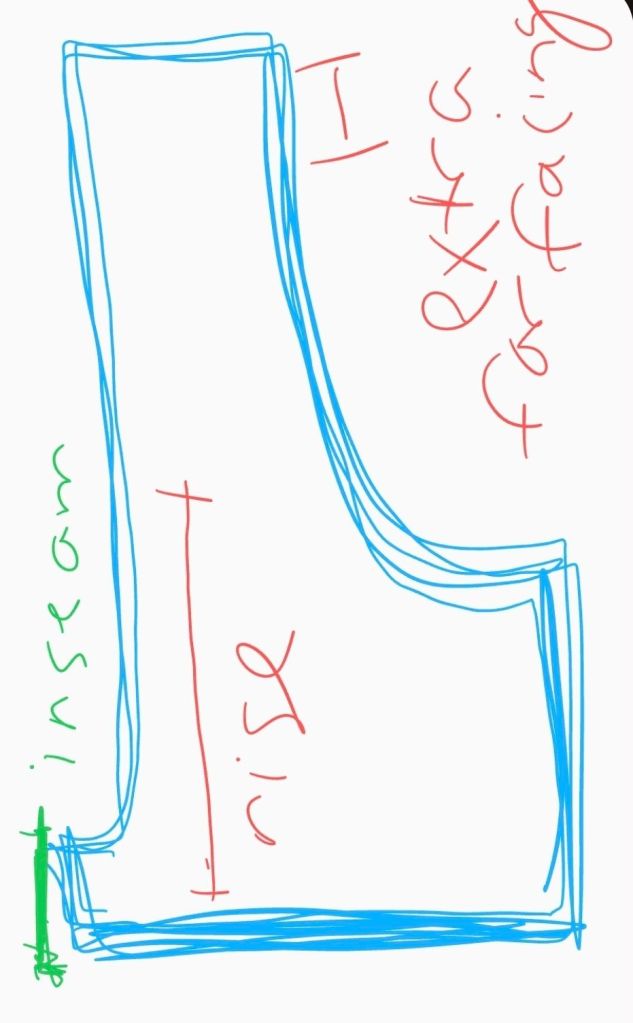
A pattern can be easily made with a tape measure, pencil, and the key places to measure. For my overalls, I was most concerned with the width of the bib, the length of the rise from the top of the bib to the crotch curve, the width of the hip from the center of your body to the end of your hip. You can also measure the circumference of your hips but I think having separate measurments for the front of the pants compared to the back of the pants. The back is usually wider.

For the overalls, I worked in four pieces. Front left, front right, back right, and back left. To do this I marked out the front left and front right on the fabric, accounting for the crotch seam which is part of the leg. I added a 2-3 inches to the width of the hip measurement of each of the four pieces to make the curve with my french curve.

When planning pants, keep in mind that you don’t need as much inseam as you think to make shorts. What you will need is a long rise because you can always cut more, so be cautious and double check the measurments of your rise.

Now for the bib, the top portion of the overalls, I plotted the width of the bib above the pants portion and with pencil I carefully drew a tapered curve upward. I cut this extra long to have excess fabric to fold over to make the facing. This fabric is like a lining for the top of the bib, the part you are most likely to see.

Always use pencil or a tailors chalk and take your time. Using a mock up fabric is a great idea to get the cut right. After repeating this for both front pieces, remember to adjust the width of the hip for the seat of your pants, all while remembering to account for the french curve line of the inseam.

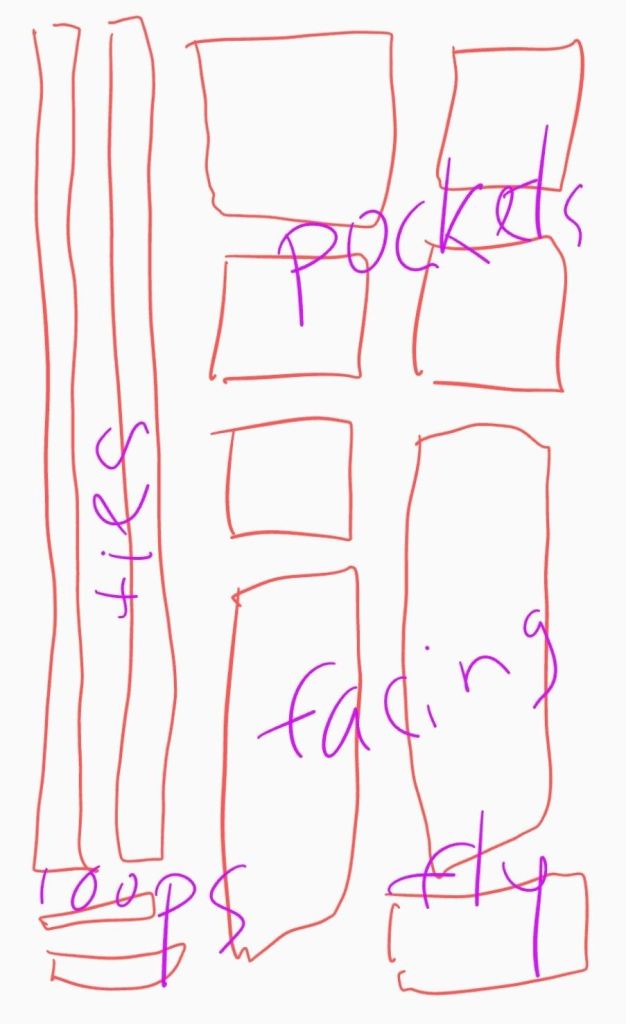
After cutting all for pieces you will need to set aside fabric for pockets, I added 5 to mine. A bib pocket, two side-front pockets, and two back pockets. You will need fabric for the straps, measure accordingly based on the height of the bib, over your shoulder and to the back bib, remembering to add more length to tie.

Next is scrap scavenging! You will need small pieces for the loops to tie the straps around on the front bib. This will call for two loops. You will also need bias tape sized pieces to finish the edges of the overalls on the bib. Finally, save some fabric for the button flies on either side of the overall legs to help you get in and out of the garment.

It’s a lot of information to sift through but I hope this small tutorial will help you sew overalls if you wish with free instructions. I will be following up with a second post that explains the order of operation, to make sense of all these pieces, to help these fabric pieces transform into a wearable garment you can enjoy!

Create a website or blog at WordPress.com

Up ↑