

Last August, Magz’s family dog, Sully, passed away. He was 15 years old, and they had him for over 14 years. He was a Yorkie Bichon and was the first small dog I got to spend a lot of time around. Before I got to know him, I wasn’t a fan of small dogs, but Sully changed my perception. He was quirky, cool, playful, energetic, and fun. He had high emotional intelligence and could sense when someone wasn’t feeling well, emotionally or physically, and knew how to make you feel better. As someone who grew up with medium and large dogs, it took me a while to get used to picking him up and holding him close, but I learned to love it. I think Sully played a big role in us adopting Mia because he helped me become comfortable with a small pet.
About a month or so after he passed away, I approached Magz’s parents, after talking to her, about making a shadow box to remember Sully by displaying his favorite things. They were good with it, so Magz’s mom and I set about coming up with a design.
Designing the Shadow Box
There are a lot of variations when it comes to shadow boxes. Some have glass doors on them, some have a rigid glass front and can only be accessed from the back, and others are open without any glass. I had a large piece of glass that was sent to me by mistake when I was ordering glass for picture frame projects a few years ago. I knew it would be perfect for this project, so everything was designed around that.
Magz’s mom wanted a door on the front, like a medicine cabinet, which I quickly agreed to and said I could build it. Spoiler alert: this ended up being a lot harder than I anticipated, but more on that later. We went with a simple rectangle shape with a shelf near the bottom. This would create a cubby to display his favorite toys. On the shelf will go his collar and other small items. Finally, there is a place at the top where one of his sweaters or pajamas can be hung and rotated out.
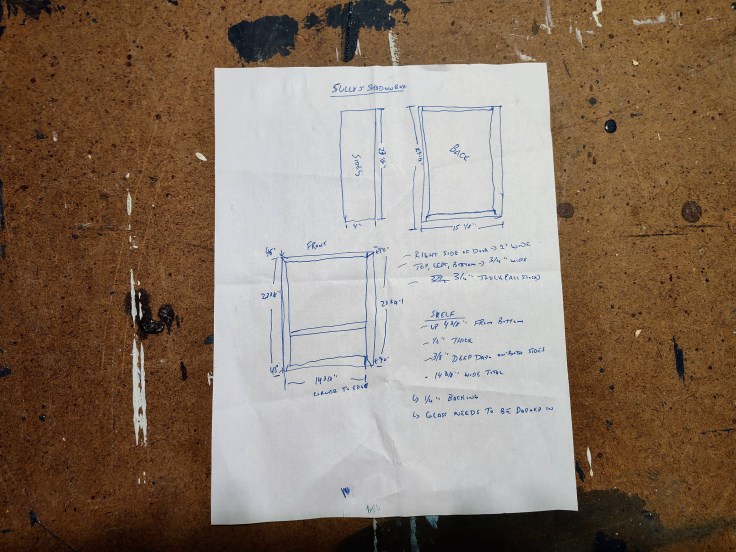
Designing a cabinet around the glass size was a real test. Because I’m unable to resize the glass, everything is based on its dimensions. The first step was designing the doorframe. There were three dimensions to figure out:
- How big the display “window” will be. This determines how much of the glass you can see through into the box. For this piece, I wanted these dimensions to match the interior dimensions of the box so that the inside of the doorframe would be flush with the inside of the box. This would give a seamless appearance.
- How deep the glass would sit inside the doorframe. When installing glass in a cabinet door, it’s common to cut a groove into the frame for the glass to sit. This groove is called a dado, and its depth has to be factored into how much glass you see.
- How wide you want the doorframe pieces to be. For this door, I wanted the top, bottom, and left pieces to have the same width, while the right piece was going to be a bit wider to accommodate a chamfer I was cutting for the reveal where you place your hand to open the door.
Those dimensions provided the dimensions for the box itself. Knowing how big the box was going to be and where the shelf would sit in the box, I was able to start cutting and assembling.
Building the Shadow Box
I went with Poplar for this project. Poplar is a really interesting species of lumber because it’s technically a hardwood but is lighter than oak or maple and even softer than pine, a softwood. However, it’s much easier to work with than pine. It didn’t chip when cutting, and it takes paint incredibly well. I learned through this project that it even takes stain well as long as it’s a high-quality piece. I had never worked with Poplar before this, but I had bought a few 8-foot boards the last time I ordered lumber and have been looking for a project to use it on. For something that is going to hang on a wall, like this shadow box, Poplar was perfect.
The lumber I had was a true 1×6, so one inch thick and six inches wide. I cut all the pieces to length and width and ran them through the planer until they were 3/4-inch thick. I used my router and dovetail jig to cut dovetails for the corner joints and set up my dado stack on my table saw and cut grooves on the side pieces to hold the shelf. I glued the joints and shelf in place and used a small brad nail where needed until the glue set up.
Afterward, I moved on to the doorframe, which was much more difficult. I cut three of the sides to 3/4-inch wide and the fourth side to 1 1/4 inches. I ran all four pieces through the table saw to cut the groove where the glass would sit, and then the trouble began.
Glass + Nail Gun + Sander = Disaster?
It took me little time to put the shadow box together. I believe I finished it last October or November. After cutting all the pieces for the door, I even glued three of the sides together after making sure the glass fit. Everything was a simple butt joint with a brad nail to hold it in place. It was easy-peasy. The fourth side caused problems. I struggled mightily over the order of operations for this.
Should I sand, stain, and finish everything before assembly to avoid getting stain on the glass? But if I do that, gluing a piece of wood with polyurethane on it can be troublesome. I realized that the best option would be to assemble before staining and just tape off the glass. How do I glue the pieces together while the glass is in place when I can’t use a nail until the glue sets? This last question caused me to delay finishing the project for, no joke, nine months. I was concerned that I would either break the glass, ruining the entire project, or that the joint wouldn’t hold.
Eventually, I worked up the courage to place the portion I already had glued (left side, bottom, and right side) into a vise with a towel around it. I slid the glass into the groove, glued the fourth piece, and clamped the heck out of it. I let it go overnight, and by the next day, the glue held. Voila, I could move on to the next step!
Hinges, Magnet, Clasps, and Final Touches
From the beginning, the intention was to use a piano/continuous hinge and magnets for the closure. A piano hinge can run nearly the entire length of the piece and can hold a lot of weight. This type of hinge is also less likely to twist when installing. Magz’s mom asked about magnets for the closure because they’re hidden.
The hinge installment was pretty seamless, with the only hiccup being that the screws were too long for the door side of the hinge. I was concerned about them contacting the glass, so I snipped them off. I drilled and attached the hinge before staining. I had never used magnets in a woodworking project before, so that was a learning opportunity. I thought I bought ones that were strong enough for this use, but that proved to not be the case.
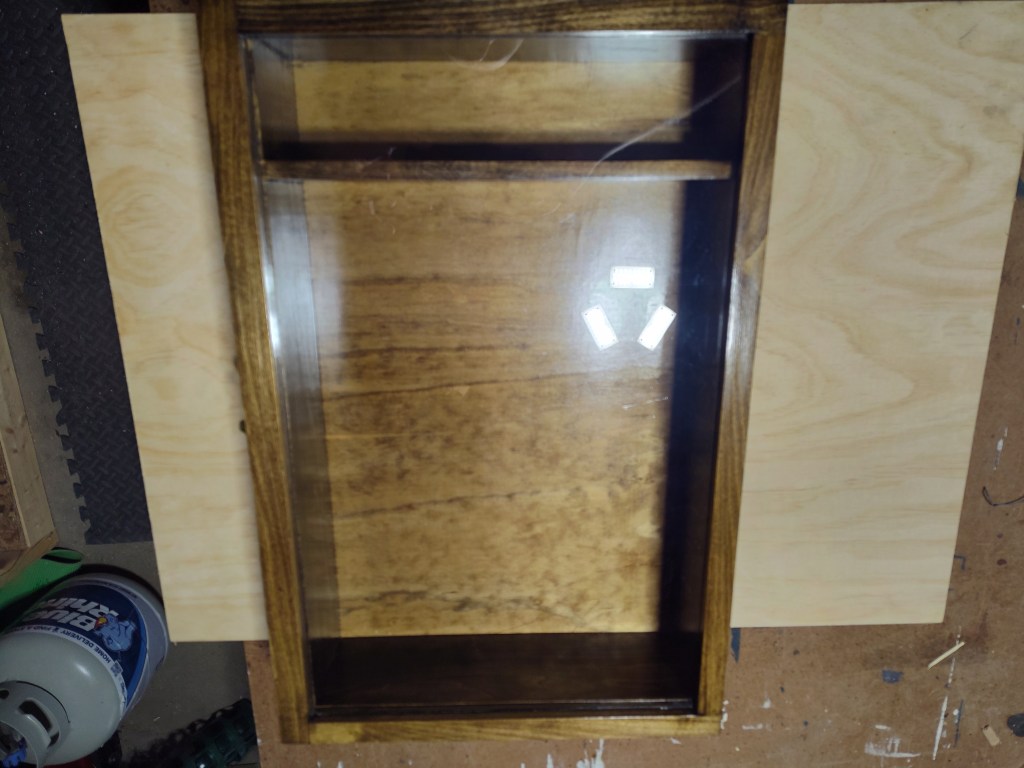
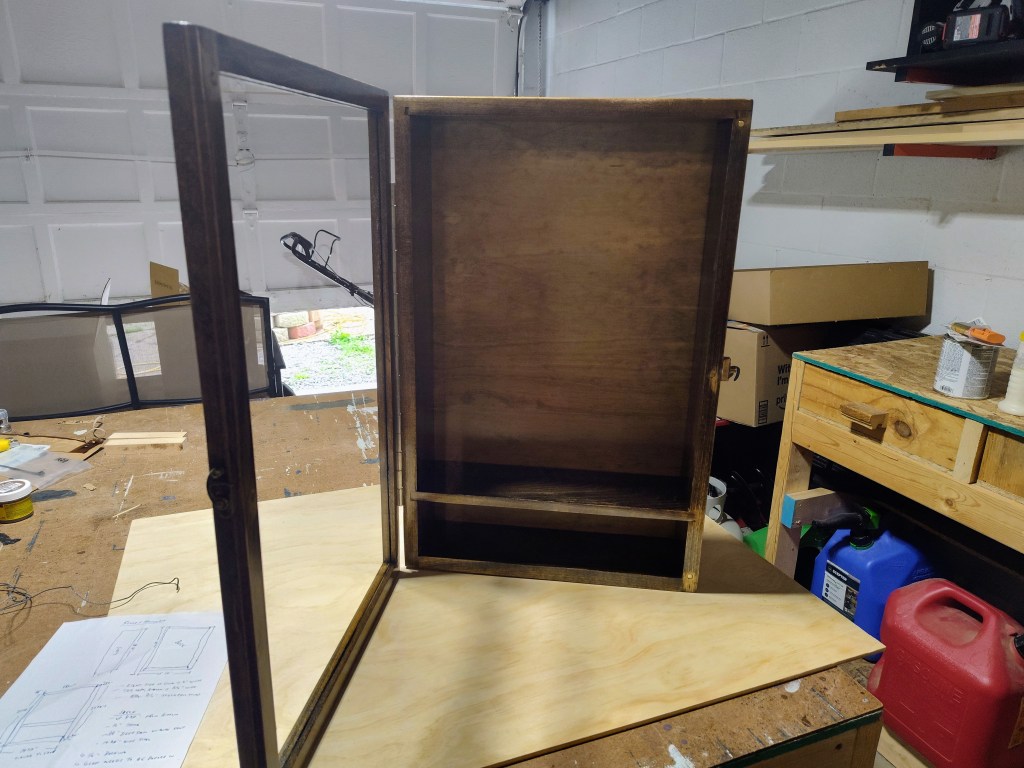
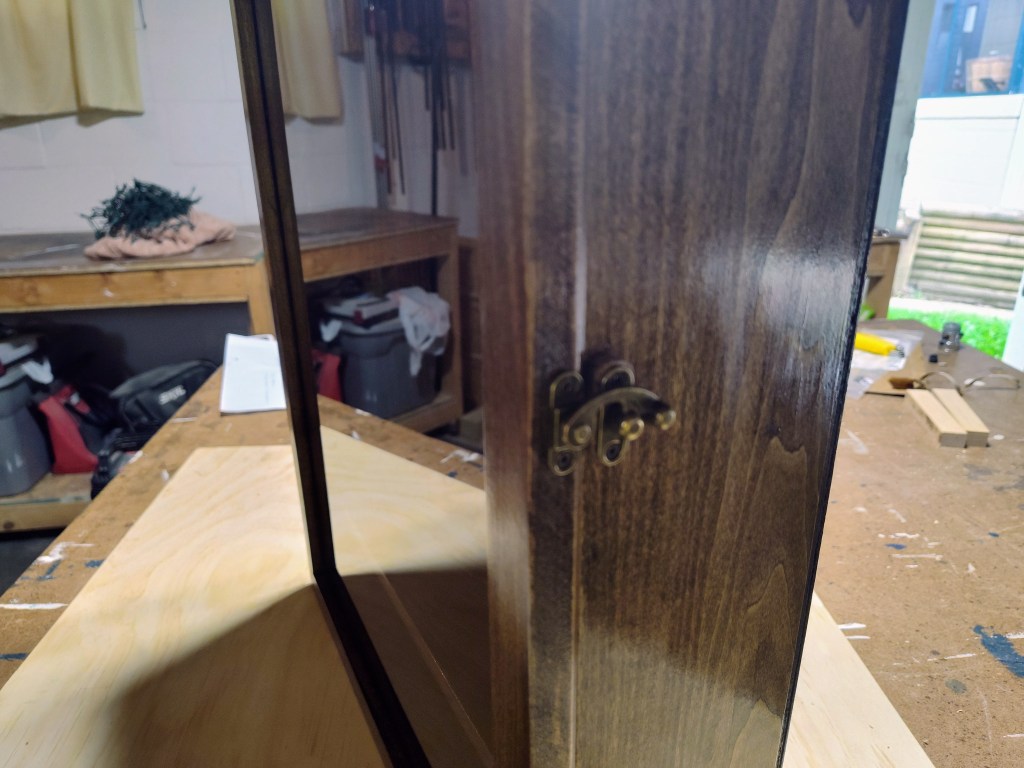
I drilled holes for the magnets with a forstner bit and attached them with epoxy. That was also the first time I’ve used epoxy, and I was shocked by how bad the smell was. With one in place on the door side, I made a mark on it to see where the hole should be drilled on the box side. I attached that one too only to learn that the magnet wasn’t strong enough. I ultimately used four more magnets and still didn’t feel that it was strong enough to hold the door shut. So I ended up ordering a swing arm clasp that looks vintage and does a great job of holding the door closed. It also matches the stain and finish of the shadowbox.
I didn’t talk about this above, but I used a piece of quarter-inch pine plywood for the back. For the stain, I went with dark walnut from Minwax. I also used dark walnut wood filler, which was nearly a perfect match. I finished everything with three coats of oil-based polyurethane. I removed the hinge and taped off the glass before staining everything. The color is rich and vibrant and brings out the grain of the Poplar. The finish only strengthened this. With it done, I pulled the tape off, scraped any sprinkles off the glass, cleaned the glass, and it was done.
I eventually added a couple of attachment points in case the box is hung with screws. I also added two eye hooks for picture-hanging wire in case that gets used.
Final Thoughts
Ultimately, I loved working on this project. It challenged me in ways I’ve never experienced, and I learned new skills, which is always fun. I’m really proud of the finished product and think my in-laws will be too. I set out to build something that would honor and memorialize Sully, and I think I did that. He was an incredibly vital member of the family, and their house doesn’t feel the same without him there. I still don’t know if I’m a small dog person. But I know that I was a fan of Sully, and I miss him. It was an honor to design and build something for him.
If you’re interested in building a shadowbox and are unsure how to go about it, I’d love to help.


Leave a comment