
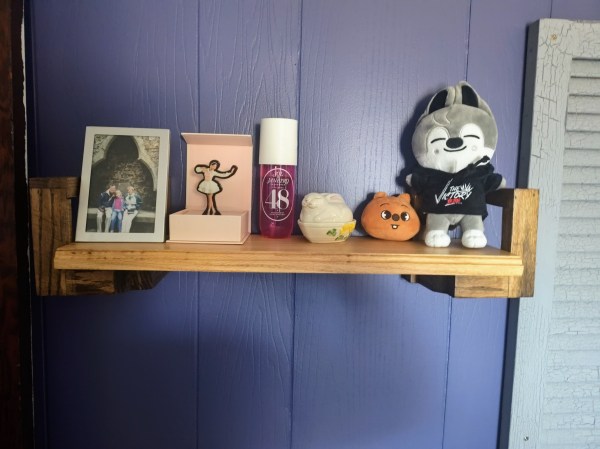
We love our house, but something it is desperately lacking in is storage and shelving. I brought this up to my dad on the phone not long ago, and it turns out, that’s the case with all houses. All joking aside, though, we have needed more shelving and storage since moving in, and I’m finally getting around to addressing it. In some cases, like our closet, the plan is to buy melamine boards and brackets since they’re durable and won’t be seen by anyone. But when we want to display something that guests will see, I wanted to make something unique and aesthetically pleasing.
I started by looking at Pinterest, Google images, and Reddit for inspiration and saving images to my Milanote. One that caught my eye was something I adapted and am calling the dimensional shelf. The shelf intrigued me because each shelf support is constructed of 90-degree angles, giving the shelf a modern, clean look. It also creates the illusion that the shelf isn’t adequately supported even though it is. Here is the inspiration image I used:
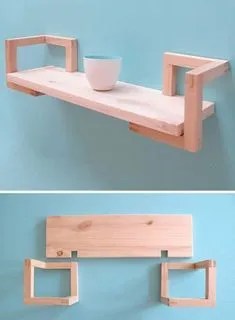
This shelf caused me a lot of issues. The easiest part was figuring out how big I wanted the shelf to be. I think the main board ended up being about 24 inches wide, and I used red oak for it. I cut down more red oak to 1.5-inch-wide strips and 7 inches long. Figuring out the joinery was the biggest problem.
If you look at the above image, you’ll see that each joint is a mortise-and-tenon. Those aren’t the easiest to cut because they have to be precise or there will be play in the joint. It’s a type of joint that I need to practice more, because I don’t currently feel confident cutting them. Making this one even harder is that the ends of the pieces are rotated 90 degrees. This doesn’t necessarily make it harder to cut, but it is an additional thing to keep track of. In lieu of using mortise-and-tenor joints, I opted for half-lap joints. They’re not as strong as mortise-and-tenons, but they’re a lot stronger than a basic butt joint since they have two additional glue surfaces.
With all the joints cut and dry-fitted, gluing everything together was another difficult part of the process. That’s because as you’re gluing joints together, nothing was resting on the table to provide support. Oh, and only having two hands proved to be problematic, but eventually, I figured it out and got everything together. After the glue dried, I used a belt sander to flatten out the joints. Next, I cut openings in the shelf that would wrap around the vertical portion of the bracket to hold it in place. I also used a router to cut a decorative edge to the front. The last thing I did was drill holes in the brackets to hold screws for wall anchors to hang the shelf. With that all done, I stained the bracket dark walnut, finished it, and clearcoated the shelf.
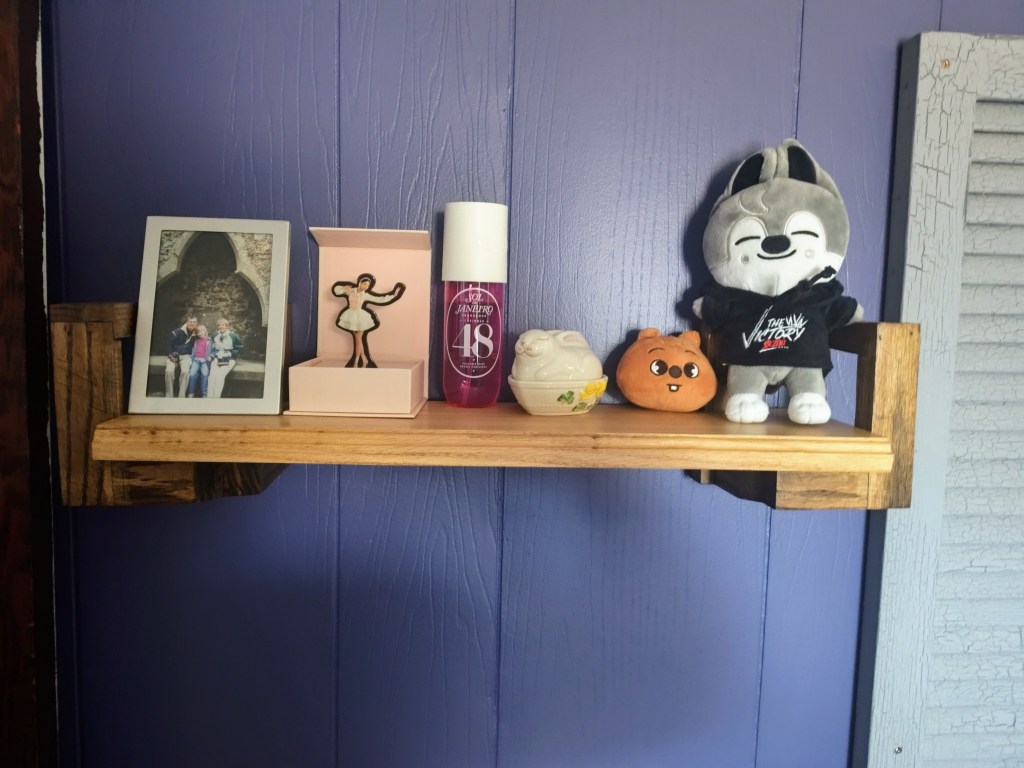
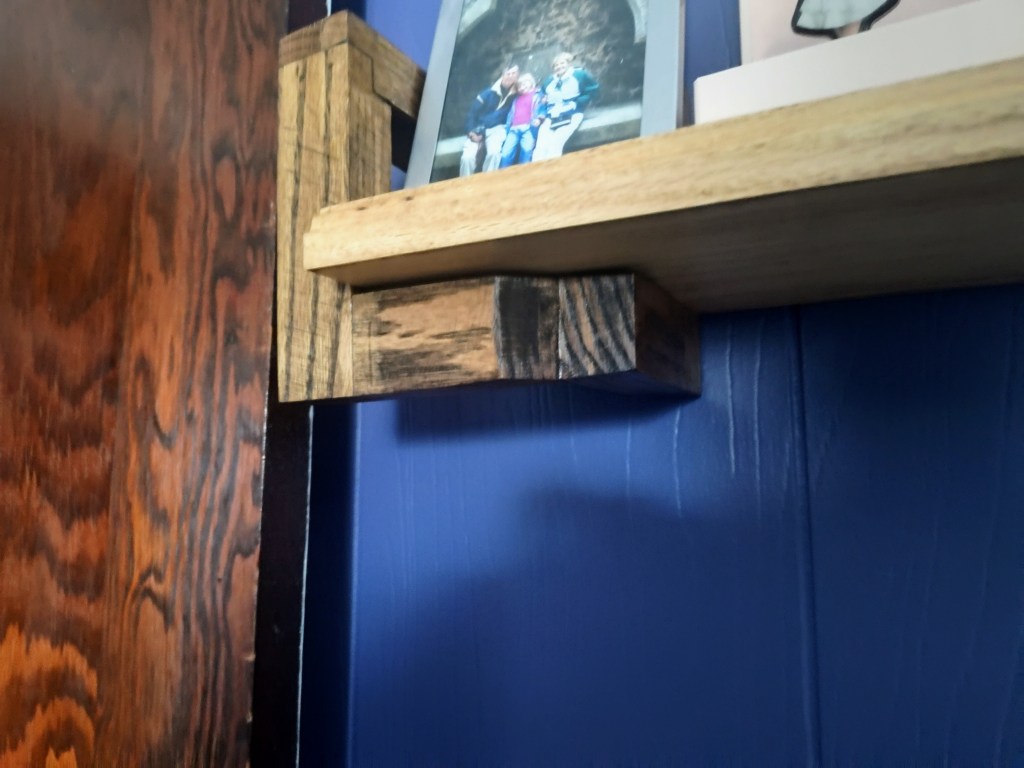
I hung it on Magz’s side of the bed, and she’s using it to display things near and dear to her. It fits perfectly between our headboard and our bedroom door when it’s open. In the end, I’m pretty happy with how the shelf turned out, but it isn’t perfect. Because the joints weren’t perfect and required sanding, the portion of the bracket where the shelf goes isn’t flat, so I’ve had to adjust things slightly to trick the eye into thinking it’s flat. But even though it isn’t perfect, I think it was a solid first attempt at something like this. It was also the first of many shelves I’m building. I’ll share those as well.

