

Gardening is not fast-paced. It’s quite the opposite. It takes many months to go from seed to harvest. Most of the time, you will see little day-to-day progress. Instead, progress is seen across the weeks and months. A plant may not show growth from one day to the next, but from one month to the next, it can grow twice its size, start blossoming, or ripen. Unfortunately, I am not a patient person. Actually, I doubt that many of us are patient. It’s probably the result of living in modern society.
Technology allows us to be perpetually connected with people on the other side of the world, to get instantaneous results when we have a question that needs to be answered, and have items delivered to our house a day after ordering. Those are all great, but if there’s anything that doesn’t meet our expectation of speed, it’s easy to become impatient and frustrated. Someone isn’t going as fast as you think they should when driving? We tailgate and pass as soon as we can. A cashier takes longer than we want in a store? We either bolt to the next register when possible or are short in conversation when it’s our turn. Things that used to be treated with patience are no longer.

I think that’s why gardening maintains a vital place in our fast-paced society. You really can’t rush gardening. If you try to speed up the process, it won’t work. Roots won’t have the necessary time to establish, plants will wither if it’s still cold in the spring, and the fruit won’t mature if it’s harvested too quickly. So, what am I struggling with in our garden?
Seed Starting & Germination
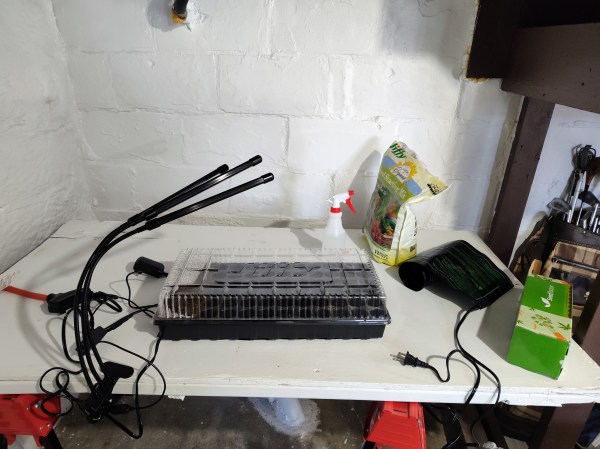
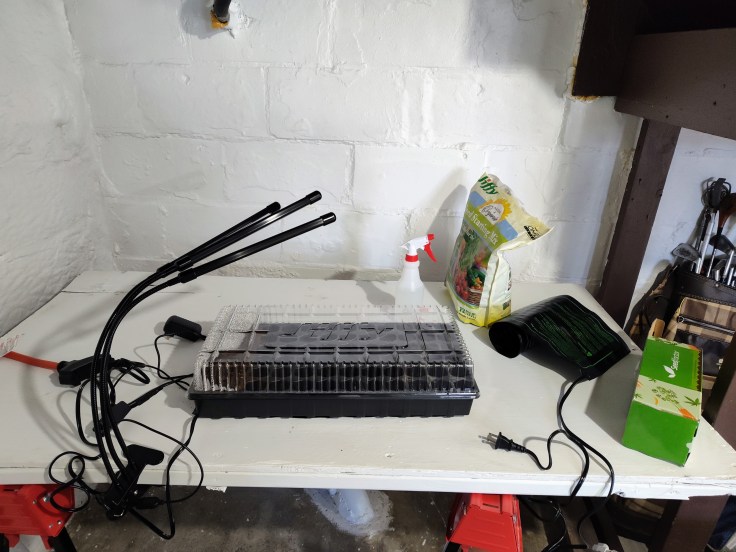
My struggle with patience in this year’s garden started immediately. I wrote about my process of tracking the start dates for all the seeds we bought. I generally wrote down the earliest date for each seed, counting back the weeks from what is typically our last frost date. I didn’t take into account the possibility of not being able to transplant the starts into the ground because of excess moisture or low temperatures. I also didn’t consider the ramifications of seeds taking off and needing to figure out a plan until we can transplant them outside.
You can probably see where this is going. As soon as that start date arrived, I (generally) was ready to start the seeds. In my head, if I were late by a day or two, that plant was certainly going to fail. My focus was very much on the immediate and not on the long-term. Then, if a seed hadn’t germinated at the beginning of its germination window, I assumed it had failed. In reality, seeds can take the entirety of the germination window (and sometimes even beyond) and still be okay.
Tilling
Oh, the process of tilling. I will likely be writing a standalone post on the repeated tilling we’ve done. We started digging the beds in March, which was plenty of time, and got the first four established quickly. What we didn’t account for was grass regrowing before we could plant. Beds that we thought were in good shape have been overtaken by grass that hadn’t been killed. We’ve had an incredibly rainy spring, which has resulted in an out-of-control yard that didn’t give our garden beds a break. We’ve had to mow the beds on the lowest setting before re-tilling them, which was a bit frustrating. A positive is that we’ve learned the best way to use the cultivator to kill as much of the grass as possible when tilling. This has resulted in healthier soil that looks ready to be planted in.
At the time of this writing, though, we still need to finish the first bed, do another pass on a second, mow down the grass and re-till beds 3 and 4, and establish 3 or 4 others. That’s where the need for patience comes in. It’s tough being patient with this process because we’ve already put in a lot of work and needing to redo that work is a bit frustrating. There’s a lot of the “trust the process” going on here. Yes, it’s been a lot of work, and there’s still more to be done, but each time we till a bed, we make more progress. More grass is killed, and the bed becomes more suitable for planting.
Weather
I think weather may seem like a bit of a copout here because almost every outdoor project requires patience with the weather. Very rarely does the weather cooperate with our plans, and this is absolutely the case in Western PA. If you want it to be sunny, it’ll rain. Looking for rain? It’ll be blazing out. This year’s garden has been one long battle with the weather and it not doing what we need.
Mid-March was mild and allowed us to get an early start on tilling. That was followed by a lot of rain in late March and throughout most of April. That led to grass retaking the garden beds. Finally, in May, we’ve been getting the weather we need to address all the beds. My patience was certainly tested during this time period. When it was raining, all I could think about was how quickly the May 15th (average last frost) date was approaching. I also saw all the work that still needed to be done: beds re-tilled, new beds started, seeds sown, and starts transplanted.
The craziest part is that this impatience has now gone in the other direction. We are actually in a good place with some seeds sown and most of the beds taken care of. We’re also now on the right side of May 15th, where we aren’t late with our planting. I’m now finding myself so excited that I need to be patient and wait to plant the rest of our stuff. Would it be problematic to plant everything else now? Probably not. The nighttime lows aren’t problematic. But there also isn’t a reason to rush at this point. What a difference from a week ago.
Lessons to Learn
As I mentioned in the intro, it’s my belief that everyone struggles with patience. I think it’s part of the human condition and the result of the first sin. The Old Testament provides many examples of the Israelites’ battle with patience and trusting God. I think that same struggle has been passed down through the generations, and the struggle to be patient is perhaps harder than ever when we live in a world that is constantly pushing for better efficiency and quicker responses. There’s very little opportunity to sit, dwell, and ponder over things. I think about how philosophers, theologians, and inventors from centuries past would simply sit and think about their subject, working through problems. As Christians, we would say that it is the Holy Spirit leading us in these moments. We rarely give ourselves the freedom to sit and be still. I’m perhaps more guilty of that than anyone I know. I am always looking for the next thing to do or the next step in the process. In my mind, very rarely is that next step sitting and waiting.
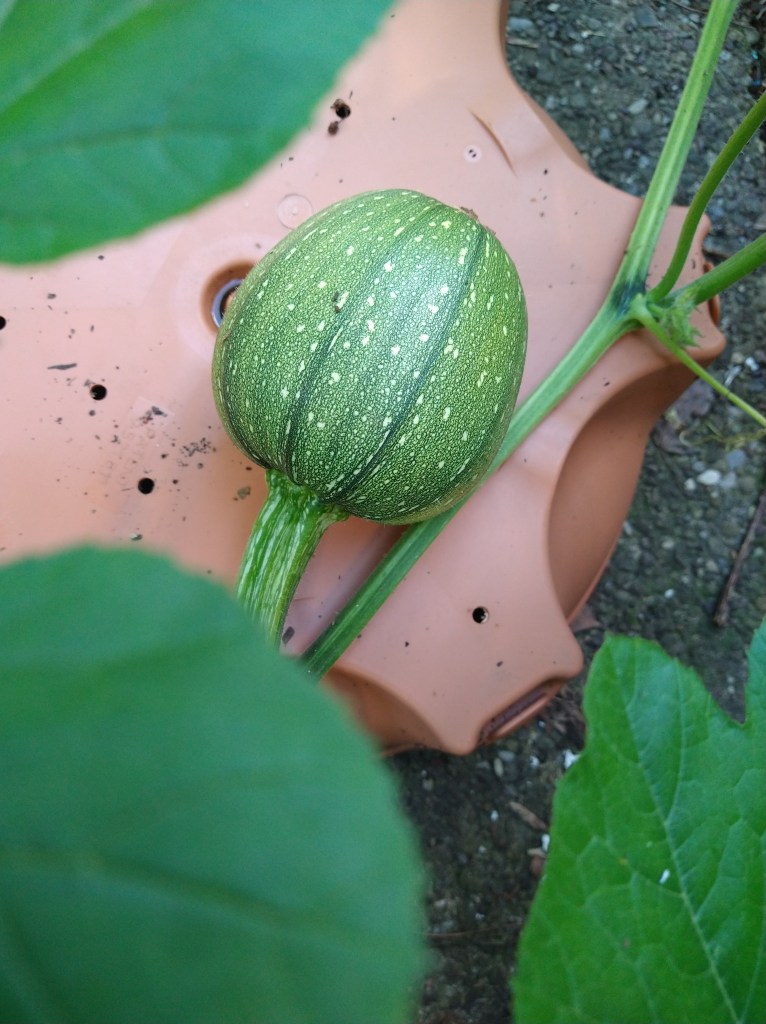
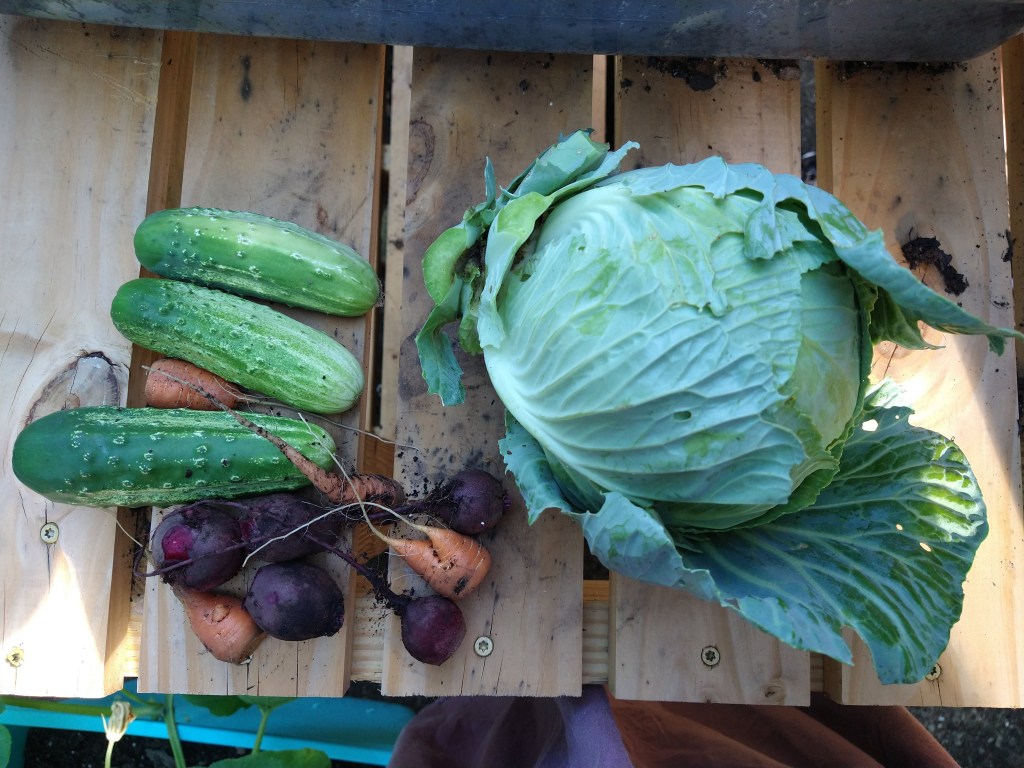
I think that’s why gardening is both incredibly tough but also very rewarding. It’s tough because very little of it is in our hands. We can’t do much to speed up germination or plant growth. Sure, we can give them nutrients to aid in the process, but the plant still takes a certain amount of time to reach maturity. Attempting to expedite that process can actually cause more harm than good. The reward that comes in the end when you’ve picked the perfectly ripe fruit makes everything worth it, though. And while the growing process is taking place, if we can simply learn to find peace and comfort in the quiet and slow, I think we’ll learn to handle our fast-paced environment a bit better.
We’ll never be able to keep up with modern society, and I don’t think that should be the goal. If you’re a believer, you’ll know that our faith journey can be a slow one. Sometimes, it feels like two steps forward and one step back. There are even times when it feels like the opposite: one step forward and two steps back. But being patient on the journey and letting Jesus refine us as we draw closer to Him is incredibly important. Salvation is very quick, but sanctification is a slow grind at times. It’s like gardening: germination can happen in a few days, but the process of getting the plant to full maturity is slow.
I’ll leave you with this. John Muir is one of my favorite people in American history. He was a 19th-century writer and naturalist who helped establish multiple national parks, founded The Sierra Club, and his influence helped to establish the National Park System. He’s important to this conversation about gardening and patience because he lived during a time of rapid growth and industrialization. When he was born in 1838, there were 26 states. When he passed away in 1914, there were 48. During this period of population growth, he wrote about the importance of nature and getting away from society to find peace. One of my favorite Muir quotes is: “And into the forest I go, to lose my mind and find my soul.” It’s pretty easy to see what he was talking about. I think there’s something deep within us that makes us want to connect with nature. For Muir, it was escaping to the mountains. I love doing that too, but I think we can also find a similar reprieve from society in natural places closer to home, like our gardens. If we allow our gardens to become places of peace of tranquility, where we don’t take our phones, but instead be content with talking to our plants and watching them grow, I feel that we can let some of the stressors of modern society wash over us. If we do, all of a sudden, the impatience we feel with gardening may take a backseat to the calm the garden provides us.
Do you struggle with patience when it comes to gardening? If so, how do you combat it? Likewise, what does your garden mean to you? Is it simply something that provides food for you or is it a place or escape?




 One Rabbit Riot