In several of my weekly gardening updates, I have mentioned that we installed a rain barrel. I have known several people with them and have been excited to have one of my own for quite a few years. The opportunity to save some money on water? Sign me up!
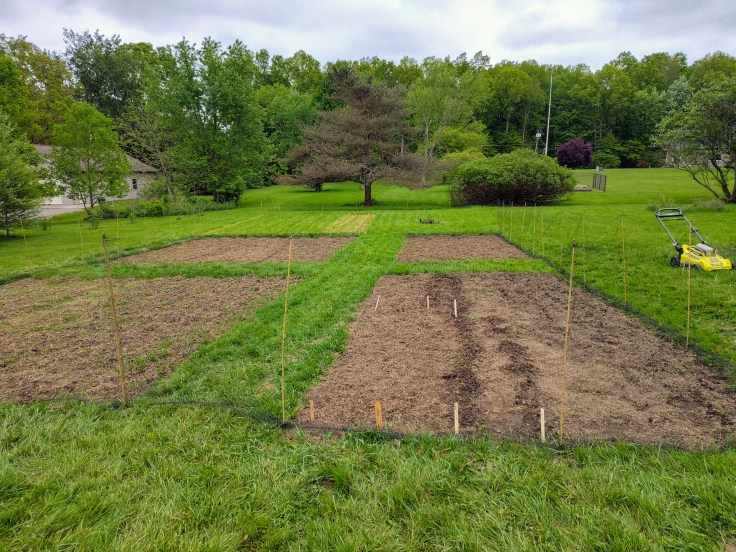
Before buying our house last summer, we had been renters, so this was our first opportunity to have a rain barrel. As we were planning our garden, the idea of having one for this year came to mind as a potential reality rather than a long-term thought. We knew that we’d need a large amount of water for the garden, and we were looking to reduce our dependency on city water.
Our Barrel
We picked up a 55-gallon food-safe blue barrel from Rural King. It was previously used for transporting drink concentrate. It was $30, so it would quickly pay for itself. We also needed to buy the spigots and a filter for keeping leaves and other debris out of the barrel. Those items came from Amazon.

When adding a rain barrel, you can either buy one that is completely put together or repurpose something else. We went the latter route and saved money ($50), but it is a good deal of work. Instructions can also be vague, and YouTube videos may not apply to your setup. It’s also helpful to have power tools for cutting and drilling and have confidence in your ability to operate them. We were able to keep costs down because we have the power tools and only needed to buy a drill bit for the holes that the spigots go through. In total, I think it took an hour to get everything set up. Future ones will take less time now that we know what we’re doing.
If someone isn’t interested in converting a regular barrel into a rain barrel, they can easily buy one. A quick Google search shows many options with prices ranging from $50 to above $100. Some of the lower-priced options are collapsible, which sounds a bit precarious, and the more expensive options hold more than 55 gallons. These rain barrels typically include everything you need to get started.
What Makes a Rain Barrel a Game-Changer?
Simply put: Being able to convert rainwater into water for the garden is a difference-maker. Instead of paying for water (like we do) or using water from a well or spring, you get to use water that would normally run off the roof and be drained somewhere else. In our case, this was the yard, and it was running off into our garden beds. Converting something free into a usable resource has given us a sense of freedom that I didn’t expect.
Having the rain barrel has made us more aware of how much water we use when watering the garden and our flowers. It’s a 55-gallon barrel, but because there is an overflow spigot near the top, it probably holds around 52 or 53 gallons. We water with cans that hold a combined 4.5 gallons, so we get around 11 or 12 trips when using both cans, which is enough to water the entire garden. As a result, we are aware of the importance of not overwatering because the excess runs off, and it’s wasting the water we collected.
Using a rain barrel has also helped to contribute to the slow and quiet nature of gardening that I love. Because the rain barrel is gravity-fed without pressure, it doesn’t fill the cans as fast as our garden hose does. And that’s okay. It’s nice to take a break and let the cans fill at a slower pace. It’s also quieter than a typical hose setup due to the lack of pressure.
Naturally, a big reason to use a rain barrel is the money you can save. At the top, I said that we probably spent around $50 on everything. We don’t know what we pay for water on a per-gallon basis, but we will save enough money with the rain barrel this summer to pay for it. Gardening can use a lot of water, especially when you first start seeds, and being able to use free water that doesn’t need to be treated is wonderful.
Since we started using our rain barrel, we’ve found ourselves excited to see rain in the forecast, especially if it’s been dry in recent days or weeks. Every gardener gets excited for rain after a dry spell, since it means the plants are getting water, but with a rain barrel, you also get excited for your barrel to refill. A full rain barrel after a dry spell means your plants are watered AND you have a full supply to pull water from as needed. Speaking of refilling the rain barrel, I’m amazed at how fast it will fill. A half-inch of steady rain will fill it from empty in a few hours.
Get a Rain Barrel if You’re Able To
If you’re a gardener (flower or vegetable) and have the chance to, I recommend buying or creating a rain barrel. The financial, environmental, and plant health benefits vastly outweigh any negatives. It’s a relatively simple process to set one up, and they can be placed almost anywhere with a downspout.
Magz recently told me that some states have some restrictions against collecting rainwater, which I looked into. It appears that most of the restrictions apply to only using the rainwater for non-potable (aka non-drinking) purposes. That is an understandable restriction. Rainwater is not necessarily safe to drink, especially if it’s running off your roof and through a gutter/downspout system. Please don’t drink it. If you live in an area with more severe restrictions, I recommend trying to change those laws. Many university extension offices (here’s Penn State’s as an example) as well as the Environmental Protection Agency argue for the benefits of a rain barrel. Local municipalities and states should recognize those benefits as well.
We currently have one rain barrel but are planning to get at least one more. Collecting twice the amount of rainwater would further reduce our reliance on city water. When we create that rain barrel, I’ll take pictures and create a step-by-step article.
So, that is our experience with rain barrels and the benefits we’ve seen so far. Water conservation is very important, and being able to participate in it, even minimally, can be a difference-maker. Rain barrels also help to reduce run-off and soil degradation thanks to the presence of grass. The benefits vastly outweigh any perceived negatives. If you have the chance to, I recommend getting one. You almost certainly won’t regret it.
Do you have a rain barrel that you use for your garden? If so, what are your experiences with it?