


Stray Kids. More specifically, Felix’s hat on stage at the Music Bank Paris performance in 2023 and Hyunjin’s striped crochet beanie during a video in 2023.


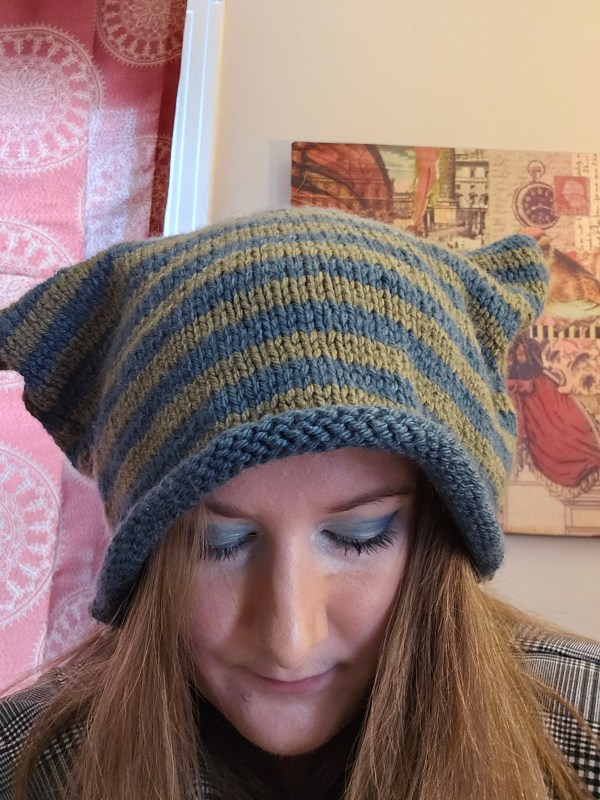
It seemed simple at first glance but then again, new knitting patterns can be a bit confusing so I did research, to be safe. The cat ear is a corner and the point or drape, depending on the structure of your beanie is created by the length of the hat horizontally across. Once I understood that the shape would be determined by these top corners it was easy to jump in!
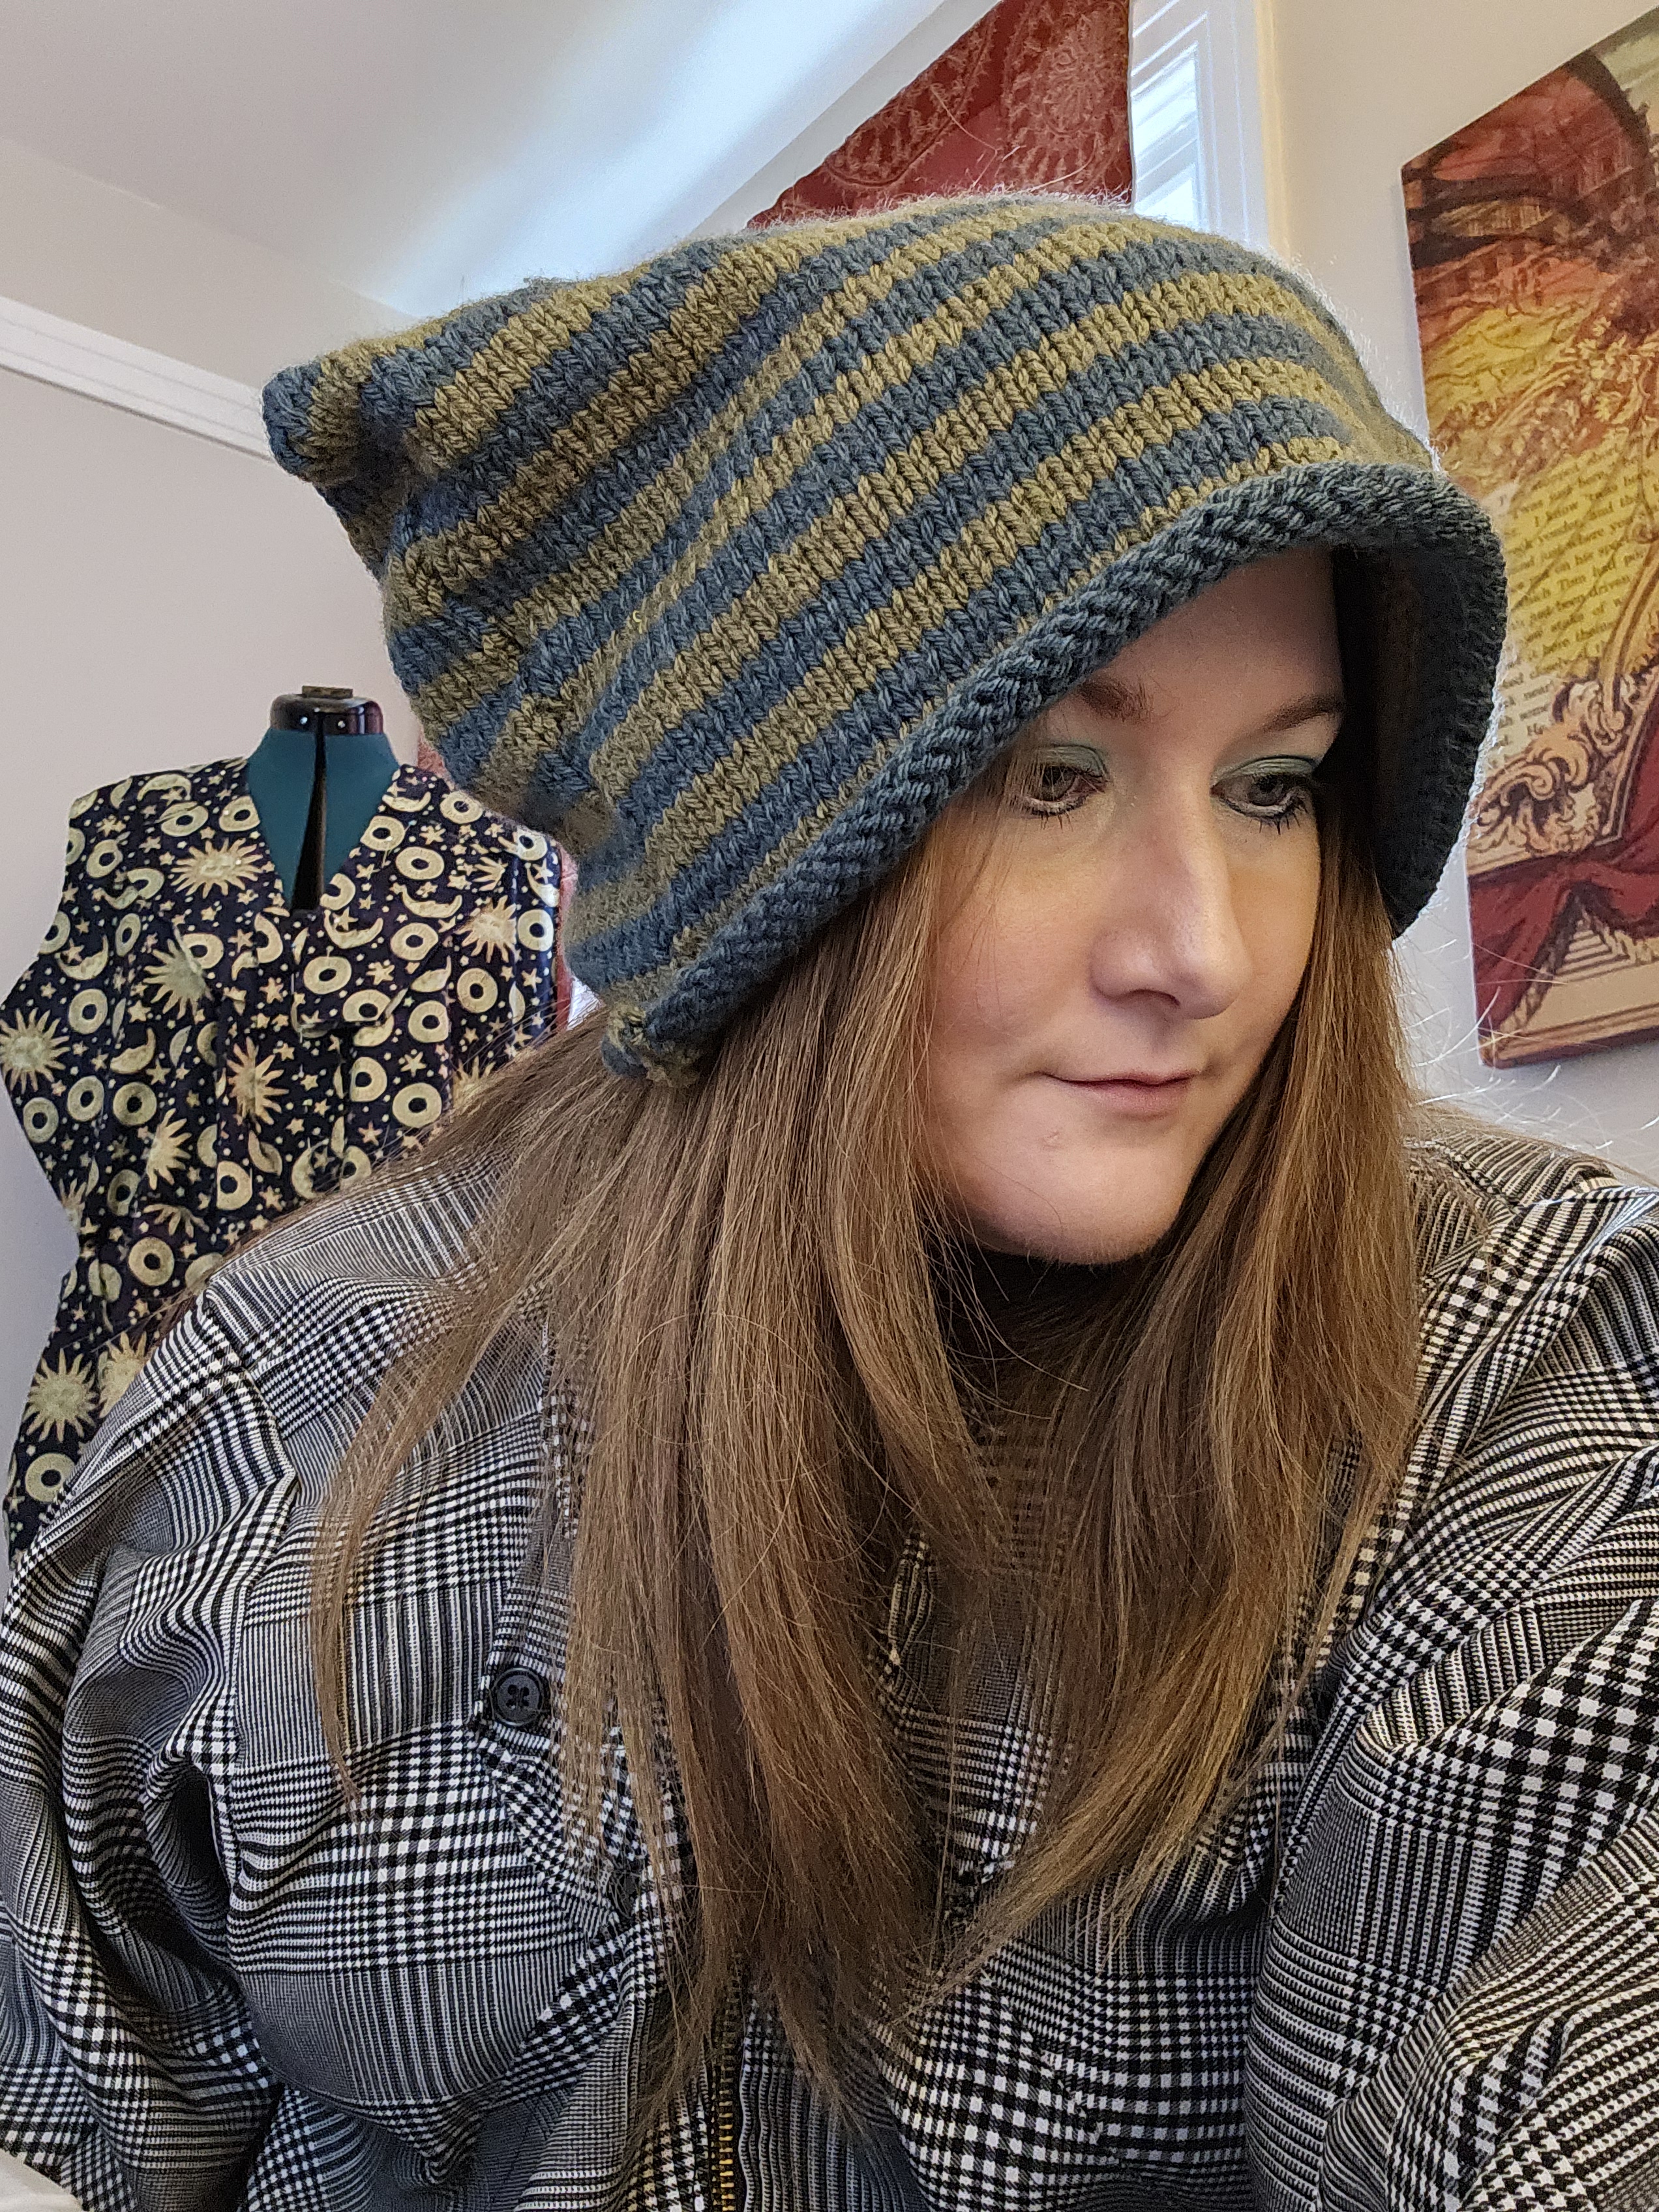
So I cast on 50 stitches on size 8 needles with worsted-weight acrylic yarn (I’m allergic to wool) and alternated between olive green and teal every three rows. After 55 rows, I cast off and sewed the two panels together to form this lovely cat-ear beanie. Honestly, such a fun and easy project once the ear structure clicked. 🙂 I’d say if you are an intermediate knitter you could make this over a weekend for sure, potentially in 24 hours if you were in a super rush. As a beginner, I’d say give yourself a week and take your time to keep the stitches even across. Sew up the sides and top with a tapestry needle.
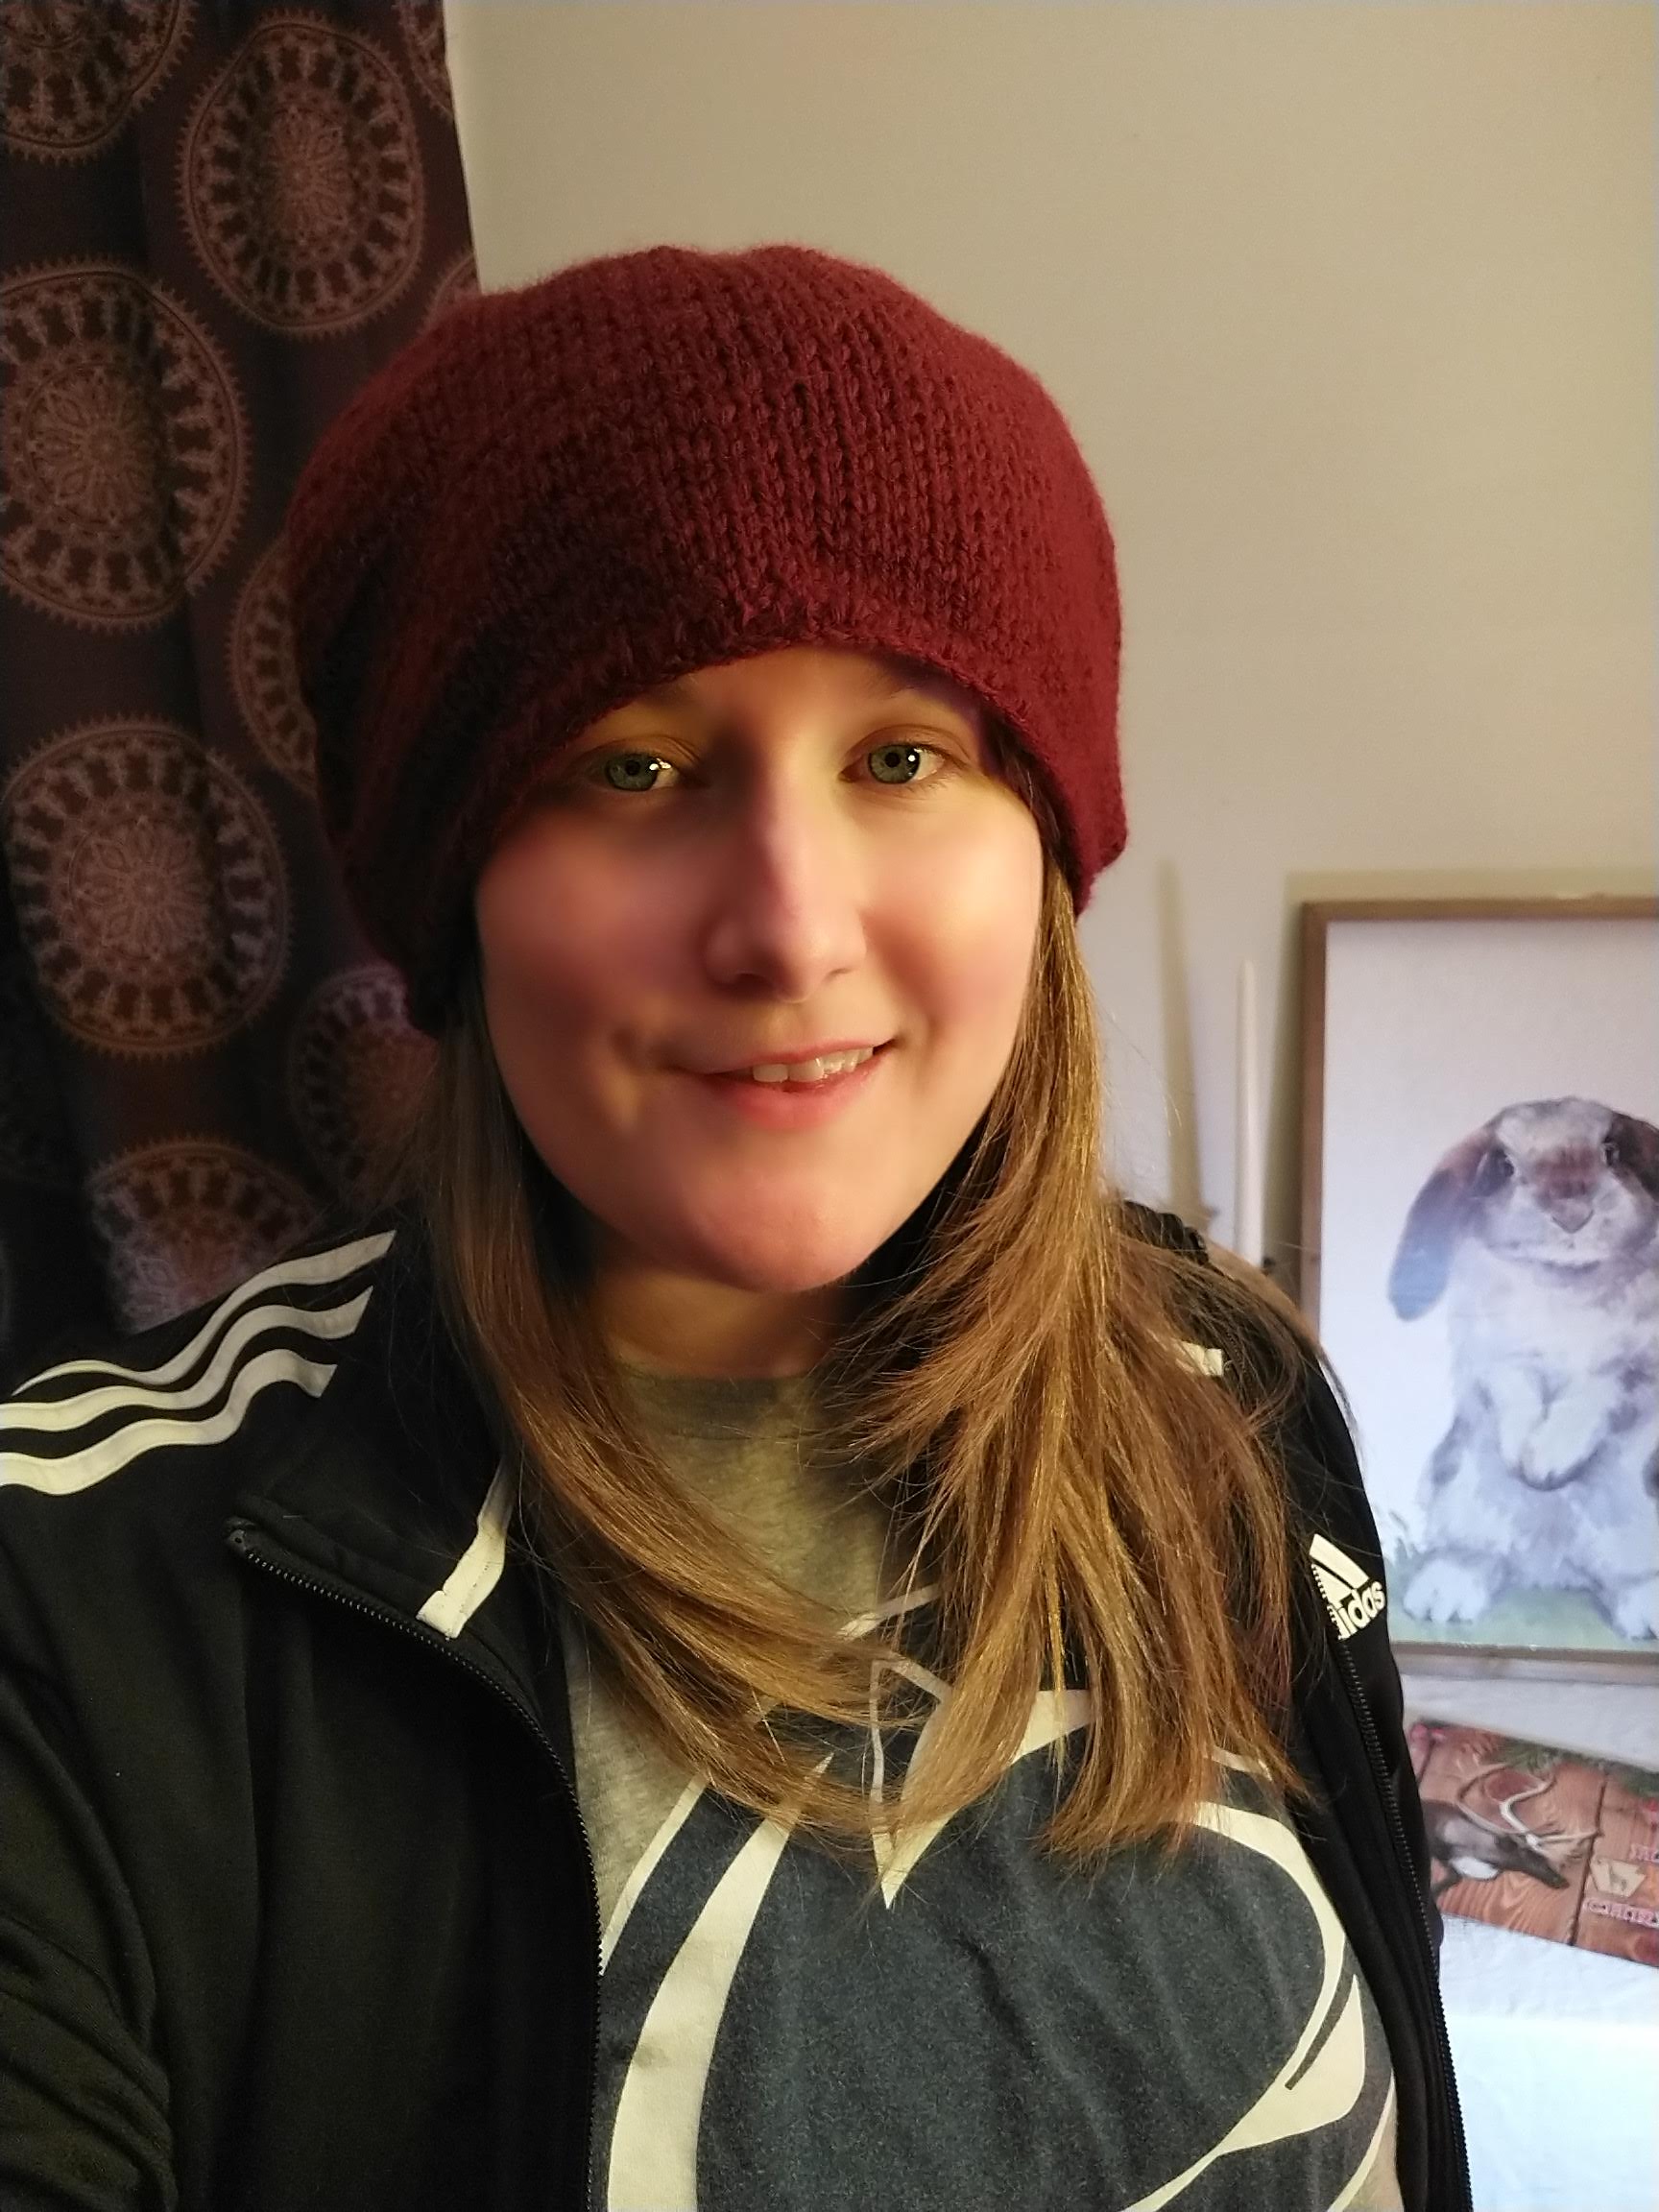
I think the trickiest part was choosing what colors of yarn to use for the striped pattern. I didn’t want to make an exact copy this time, well I couldn’t anyway because I don’t currently crochet, but I wanted to use a unique color palette from my existing stash. These colors are some of my favorites in my stash. I’ve found the color story versatile to style with both cool and warm-toned accessories. I think the earth tones help keep it neutral. I love it and reach for it the most out of all the hats I’ve made in 2023.


The sweater vest. It was on my radar but did not become an item I dreamed of until I saw a lookbook from Steal the Spotlight styling Friends-inspired outfits, inspired by Chandler, the sweater vest king. I continued down the rabbit hole and to Katie’s K-pop Comeback Fashion review and I was done for. K-pop fashion, Korean fashion, and the sweater vest were a layering piece I knew I was going to make. Maybe it is the color combinations or the accessories, but how these sweater vests are styled across different boyband concepts just got me. It felt fresh and fun, not preppy or stuffy.


A year later, I was ready to tackle this project. After making a few sweater projects, and learning how to pattern from garment construction, I felt like I had a good understanding of the shape needed to make the sweater. At Joann’s, I found a non-wool tweed yarn and I knew this was the yarn I wanted to start with. It looked like garments I love from Irish Aran Jumpers and was a way to bridge my heritage and this new world I was exploring through K-pop. I like the garments I design to have a story and intentionality behind them.
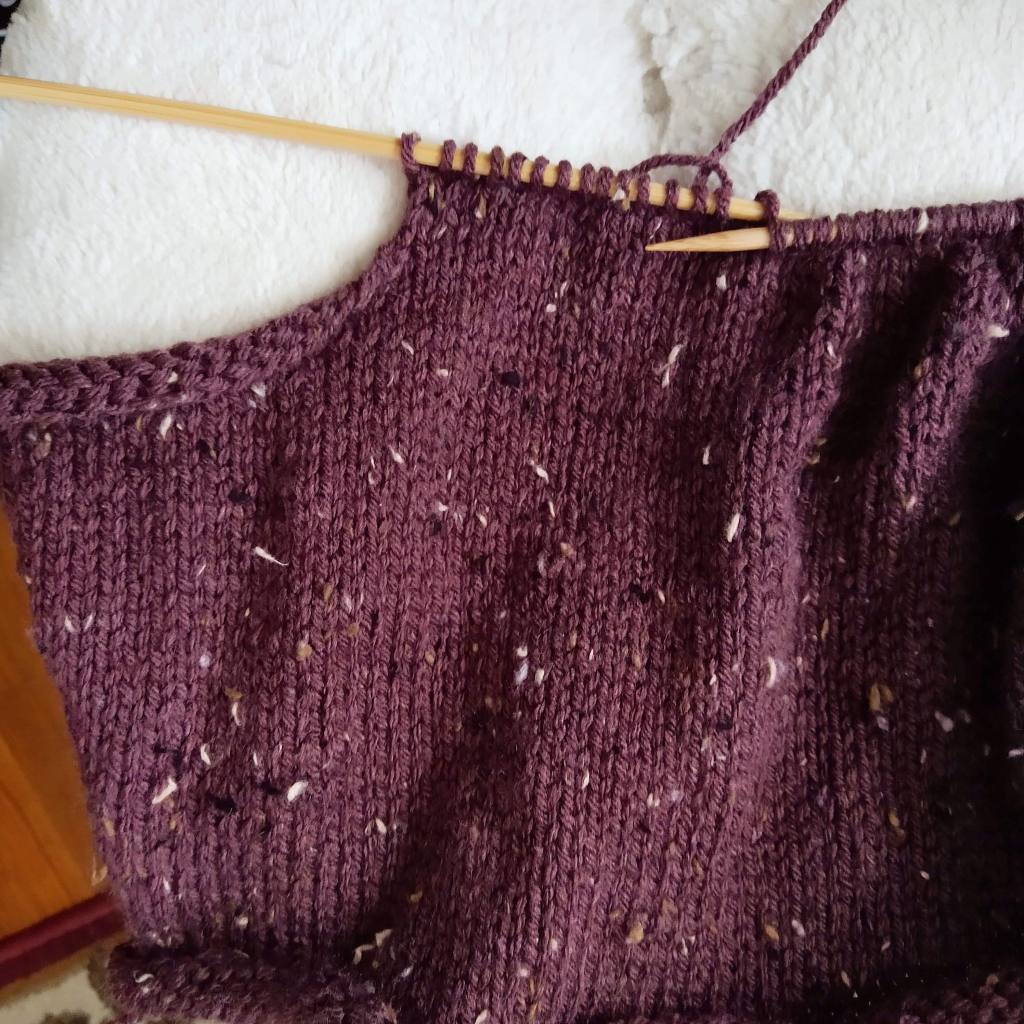

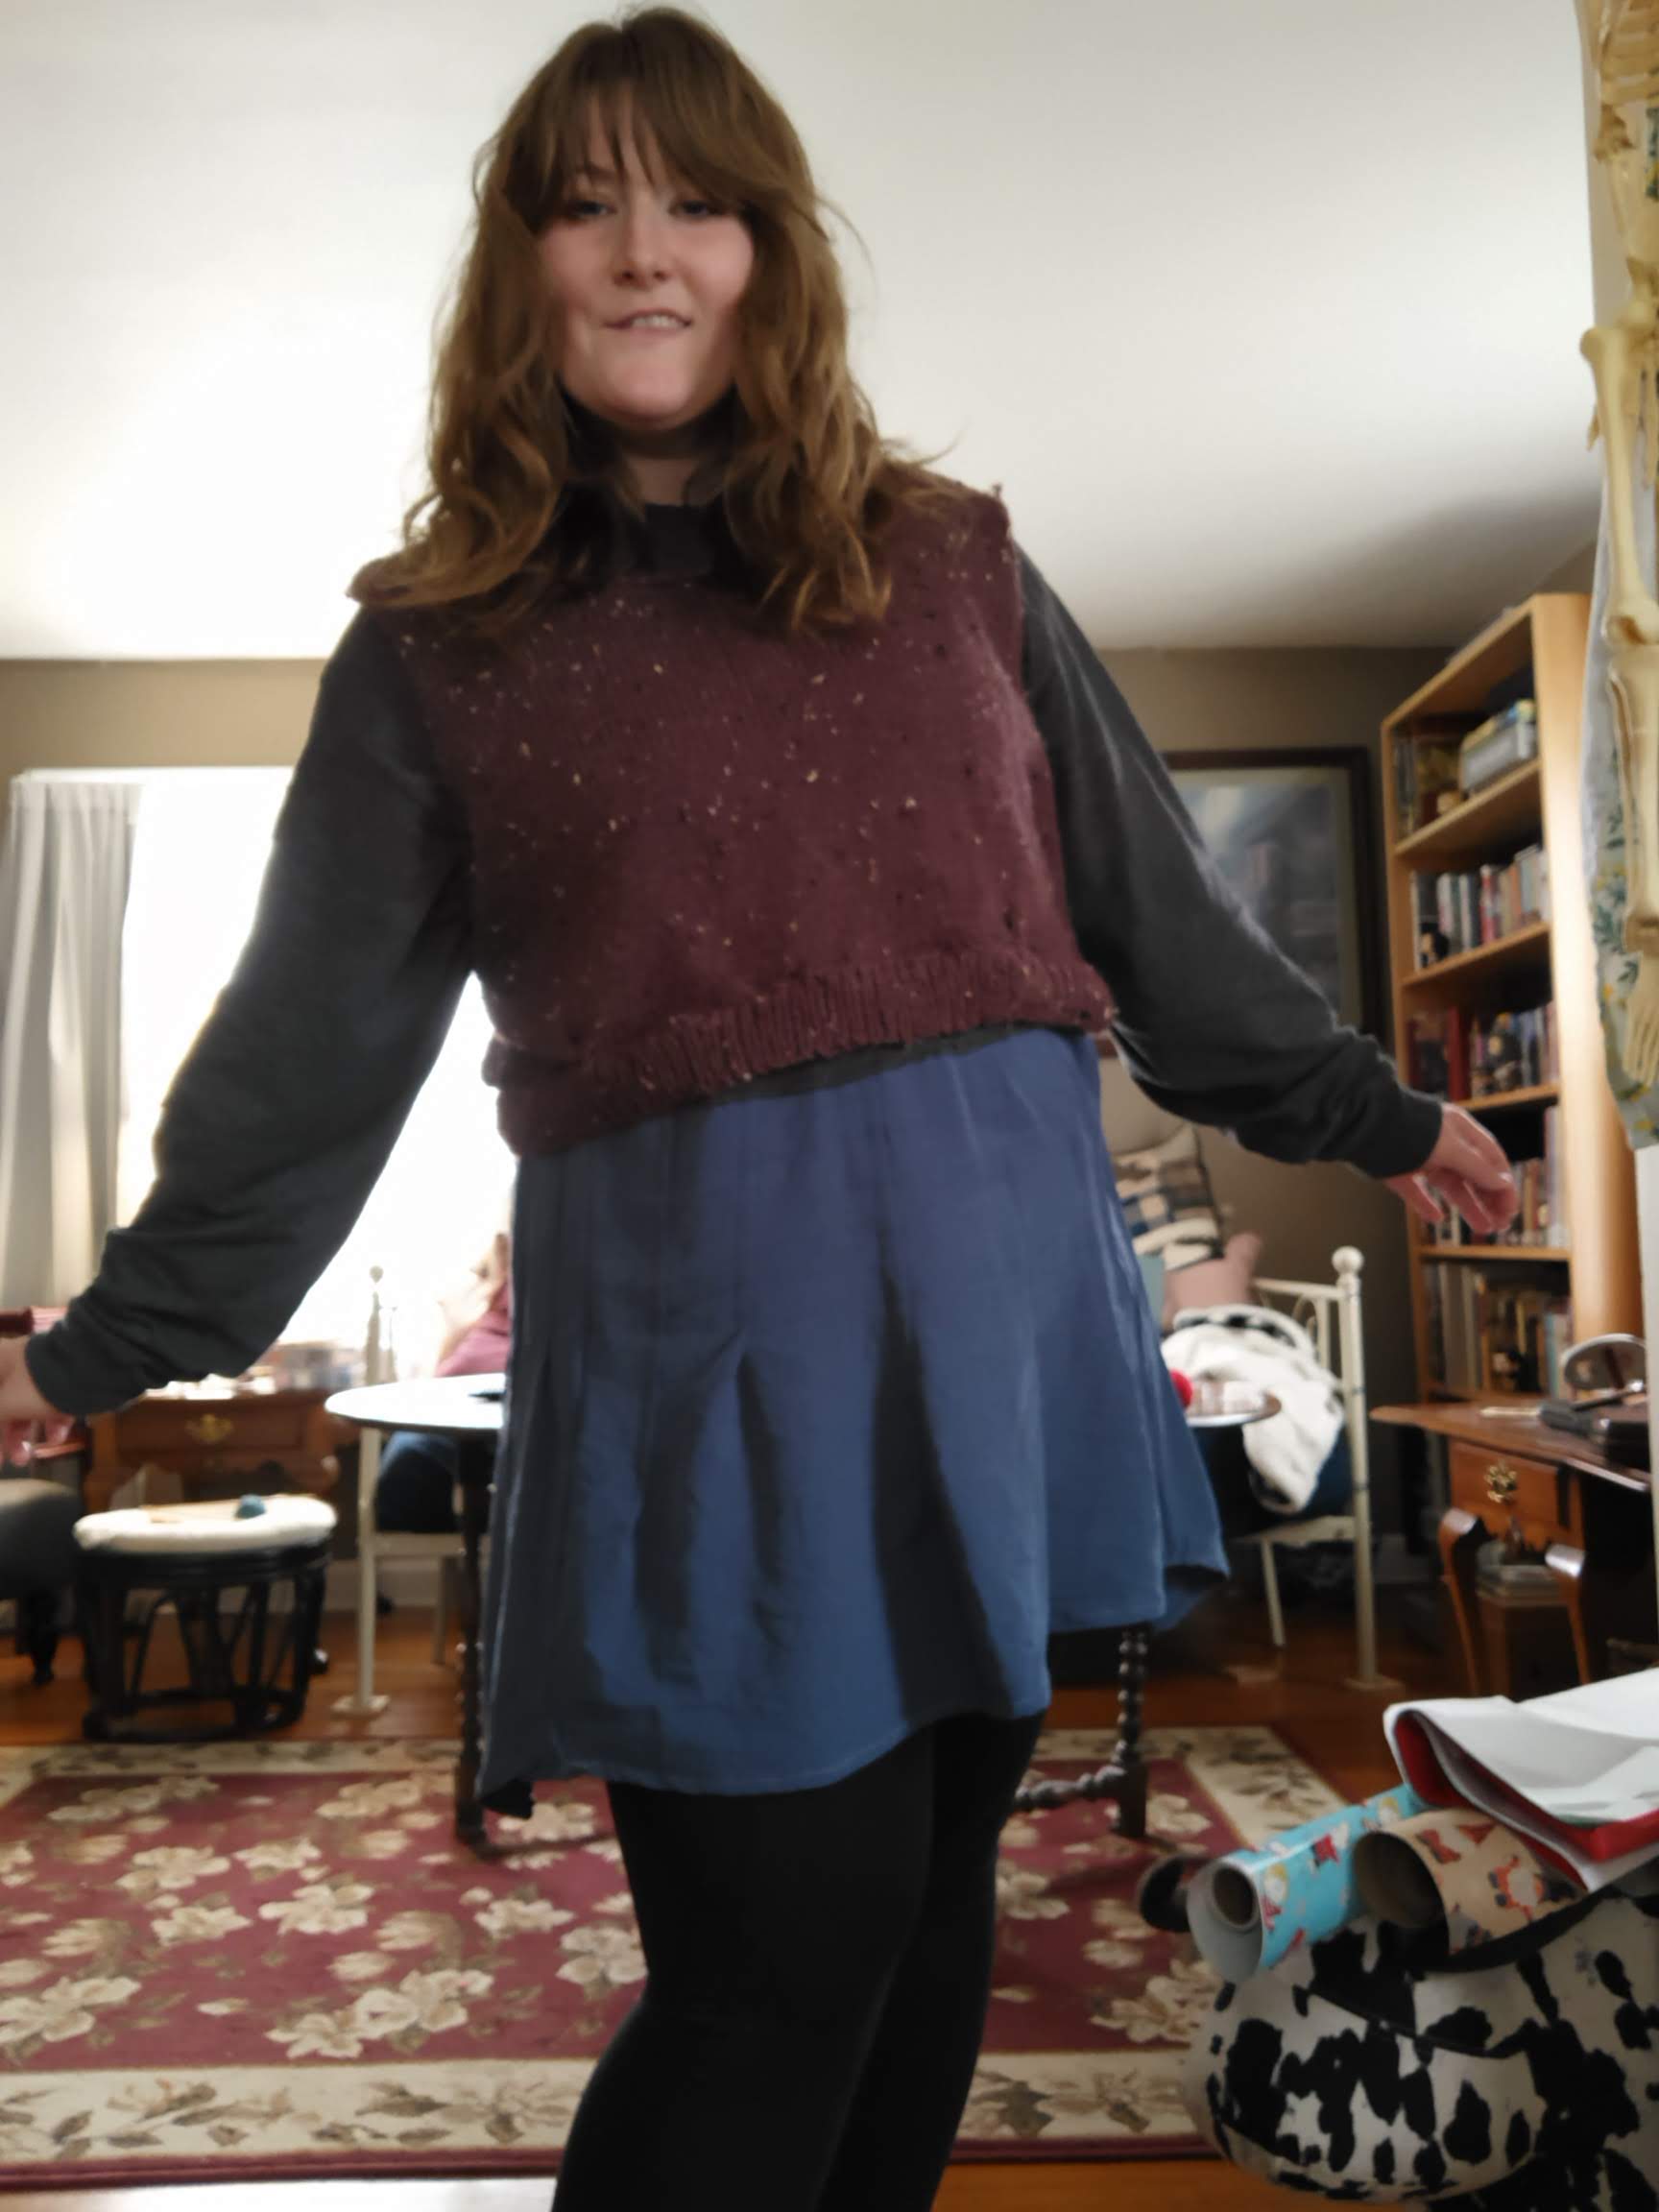
With US Size 8 needles in hand and one skein of Big Twist tweed yarn awaiting a new form, I began by casting on 65 stitches. Working my way up I did the basic knit-purl stitch and gradually binding off on either side when I reached my desired length for the armhole. I chose to make a cropped sweater vest to accentuate my waist and break up my long torso. The big moment though came when I did some research and made the decision to branch out and knit the shoulder and neckline on two sets of needles. This required knitting, casting off in the middle, and continuing to knit on a second set of needles. It worked!
Learning new techniques is always worth the time and the trial because eventually it clicks and you have something new, you didn’t think you could do, but you can!
Making two instead of four pieces on my straight needles was a time-saver! Honestly, I see why having a teachable spirit is important in all aspects of life because I thought I had a good technique before, but dang, two pieces are such a better experience. Four pieces was a mental game, and I got bored. Hence why my previous sweater projects have taken months and months, and months because I distract myself with palette cleanser projects and then avoid finishing the four-piece projects.
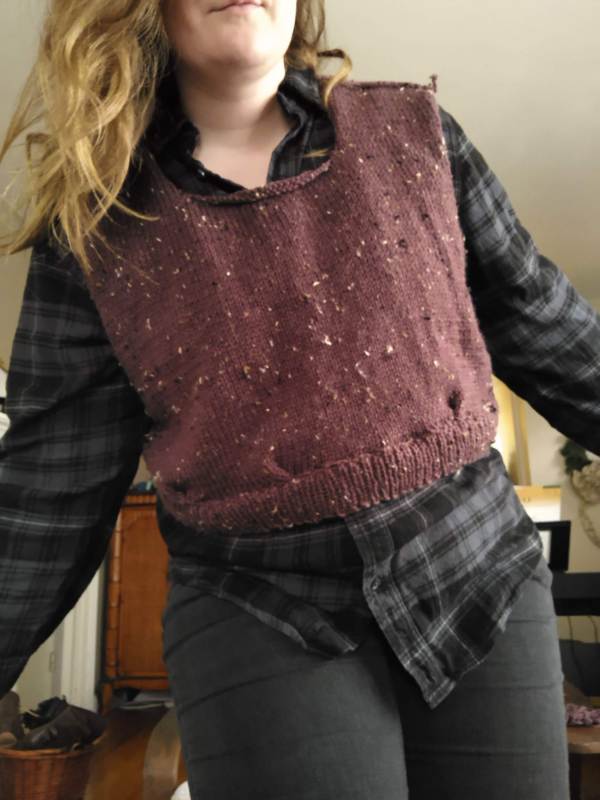
Afterward, I sewed the two pieces together and knit two 65-stitch pieces of ribbed trim for the bottom. I liked how rustic the sweater looked without the ribbing on the neckline and armholes. It looks like an old-fashioned piece, and a bit like armor. Which is cool.

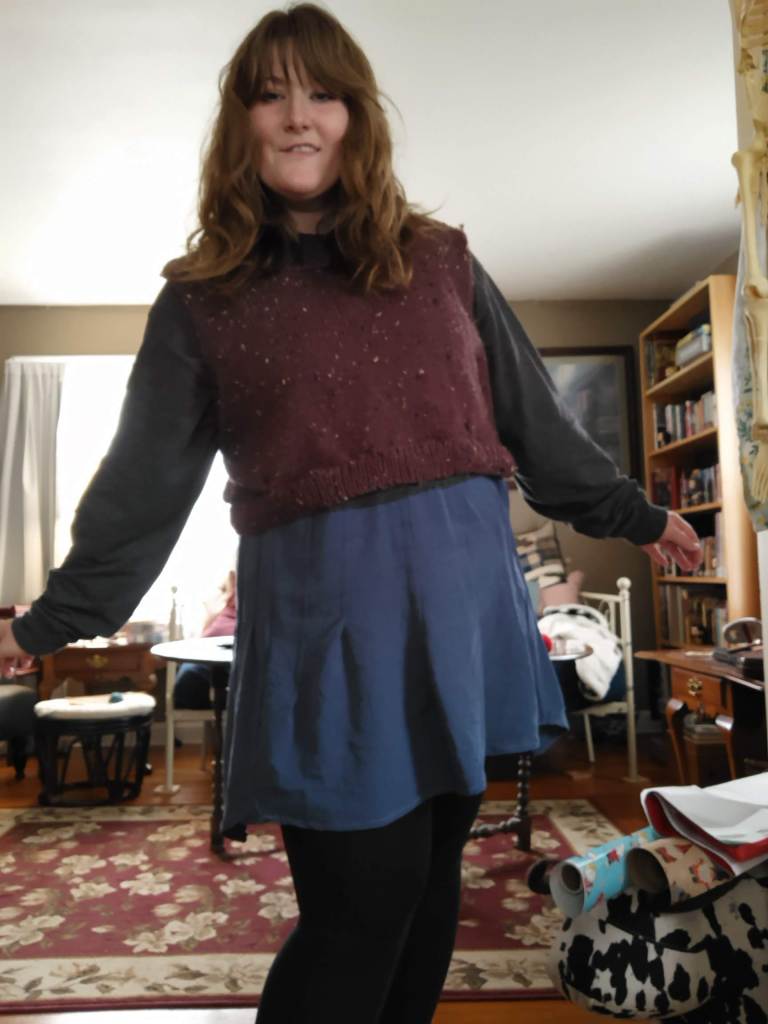
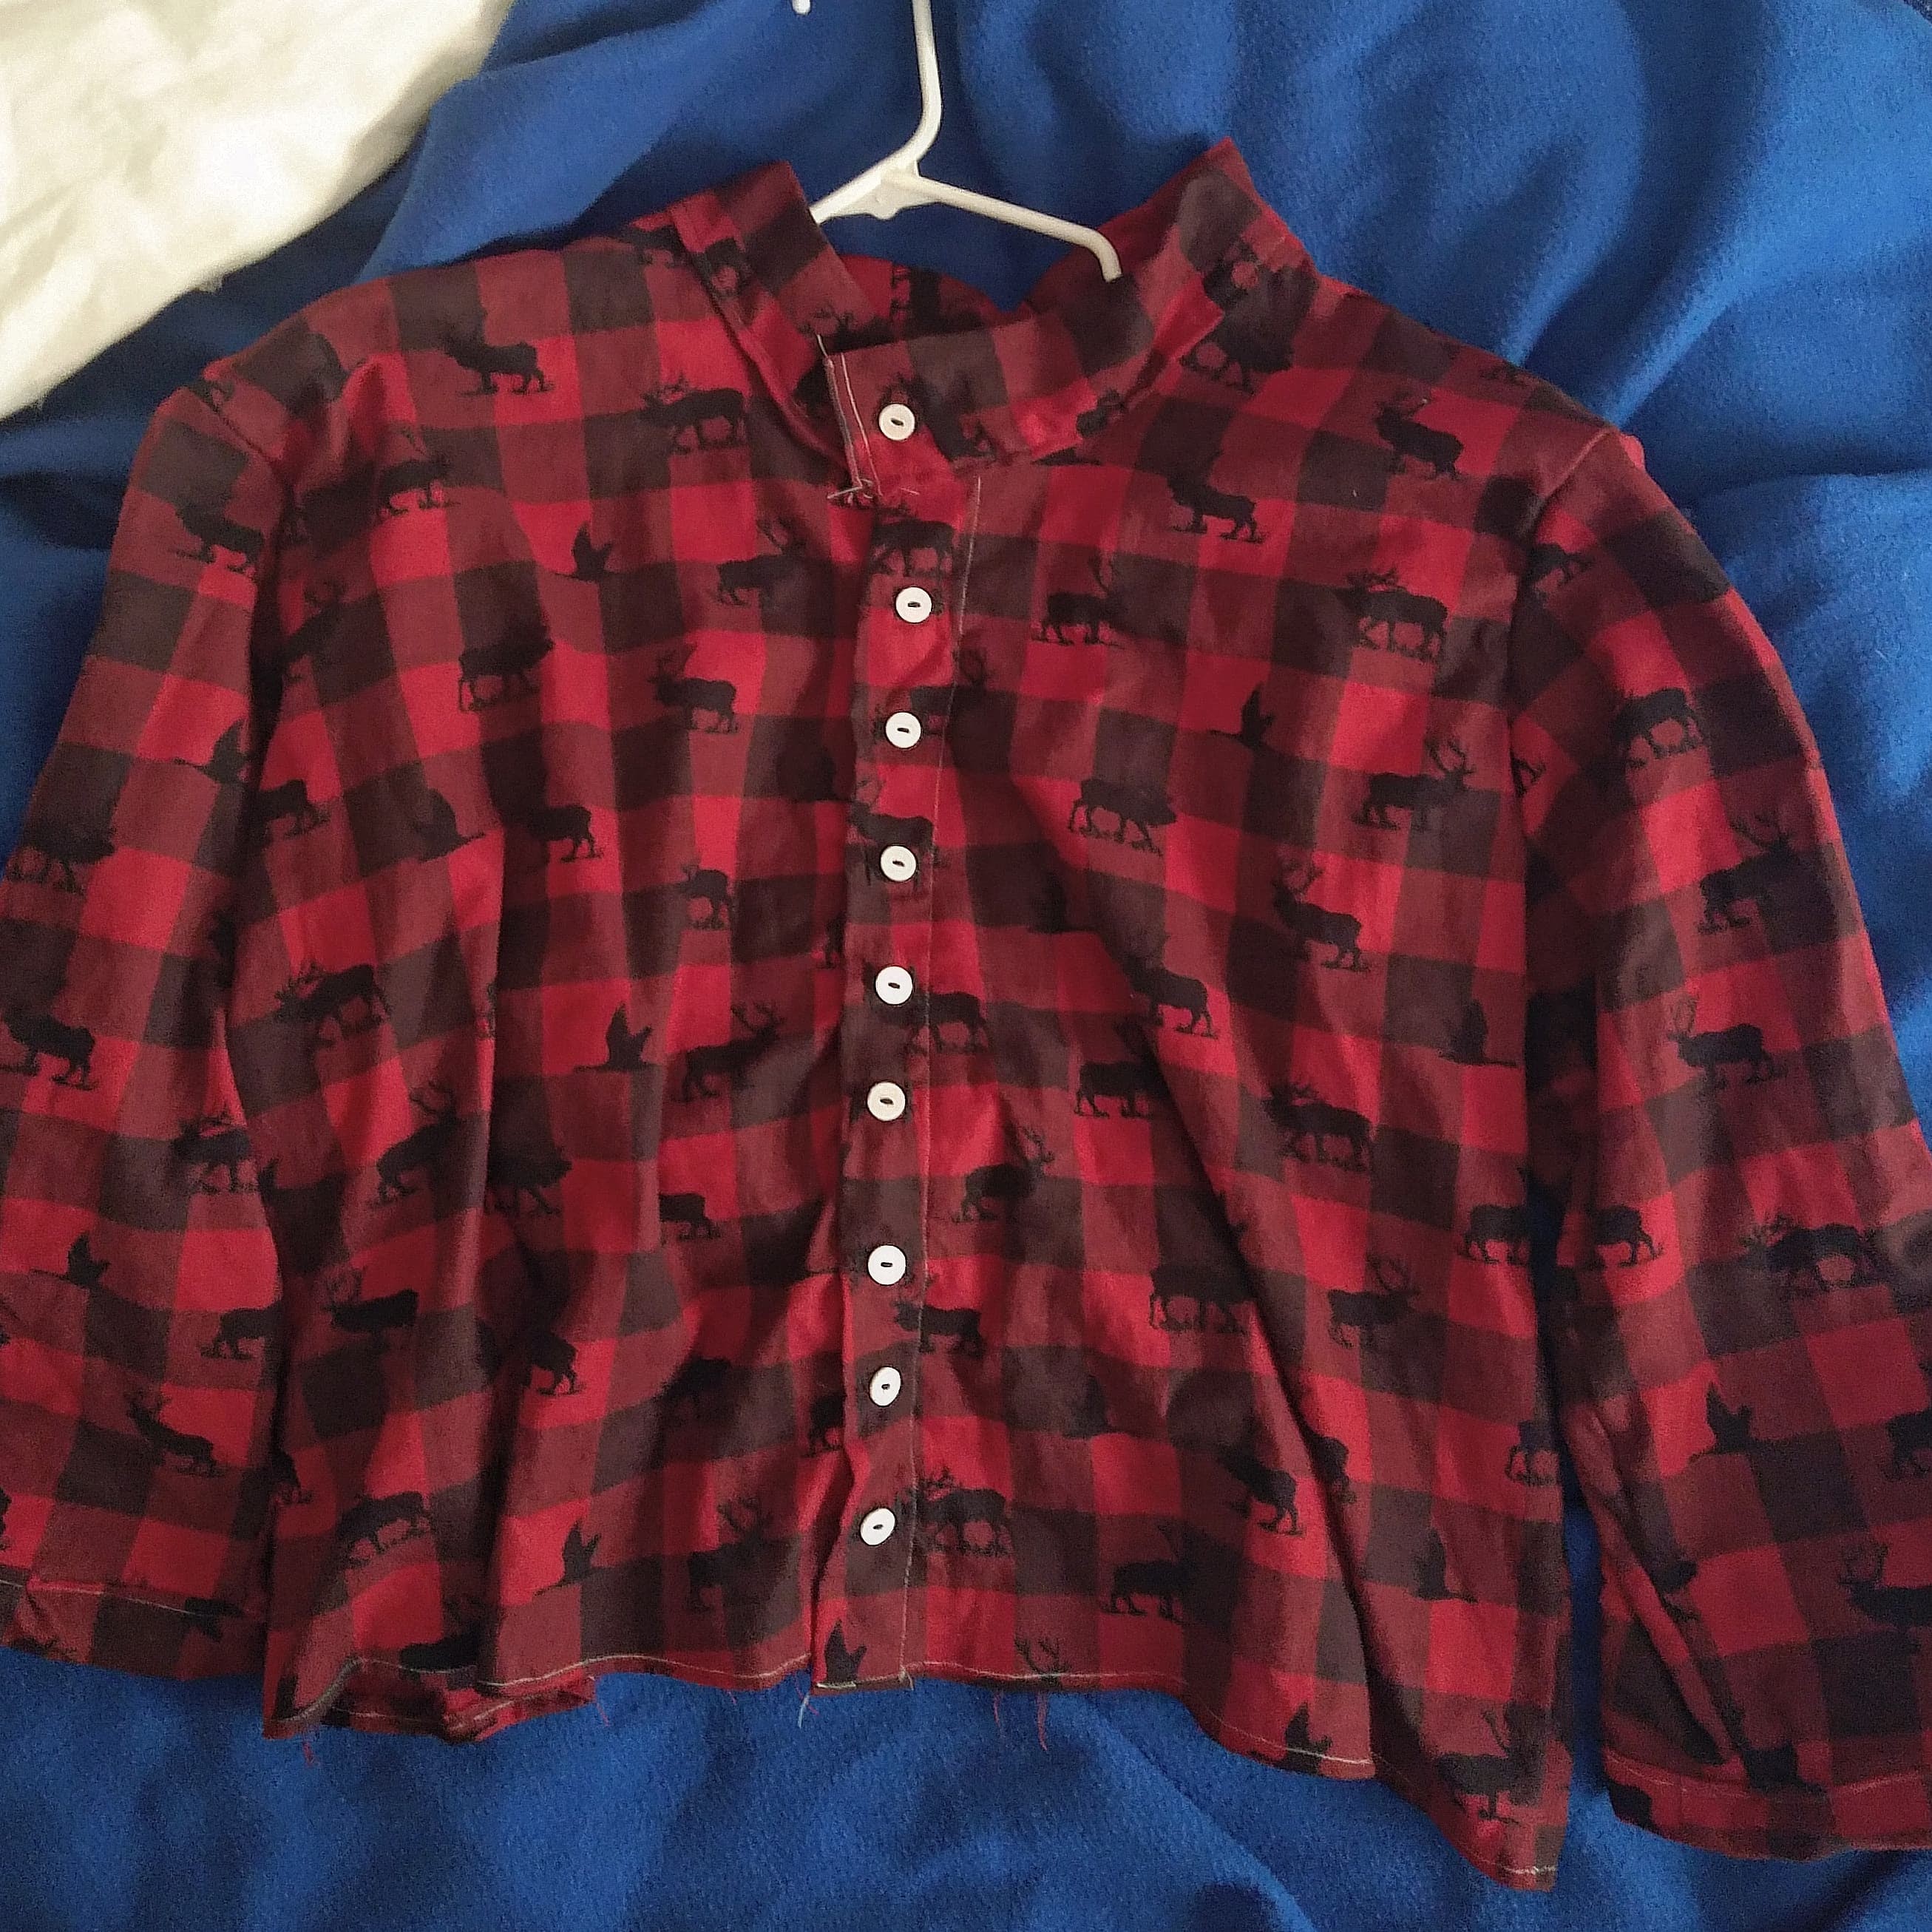
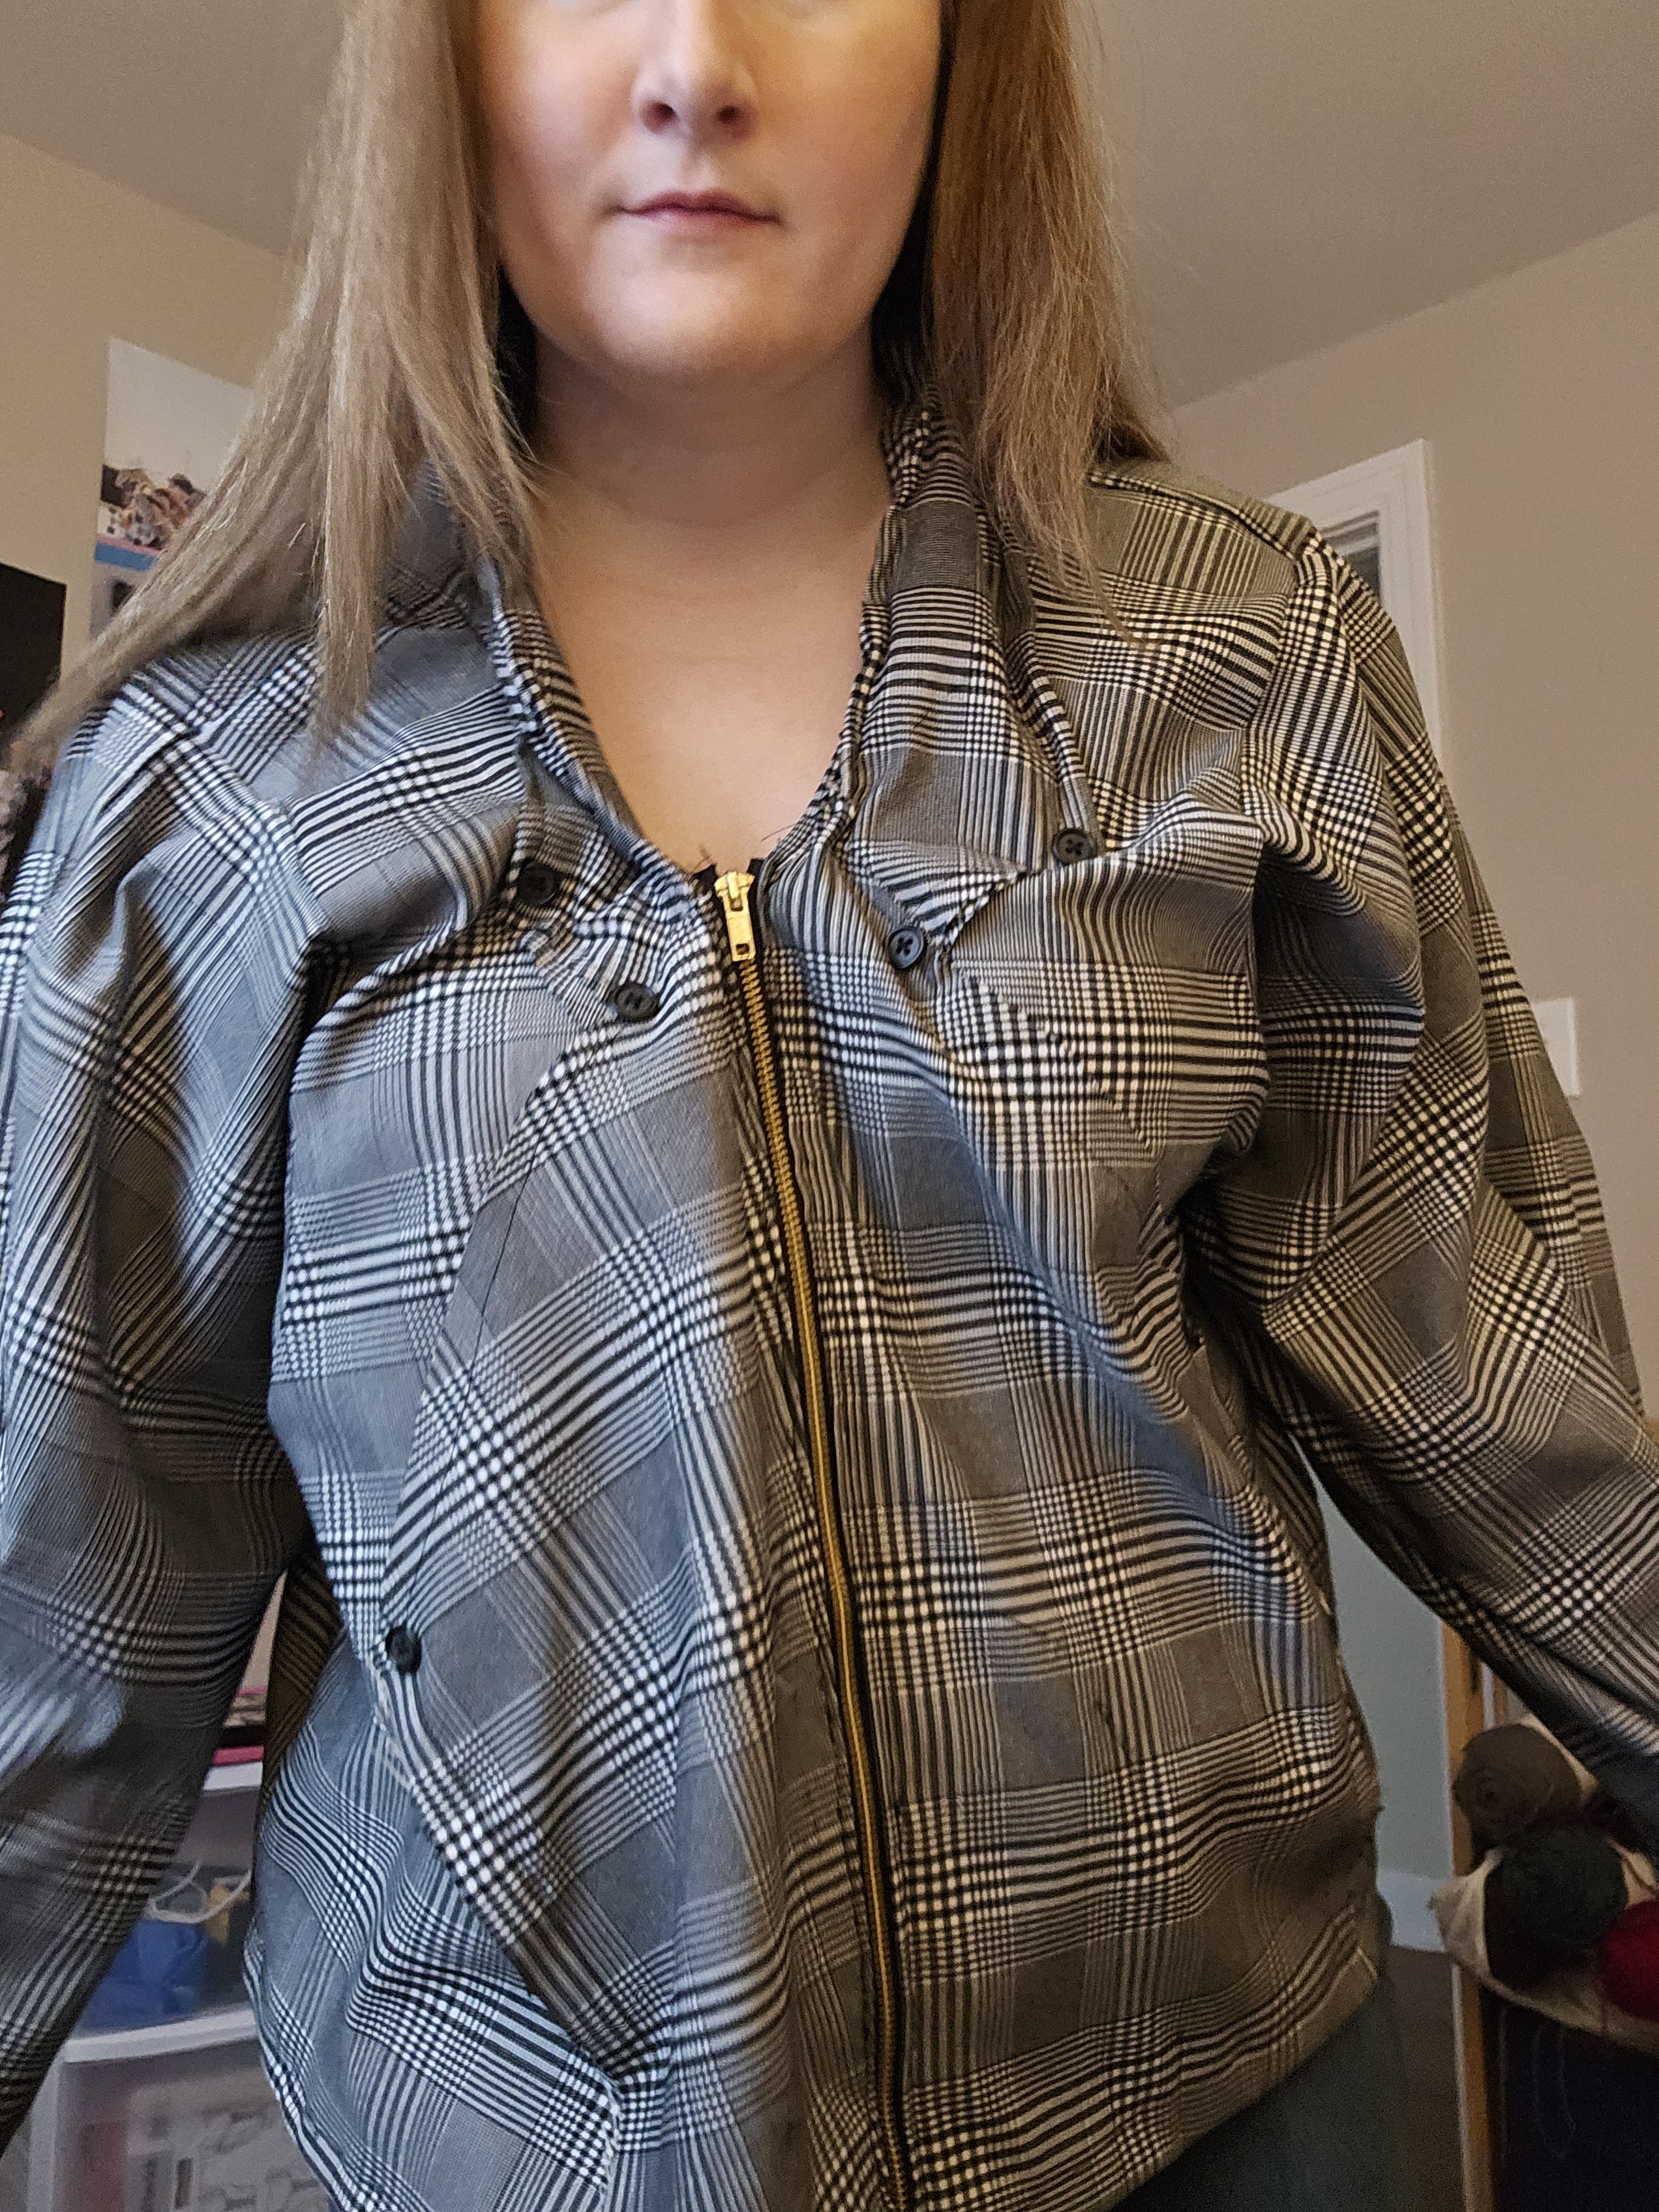
This is how I have styled the finished garment so far! I like it over my black flannel and charcoal jeans for a moody look. It styled surprisingly well over this DIY project where I added a flared skirt to a cropped graphic long-sleeve shirt. This is where I saw the armor aesthetic come through. In 2024 I look forward to playing around with it even more!
Some things I plan on either finding or making, are basic layers I can wear under this vest. Currently, I have my flannels, that random diy-tunic, and maybe some long-sleeve tees but I’m not certain if they are long enough to layer out the bottom of the vest. This is the struggle of adding a brand new item to your wardrobe – how do you integrate it and style it well without buying a bunch of new things? Yeah, I’m figuring that out and until I do it’s going to be some time before I think I can make a truly amazing outfit with this piece. But I’d rather do this responsibly and be a patient person instead of draining my bank account for instant gratification. (Age has done me well in that respect because I used to do the opposite!)
Since finishing the garment, I have either lost weight or the vest has stretched a bit from wear and one wash. It was not sitting well on my waist anymore but ballooning out so I took it in. I took it in at the arm hole seams and gradually took in the waist at the back so the garment has a back center seam which is not the look I was going for but the fit is on point again. Lastly, I knit another section of ribbed trim to lengthen the garment to keep it from riding up, in doing so I made the ribbed trim addition of 60 or 55 stitches, I forgot to take note when I made it, to pull the waist in even more. I like the fit and plan to make another version of this garment with a smaller adjusted pattern.

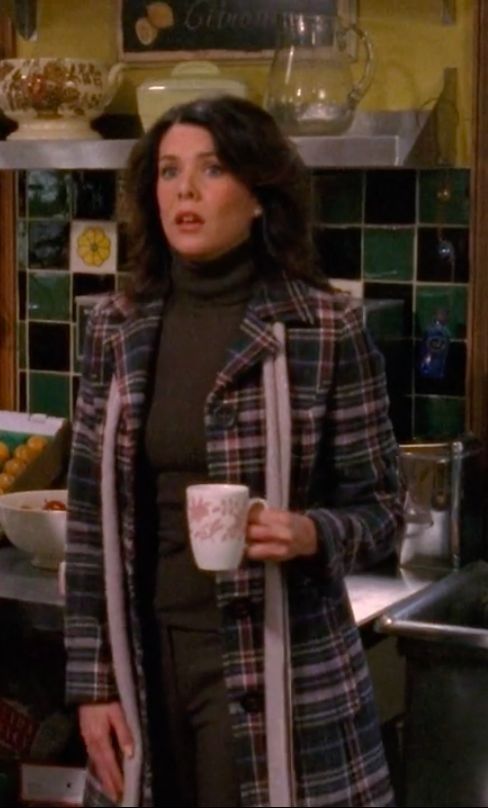
I smell snow. An iconic line from a one-of-a-kind character, in a show that successfully captured the magic of winter despite being filled in southern California. They have me fooled every time!
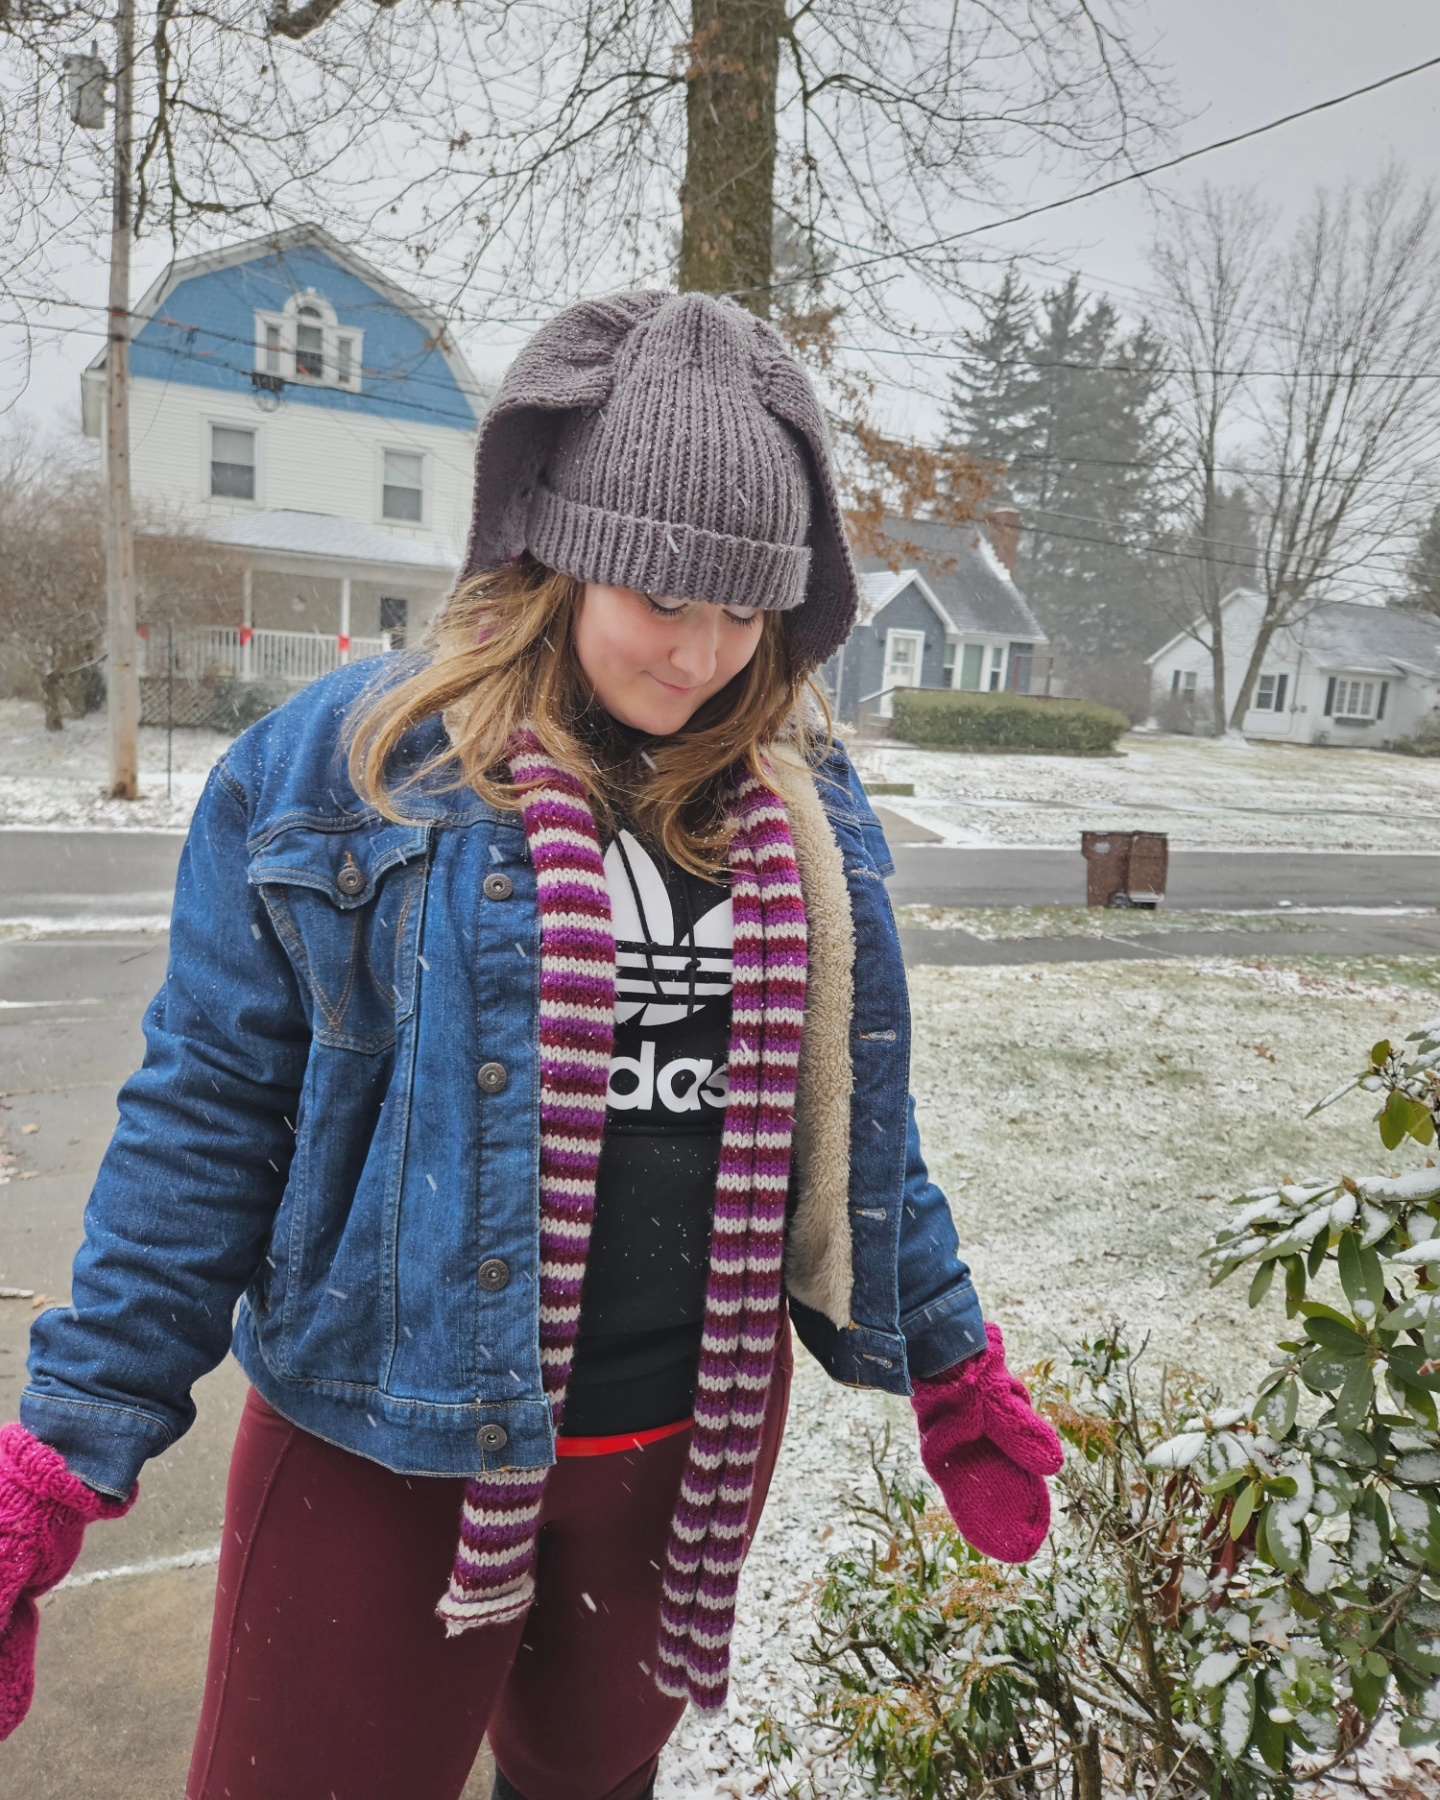
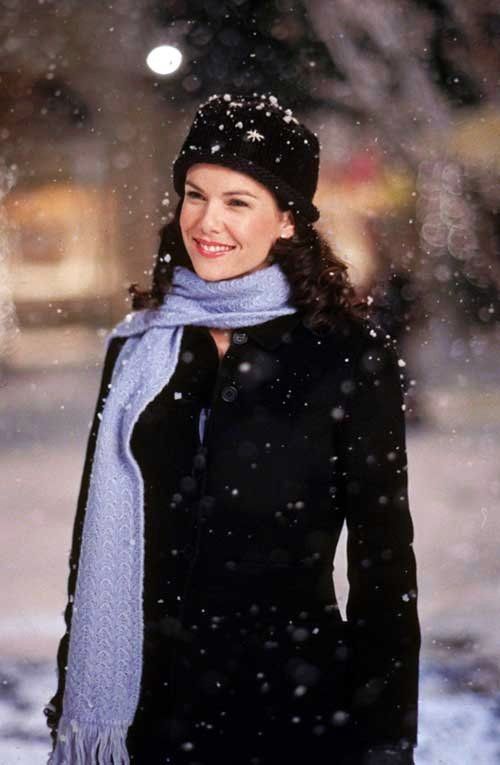
Gilmore Girls has some of the most inspiring winter fashion of any show I’ve watched! I get excited as the temperature drops each fall because I know it’s almost coat season, hat season, scarf season, etc. From season one onward, Lorelai’s love for winter is magnetic! She has a passion for the flakey white accumulation, wrapped up in the atmosphere of cozy nights, and of course her cold weather accessories. She shares this dynamic winter wardrobe with Rory who can rock a good scarf with the best of them.


These items are not just layers or bulk, they are a canvas upon which to paint and express who the characters are by what they wear. They are sentences without words. Personality in yarn. A conversation starter, or simply a colorful way to brighten the gloomy and the gray. A bright point in our day. When I was thinking about adding a new cold-weather accessory to my wardrobe this was my ethos. It had to be special, something I would treasure and wear until it fell apart.
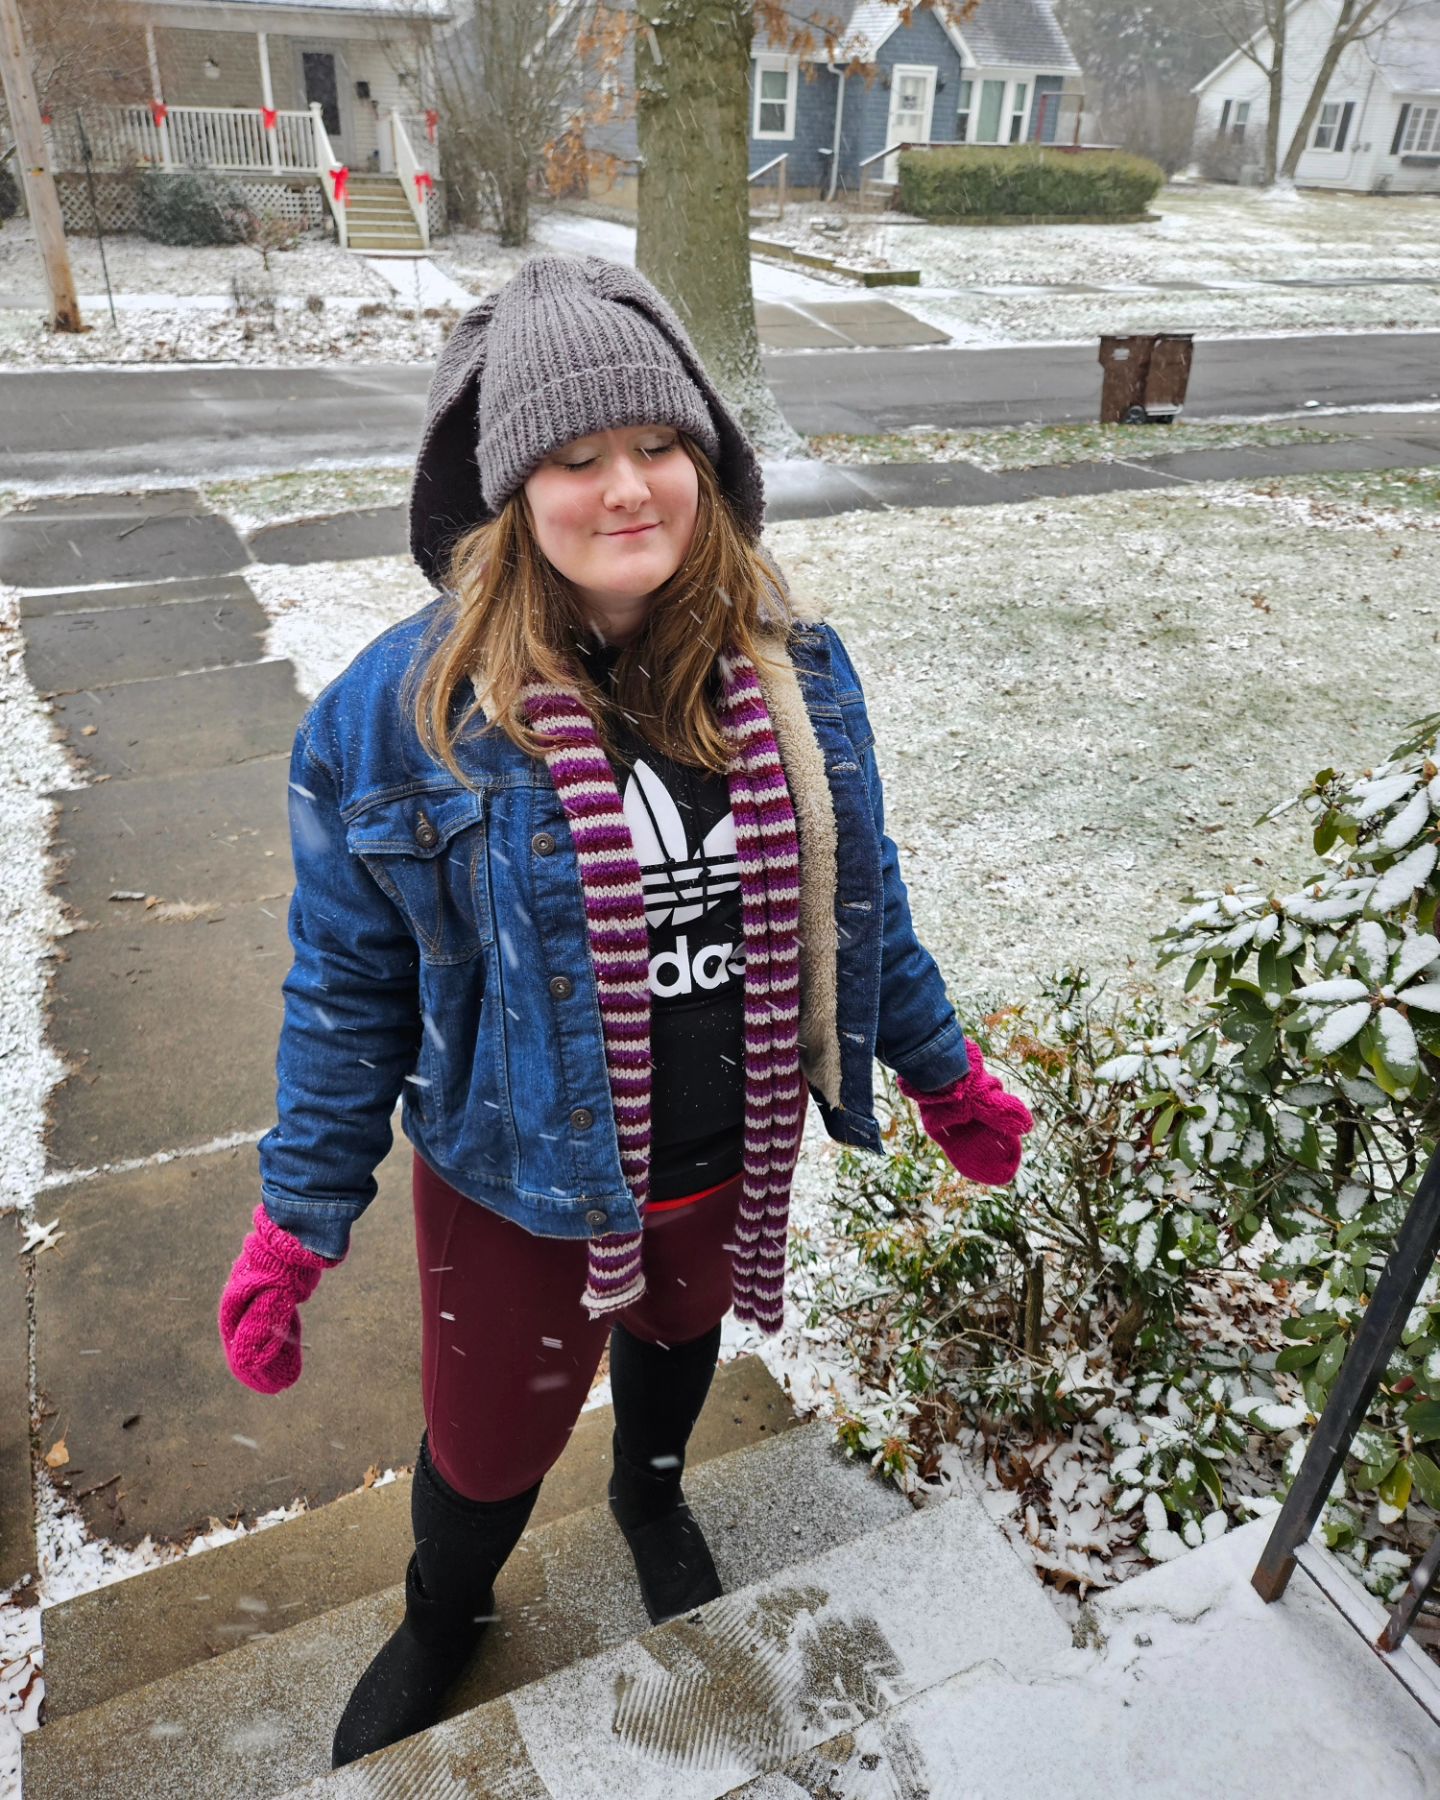
My goal for this winter season was to make a striped, colorful, skinny scarf in the early 2000s, aka prime Gilmore style. To accomplish this I thought I would need a myriad of colorful yarns. You can see from my inspiration photos above, there is a lot of color. In my extant garments from that time in my life, there was also a lot of color. My skinny scarves from Aeropostale in the early 2000s were blended with a myriad of shades, but to my surprise, when I began to work on this project, a small color palette of three produced the most impact.

On US 8 needles with worsted weight yarn, knit for 40 stitches, purl 40 stitches, and swap colors every 2 rows. To a desired length, I believe my finished product is around 48 inches. If you make one, I wish you happy knitting!

To develop a pattern I could rely on I’ve been studying mittens. Different shapes, proportions, and ribbed versus knit-purl have been tested to see what I like to wear and make. It’s been a fun journey! A journey where I’ve learned how pattern development involves skill refinement.
The brown mitten was developed first. It was a project on a whim to make better hand-warming devices than I had before. In the Fall and Winter of 2021, I made mittens out of cheap, bulky weight yarn that while soft looked like whales breaching out of the water instead of hand-shaped mittens. They lacked dexterity, polish, and honestly, lacked taste. They were ill-fitting because they were a prototype and I tried wearing them but tossed them at the end of the season to try again. Enter the brown mitten.
The brown mitten had a good shape. It was created from a worsted weight yarn on size 7 needles compared to the previous bulky yarn on size 11. The brown had even stitches, warmth, and potential! I got so excited that I forgot to write my project notes and boldly decided to make the second one later. This never happened. This mitten floated in my cold-weather accessory bin until I let it go.
Next, I worked on the black rib knit mitten. Instead of a knit-purl structure I made a crucial error and decided to make the entire mitten, not just the cuff, with a rib knit. Why was this an error? Well, the tension across the yarn was stiff and this made the mitten difficult to wear. It also looked messy because I had to reduce my stitches to achieve that curved shape at the top. When you are developing a pattern you are improvising and experimenting so as you can guess my reduction led to uneven ribbing and wonky texture.
It was not my best work and harkened back to that weird breaching whale shape. Not a fan!
The Blue Sheep mittens were a wonderful delight! I picked up a blue tweed yarn at Joann’s on a sale and began making things that made me happy, like this recreation of my Blarney Woolen Mills gloves from the early 2000s. My mom and I bought matching sheep gloves in this color when we visited in 2001. As they wore out we repurchased them online until Blarney Woolen Mills stopped offering them.
I don’t currently have the understanding of how to make gloves so I tried recreating them in mitten form. They worked well except for the fact that I made them too wide at the top and too short at the bottom. I added a piece at the bottom to make the cuff longer. The little sheep brought me so much joy! Unfortunately, I forgot to take notes on this one too, and was unable to make a matching one. I recreated the blue tweed mittens in another batch that I scaled too big and passed them on to my husband because they were simply too big for my hands.
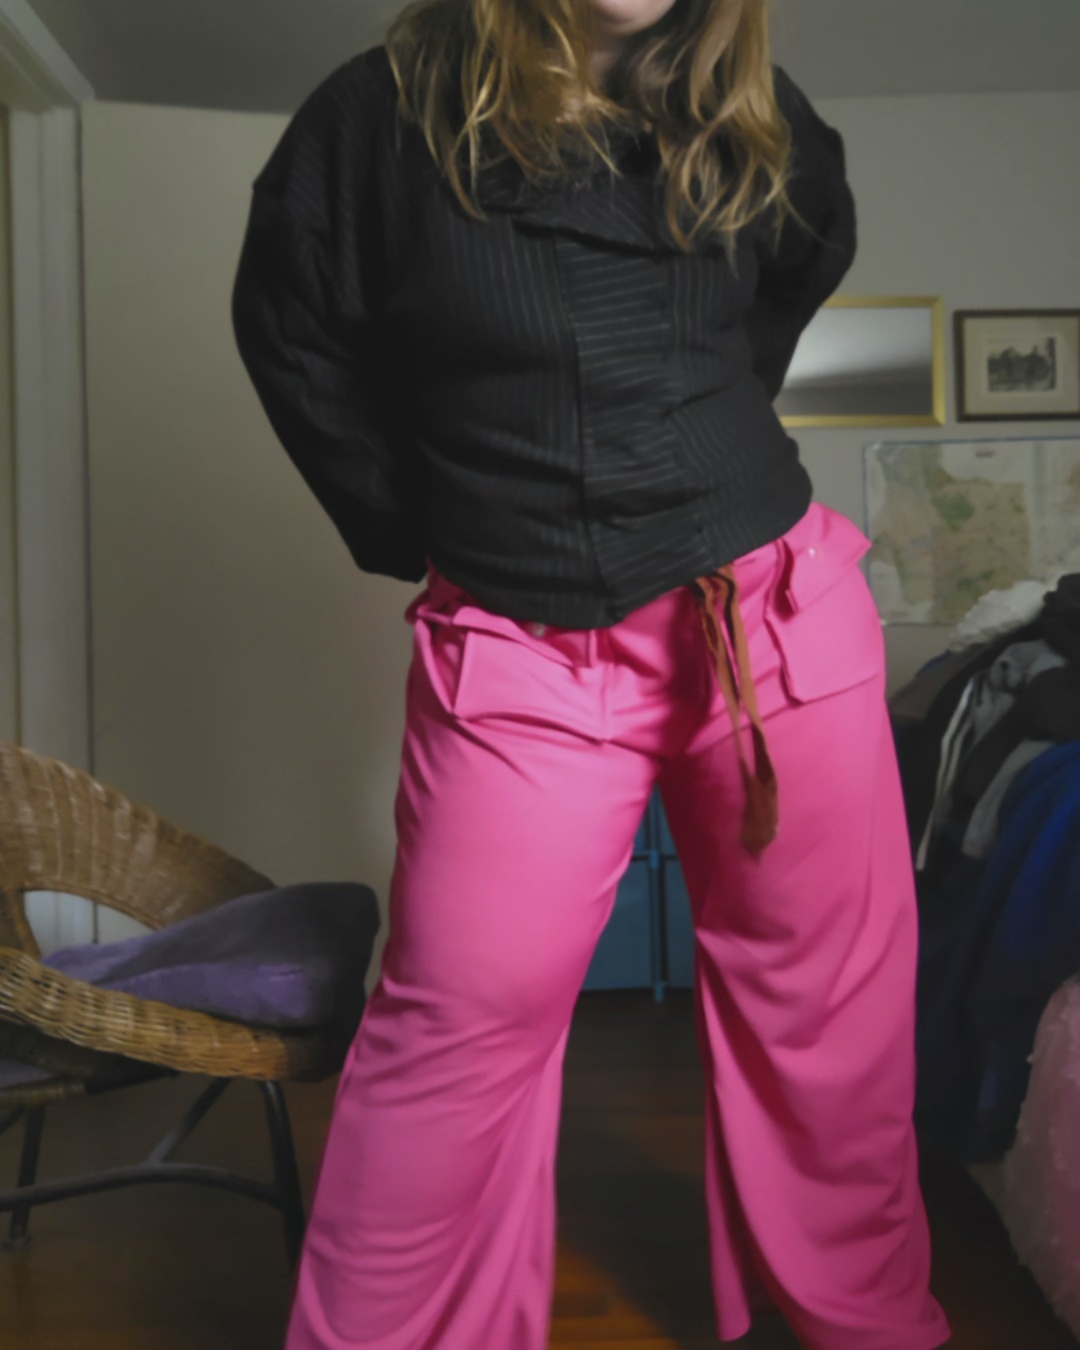
The hot pink mittens are my gold standard. The fit is sublime. The shape is lovely and yes I took notes and changed my order of construction in order to make mittens that match in size and shape. I now knit the mitts first, so four in total, then the cuffs, and lastly the thumb pieces. Then I sew them together at the same time. This system works. The proportions are perfect for my hands and have truly saved this study of mittens from feeling like a multi-year flop!
