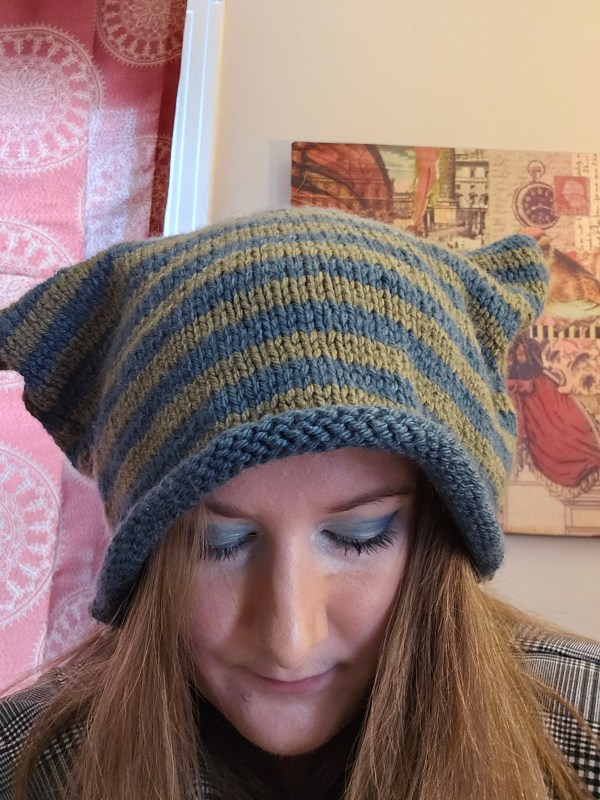
I’ve shared several animal ear projects on the blog before, the Cat Ear Beanie, and my Loverboy re-creation Bunny Hat, but now, without further ado, may I present the Bat Ear Beanie! This was made with less than 100 grams of local spun wool I found at my farmer’s market, held double with less than 100 grams of Knit Picks Snuggle Puff yarn in Neptune. I decided to crochet this hat instead of knitting, as I did with previous projects, to have a bit more freedom in the creation. Crochet reminds me of sculpture or papier-mache. You can always add onto the stitches in ways that the tension of knit stitches does not allow, and for that, the bat ear project seemed like a great place to practice my crochet technique once again.
The hat was crocheted in the round – so much easier than knitting in the round, in my opinion, with double crochet stitches, and was knit like a normal hat. I don’t have an exact pattern for it, but you can easily make it to your measurements. The yarn I used, one strand Snuggle Puff, a heavy worsted, and one strand local wool, a DK weight, resulted in an Aran/Bulky-weight yarn. Because of this, I used a 5.5 mm hook to create my stitches. I chained the number of stitches I needed based on my head measurement and double crocheted around and around until the hat was long enough to cover my ears and most of my head, then I began my decreases. I wanted a gradual curve shape for the crown of this hat. Go slow, and remember, you can always frog and try again if the shape is not what you want. After the hat was complete, I plotted my bat ears.
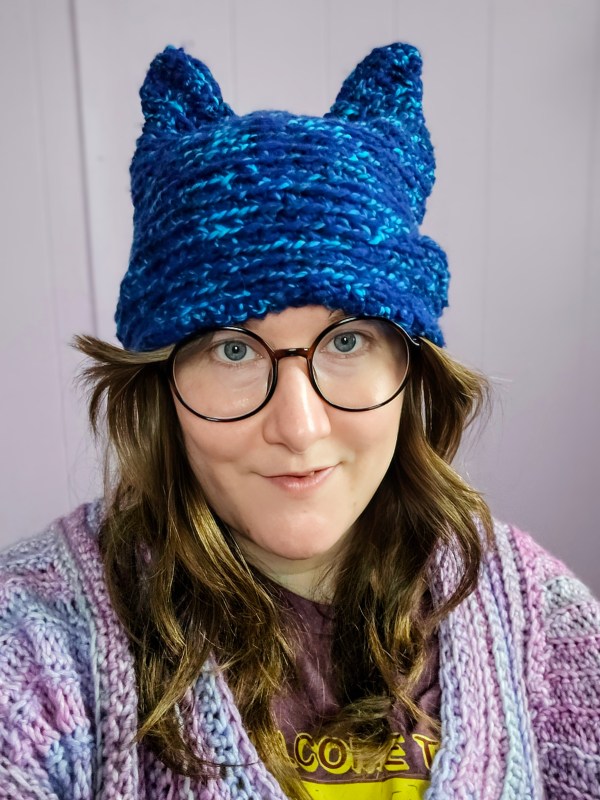
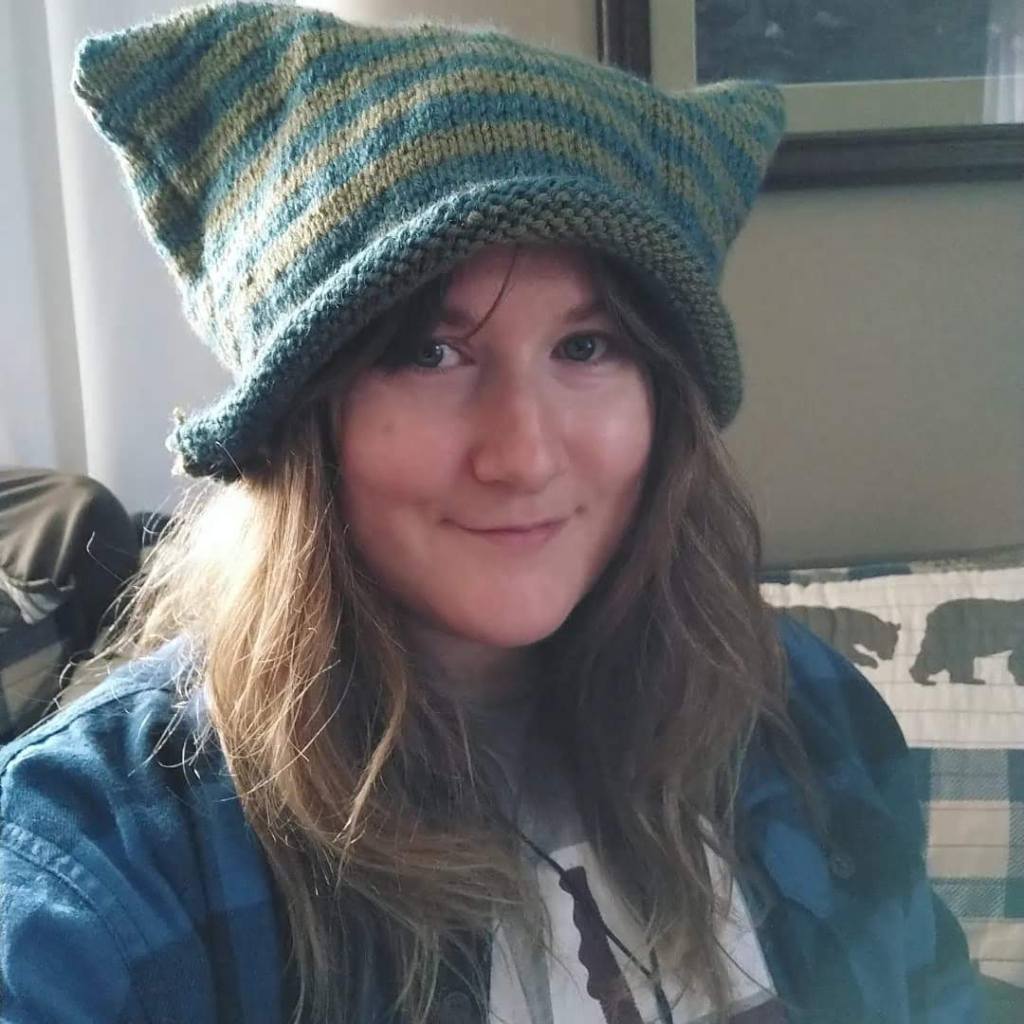
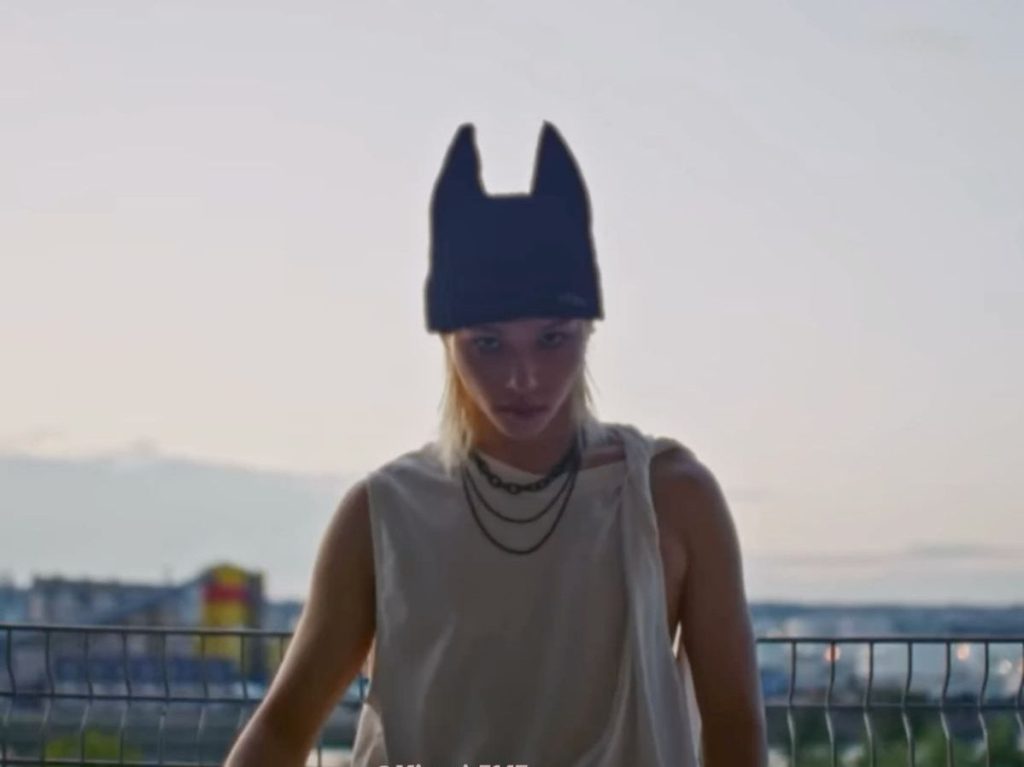
What makes an animal hat special to me is the scale and placement. What I learned with my cat ear beanie was that you can make the ears too wide and too big, leading to a sloppy effect. With the bunny hat, I learned you can put them too close together, not allowing the ears to drape properly. The effect can change the entire character of the piece, so place your ears with care and think about how you want to wear it on your head so that the animal cuteness is achieved. For this hat, I was inspired by the hat Felix from Stray Kids wears at the beginning of the Creed music video from 2025.
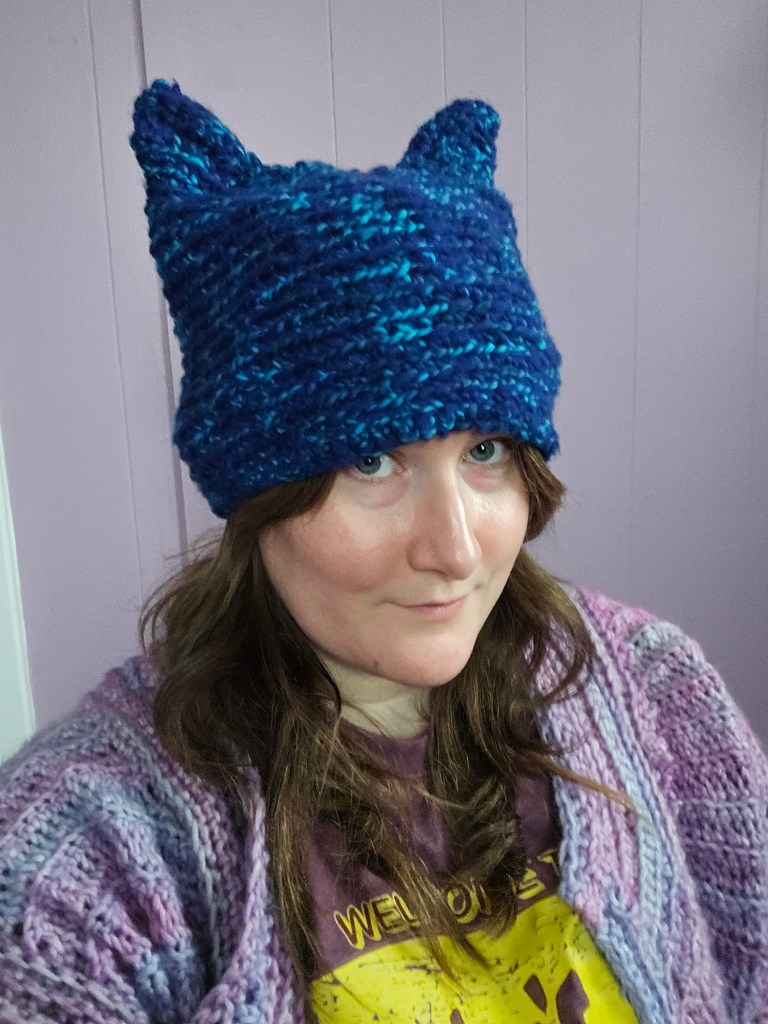
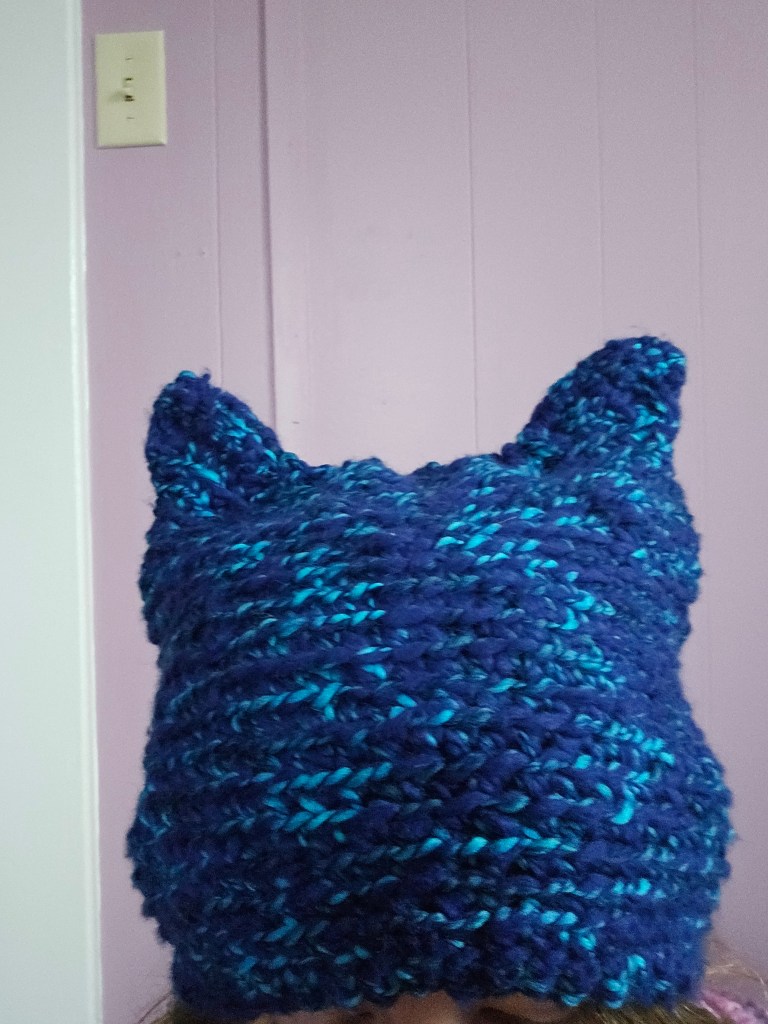
I began my bat ears by picking up stitches on the outside of the hat. I also crocheted these in a round, to give these good structure. By crocheting these in a round, to keep the tension even across the ears, so that they would stay upward like a bat. I used single crochet stitches and tapered the ears accordingly, simply weaving in the end to the inside of the hat, with a tapestry needle.
Why did I choose a bat? To raise awareness for bats. Did you know that bats are not a nuisance, but an essential part of the ecosystem? But due to misunderstanding the nocturnal animal, mainly I would say due to vampire lore, they are seen as dangerous. Yes, they can carry rabies like many wild animals, but this is not a reason for the animal to go extinct. Their habitats are under threat, and they deserve the space to thrive. They eat pests, contribute to the pollination process, and help spread seeds.