As a yarn enthusiast, sometimes I have many skeins of different yarn that I don’t know what to do with. This happens when I buy sale yarn, find unexpected yarn secondhand, or buy too much of one color for a project. Purchasing the right yardage is definitely a learning process!
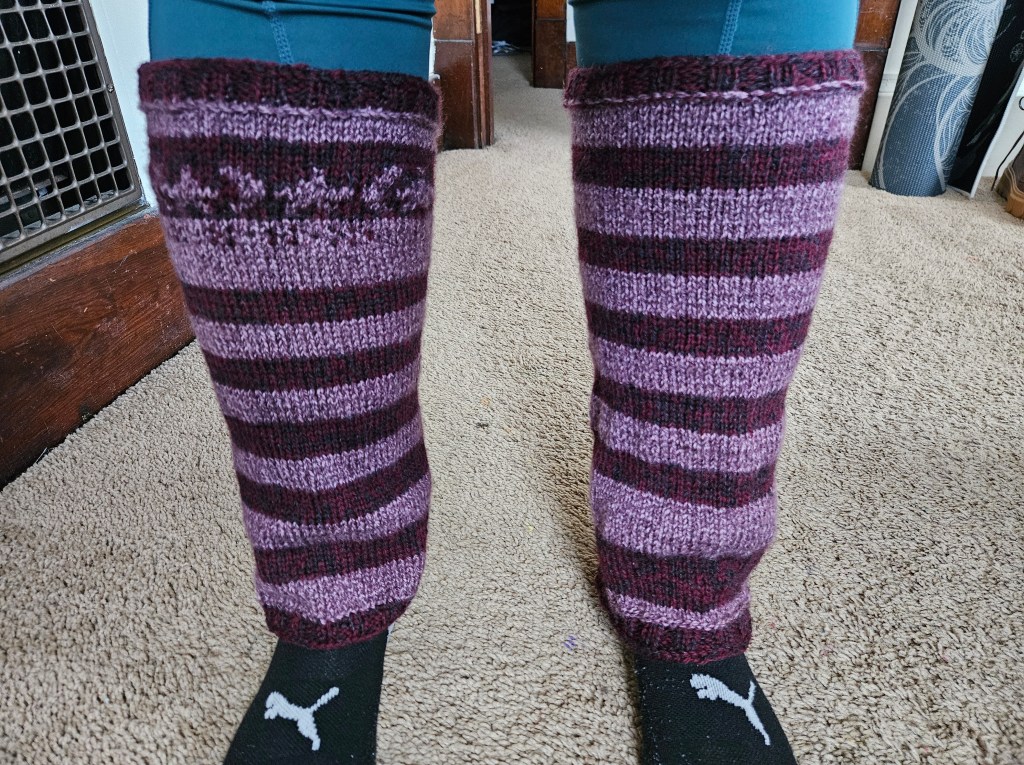
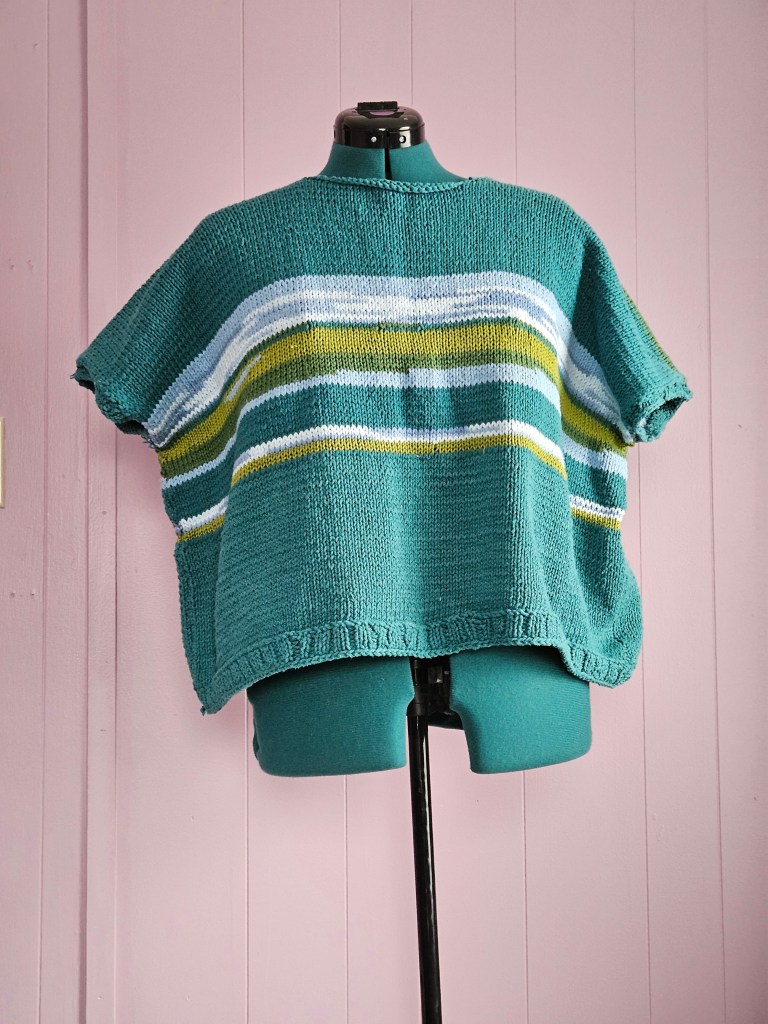
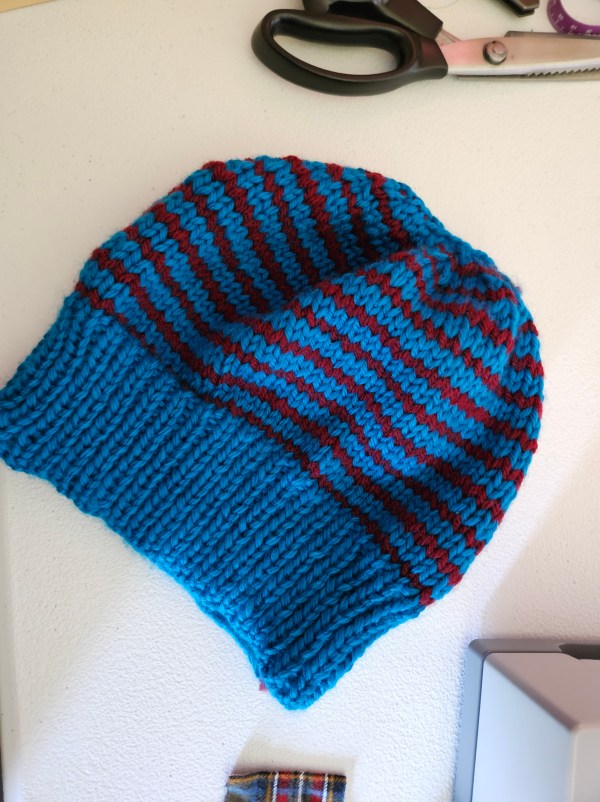
So, how can you make your yarn stash go further and use up those skeins you don’t know what to do with? An easy fix I’ve found is to get really scrappy, lean into stripes, experiment with colorwork, and my new favorite – blending yarn by holding two strands of different yarn, even variegated yarn, to make something fresh and inspiring! This has helped me need to destash, donate, or feel weighed down by my yarn inventory.
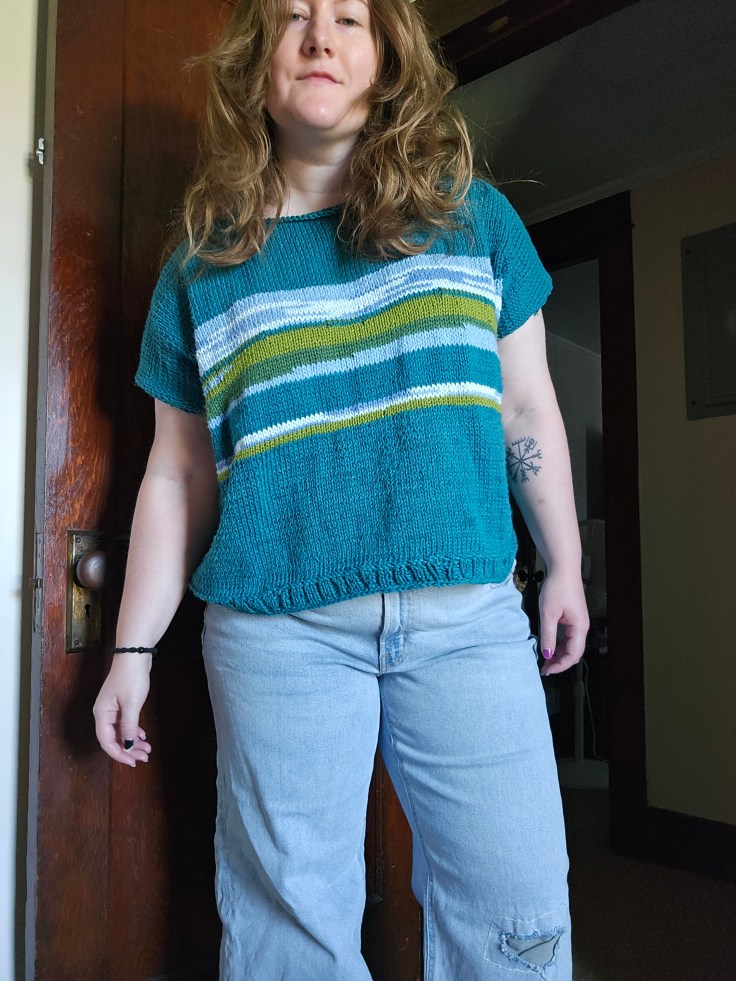
Once you have a color story, what do you stitch up? There are the tried and true tanks, tote bags, and scrappy cardigans, but what about something outside the box?
- Baskets
- Small Storage Bags with Zipper
- Shorts
- Sailor Collar
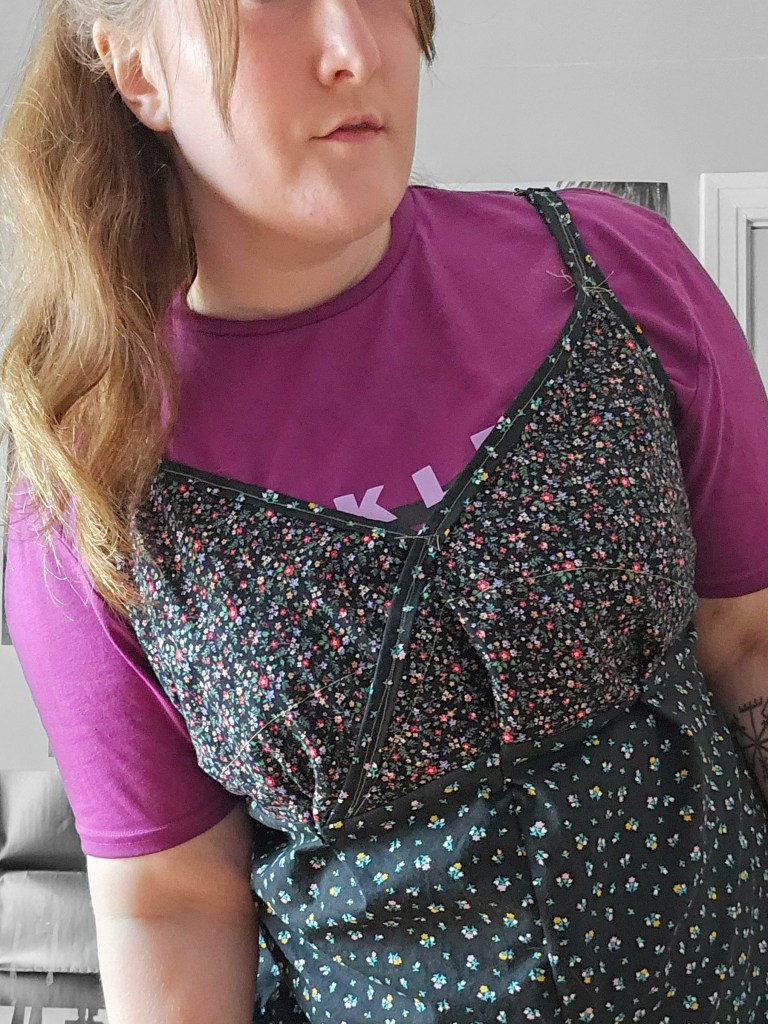
- Overalls
- Mini Skirts
- Koozies
- Tapestry
I get stuck in the idea of knitting as wearables, but it can be used to make so many things, and at the end of the project, you’ll have something truly unique from your own hands!
One of the most satisfying ways I have found to use up random yarn is colorwork. Hints of color with scrap that add a touch of whimsy? Sign me up!