Getting Creative with My Stash: The Black Raspberry Slip Dress

I’ve been challenging myself to be a more frugal sewist this year, using up my stash of fabric and resisting buying fabric that catches my eye. It has been harder than I thought. Mood Fabrics is pretty relentless with its advertisements, Hobby Lobby’s every two-week fabric sale calls, and Joann Fabrics sends me flyers and coupons on the regular, but I had this feeling I needed to be more budget-conscious this year and it is starting to make sense why (more on that later).

To do this, I rolled up my sleeves and dug into my storage closet, to my Gram’s quilting fabric stash and got creative. These two fabrics spoke to me, but the yardage of the ditzy floral was small maybe a half yard? This is the most frustrating thing about using deadstock fabrics, vintage or remnants, you get the yardage left and that’s that. I wanted to play around with bias tape finishing with a contrast fabric, which I thought the black floral would compliment the ditzy floral. Originally my plan was to make a camisole top, but the more I thought about I questioned if I would wear it and with what? Instead, I pivoted and used the rest of the black floral to lengthen the top into a dress. To keep it cohesive I color-blocked the fabrics – black floral straps, ditzy floral bodice, black floral skirt, and lower ditzy floral skirt.

This was a new style for me, I usually stick to one fabric but this was fun and from this experience, I feel more inspired to design garments from a scrapy style. It opens up a whole crayon box of possibilities for remnants, smaller yardage purchases, pattern mixing, and contrast piping! This is going to be a fun new world!

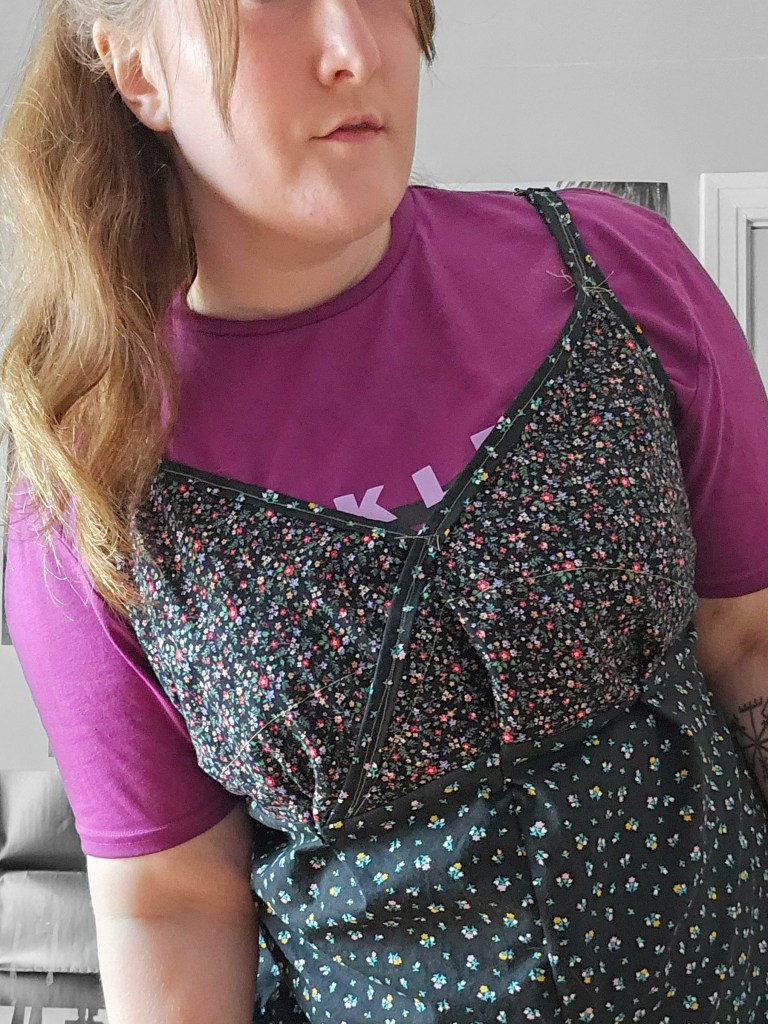
I decided to draft my own pattern for this dress by draping the bodice on the form. I created the straps by joining the pieces of bias tape at the top of the triangle bust piece for a seamless transition and to add strength. I added a side zipper to tailor the garment closer to the body but account for the zero amount of stretch in this fabric. It reminds me of a slip dress but I feel more comfortable in it because it is a cotton fabric. There is more structure and opacity. The dress has a more casual vibe where I can style it with a t-shirt underneath if I desire to.

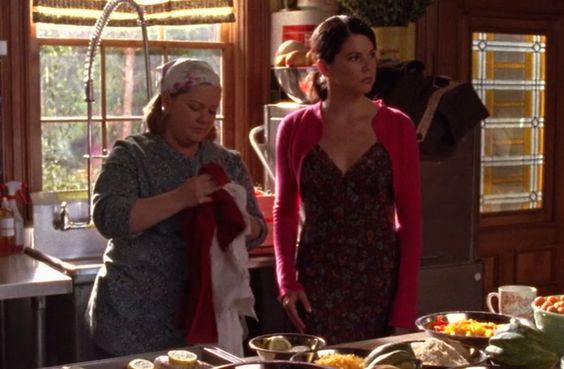
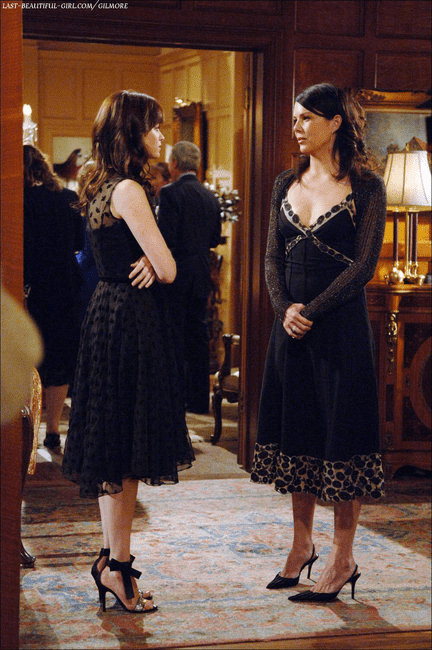
I think subconsciously, I was inspired by Lorelai Gilmore’s dress styling in these episodes. I love her style and I have found that the styles she wears on the show suit my body type and personality more than Rory’s dresses. It’s a dress style I hope to experiment with more by using different fabrics and textures.

Stashbusting in 2024: Color Palette Knitting

A goal I have in 2024, is to go through my yarn stash and use what I have to create unexpected pieces. A lot of my yarn has been sitting on my yarn shelf for a year so I decided to try a new approach to my design process – to create a garment from a color palette. I chose these five yarns to make a striped and joyful sweater that encapsulates the coolness of a winter landscape, yet the minty green hints at the spring yet to come.

This project was a journey! I didn’t quite know where it was going to end up. At first, my plan was to make a striped cardigan, but I worried about the sleeves. I thought the stripes would be too busy if carried on to the arms. I also had fears of playing yarn chicken. So I pivoted to an unusual piece because of how cool the bodice looked over a t-shirt. In the climate I live in there is no reason to wear an acrylic yarn vest over a t-shirt, but I couldn’t get the image of that out of my mind, so I made a “t-shirt” looking sleeve with the light gray yarn. For length and a bit of vintage flair, I added a peplum that took this piece to a place of whimsy that brings me joy.

When I look at this piece, I smile. When I wear this piece, I am filled with joy and sunshine. It is the first piece of knitwear I have designed that I think would show wonderfully on the runway and that is freaking cool! Lastly, I added a navy blue collar to the neck opening and gathered the neckline slightly so that it sat on my shoulders properly. The peplum was knit in two pieces where I continued the pattern and knit the sections wider than I needed to pleat it. Now that I’ve blocked the piece in the dryer it floats over the body and looks so effortlessly.

A new technique I used for this sweater was to knit one side at a time. I knit I believe 60 stitches across and began my striping pattern, switching colors after three rows. Next, I bound off stitches at my desired armhole position and carried on to the neckline where I again bound off stitches which made the shoulder more narrow than the rest of the garment. I then continued to knit down the back of the piece, mirroring the neckline by casting on a new row. I continued on to the armhole where I again, cast on more stitches and then followed the piece down to match the length of the front.

I did this a second time on the other side, mirroring the original. It is important to make sure you are mirroring so that the two pieces will match up knit side + knit side or else one side will be inside out – which is easier to do than you think! I ruined a previous project by doing that and had no choice but to rip it out. That’s okay! It’s all a part of the learning process!

If you’re a knitter or crocheter, I hope this project inspires you to get creative with your stash and make something out of the box. Or if you’re an artist, a maker, or just a human reading this, get creative with what you have! It is a fun journey. Thanks for taking time with me today! I hope you know that you are worthy, you are loved, and you are special to me. Until next time ❤

Create a website or blog at WordPress.com

Up ↑