I was gifted a set of skeins. This yarn lot was made from peruvian wool, bulky weight in shades of slate gray, purple, and navy. It was some yardage but not enough to know what to use it for. 500-600 yards always trip me up. It’s close enough to be a garment so my mind wanders down that path, but too much to be an accessory, unless its a really extra, truly special accessory. I used to knit big scarves like that. I think maybe I got burnt out? Or maybe the scarf as a project feels like I am staying stagnant, not trying hard enough to make? I’m uncertain why I see it from a view point of melancholy.
Around the same time I was also passed down other bulky weight yarn, a green and red acrylic, a bright blue of wool-acrylic blend, and an olive green much chunkier fiber of many balls of yarn. More than I knew what to with. They were all random, similar im weight, and sort of related in color story. Aside from the red, the red was too bold.
Have you ever seen those absolutely scrappy sweaters? Those ones, usually worn by someone in Copenhagen or another chic city where the handknit garment is exquisitely random? A varied and unplanned web of yarn scraps, carefully made into a uniform pullover or cardigan. I love them. I pin them to boards. I save the posts. They fill the void of completeness of most projects, whether fabric or yarn, because they gobble up the bits left over, like a quilt, to rid the maker of left over yarn without wasting it.
Several months ago, I started a new side quest in knitting – making socks. It’s a windy and treacherous climb, fraught with new equipment and an entirely new approach from a garment like a sweater. At the beginning it’s like casting on a mitten or a small hat, yet as time goes on you realize you are somewhere between a knitter and a sculptor, looking for the heel shape in your amphorous block of yarn. It is the most challenging garment I’ve made, culminating in going over the waterfall, at least that’s what turning the heel felt like at times.
What makes this ubiquitous garment so hard to learn? It’s a project of multi-tasking, like dribbling a basketball and moving at the same time. You are not only knitting a pattern – a sock, but you are also learning it on a new court – double pointed needles or with a magic loop configuration on circular knitting needles. There is also the third option, the one I leaned on when I was baffled by hitting gauge on my project and fed up with ripping out my progress over and over, knit flat tube socks that are sewn together to form the tubular shape.
My first two completed sets of socks were made this way, with straight needles to help me process all I was learning from these new techniques. It was the confidence boost I needed to keep going and finish the sock. I get overwhelmed in new projects when nothing is familiar but taking one part, flat knitting, and keeping that as the control part of the experiment let me knit and see how it should look and feel when the socks are completed. To better understand what I was working towards on double pointed needles or circular needles. Flat knitting also gave me the chance to try something I’ve never done before as a knitter, I cast on two socks at a time on my needles. It was incredibly satisfying to finish each sock at the same time!
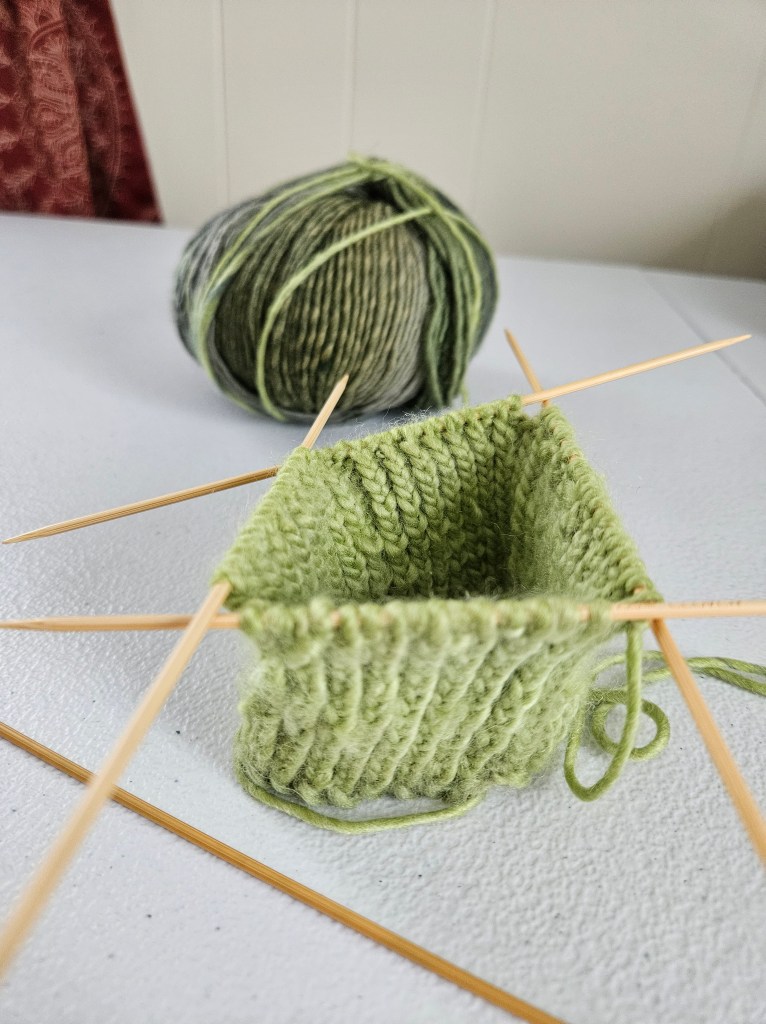
Attempt on DPNsFinshed tube socks pair knit at the same time on one set of straight needles
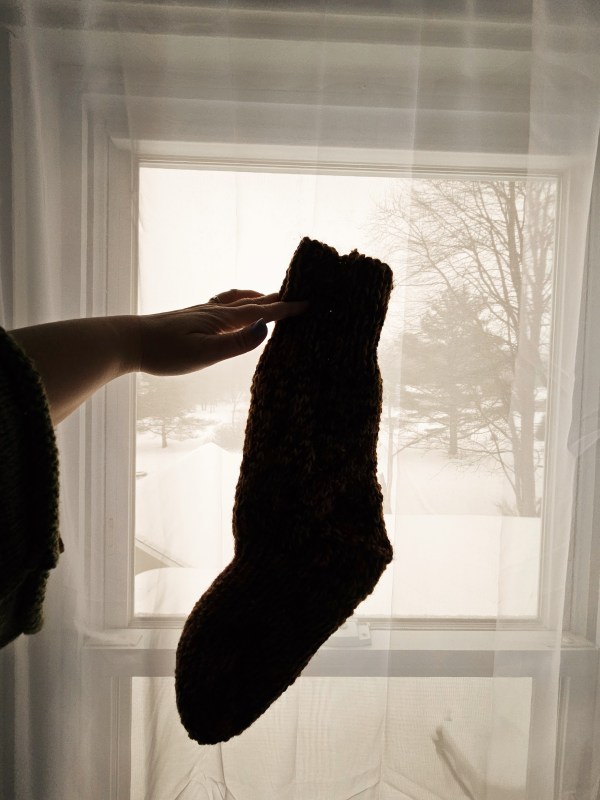
With this new found confidence I carried on and cast back onto the straight needles, making a brown pair of socks from recycled acrylic that wash and wear well. These green socks above are a blend that is mostly wool with a hint of acrylic in the yarn and they are hand wash or steam only for me. I wash them gently with either shampoo or conditioner in the sink, carefully to prevent felting. For my next project I wanted to explore fiber content, so I cast on a sock with three strands – two fingering weight wool and one acrylic. I chose this composition to test wear and washability, to make these a sock I could worry less about washing yet would insulate my foot, this was during a month long stretch of cold weather, dipping into the negatives fahrenheit so my mind was on cold weather. I decided to make these chunky socks into a sock I would use to insulate my L.L.Bean duck boots which are waterproof but are canvas, not insulated at all. They are a boot I want to wear for cold weather and snow, but they make my feet cold even with two pairs of socks.
As I got to the heel portion, I knit these socks cuff down, I made a last second decision and transfered my project to my round needles, joining the row into a round a stitches. With my heel turning reference book in hand I began turning that heel! It wasn’t as bad as I thought it would be! I don’t think I executed it perfectly, but I conquered a fear. Now, the tough part of the process is that my handwork for circular knitting is subpar. I hold my stitches too tight and the tension hurts my fingers the longer I knit on a project. The only way to improve this is to keep practicing, yet I don’t want to practice. The second sock is cast on but I have yet to make progress on project because I am dreading the circular process and those tight stitches that come from inexperience.
Is this sock the best fitting sock I’ve ever made? Yes! Is it better than store bought ones? A 1000% yes, and I’m a novice so they are going to get better with practice. It’s an art form we wear everyday without thought, but it is truly a sculpture of yarn. Next time you put on a sock, have a moment of appreciation for the geometry, the symmetry, and the sculpture adorning your foot.
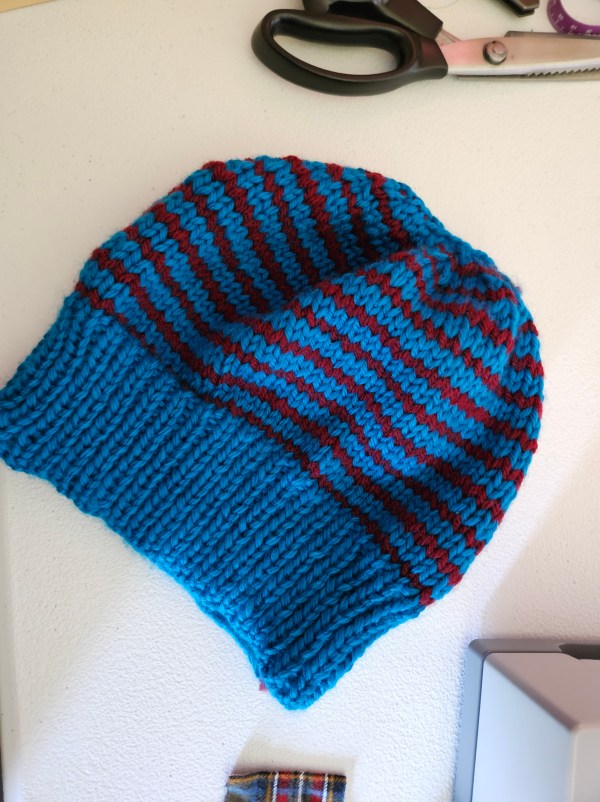
Do you ever pick up a knit object and the fiber feels buttery soft? That’s exactly how this cerulean blue yarn feels to the touch. It is a bulky weight yarn blend of super wash Australian wool and acrylic fibers. It’s a yarn that I believe has been discontinued by Knit Picks but I hope they bring it back because no project has been a joy to knit up like this one. It glided across my needles! It’s one of the reasons I chose to knit this fiber into a hat that would be soft and warm on my head. It’s cozy. Another reason was because this skein of yarn was a destash from my mom, there was only one skein so I decided to make it the focus of one small project.
I’m not very good at using one solid color throughout my projects so I paired this was a Brava bulky in red also from Knit Picks to add visual interest to the hat. I think it looks like a hot air balloon from an illustrated book. An imagination filled tale, like how the heffalumps and woosels turn into hot air balloons during Winnie the Pooh’s trippy dream during the flood. I love how bright the contrast is between the delicate red lines and the vivid water-like blue. It has a bit of the Apres-ski vibe with the vivid color story of the late 80s and early 90s.
I made this knit hat on size 10 bamboo straight needles in two pieces that I seamed together. I made the decision to construct this hat using two pieces because I had not made a hat in over a year and felt a bit rusty. I also wanted control of the taper of the crown, without needing to also refamiliarize myself with circulars or double-pointed needles. I made this hat in August 2024 and I was coming off the big move into the storage unit for two weeks and then into the new house. To be honest, I was feeling a bit creatively stir crazy from the busy summer. I’ve learned a lot since I made this from my dabbling with sock knitting and could confidently make this now with a different construction, but as a quick beginner project or knitting warm up when you’re feeling rusty it’s an easy to make project. I believe I made this over one weekend, potentially one day? I can’t remember how focused I was.
You will need a tape measure or a knit hat that fits you the way you would like your hat to fit for reference. Cast on stitches according to your head size for one half of your head. Knit ribbed stitches for 3 inches and then switch to stockinette for the rest of the hat. Switch yarn at the end of rows and don’t decrease too quickly. I’ve made this mistake before. You will need the width across your crown to join at the top and you can decrease quickly at the end so be filled with care as you taper and don’t hesitate to frog and try again for the right fit. Adding a safety line where you plan to unravel your project to, is a huge life saver! Mirror your second side and stitch the two halves together with a tapestry needle. An easy knitting project that is useful and can help you practice skills like purling, ribbing, yarn over decreases, crown shaping, and yarn tension.
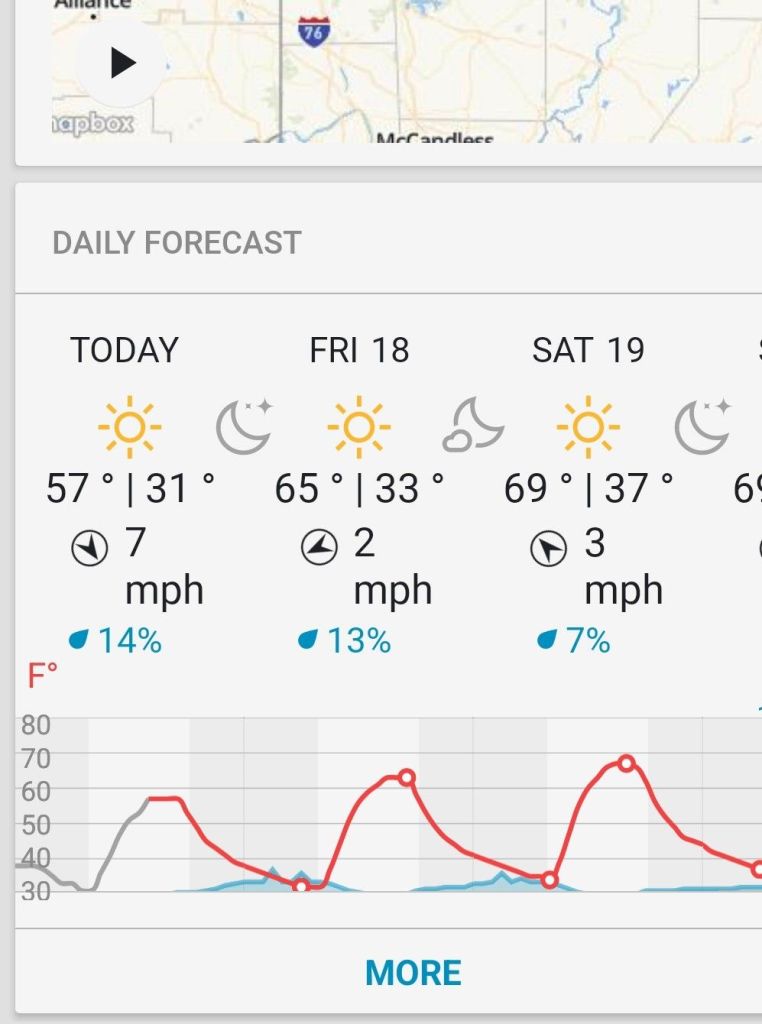
I find myself in an October slump which I discussed in a previous post. Last year I was much less productive with my writing goals in October than I wished, and its happening again! I’ve paused on sewing and have taken time to recharge, yet its still happening! I think I know why, the weather.
Since we were in Erie, my hometown has been having some pretty cool temps which has sent me into the knitting zone. I have been working on a cowl, some mittens, leg warmers, and reading up on how to make socks.
It’s been my trend for a while, I tend to focus on sewing fall/winter pieces in August and September to be prepared for the first cool days. Then in October when it drops and I get that first taste of cold hands or ears, I hurry to knit those cold-weather accessories. Like a light bulb goes off. It’s fun making things with the seasons too.
Stray Kids have been going insane with song releases so far this month too with two soundtrack releases for for the anime Tower of God and a third collaboration for Arcane on Netflix. Itzy and Ateez released new albums in October as well, plus Aespa’s upcoming release on the 21st, it’s been a distracting few weeks. Not to mention Mario Party Jamboree which I cannot wait to play tonight!
Currently, I’m dabbling in colorwork and its unlocking this whole world of possibilities for intricate storytelling across the canvas of wool.
I have a few knitting projects I excited to share that were the start of these colorwork projects. I just need to motivate myself to put down the needles and type.
Maybe I’ll do that now? Okay, I’ll meet you back here in a few. 🙂
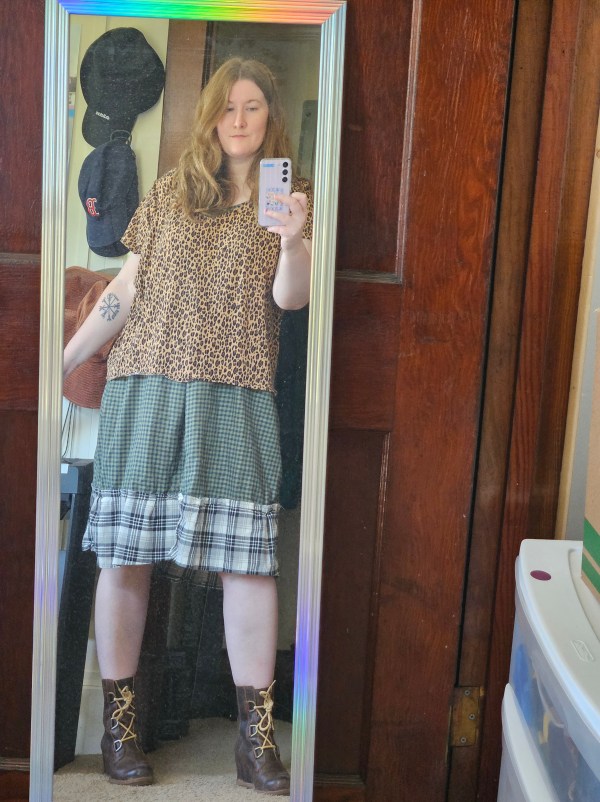
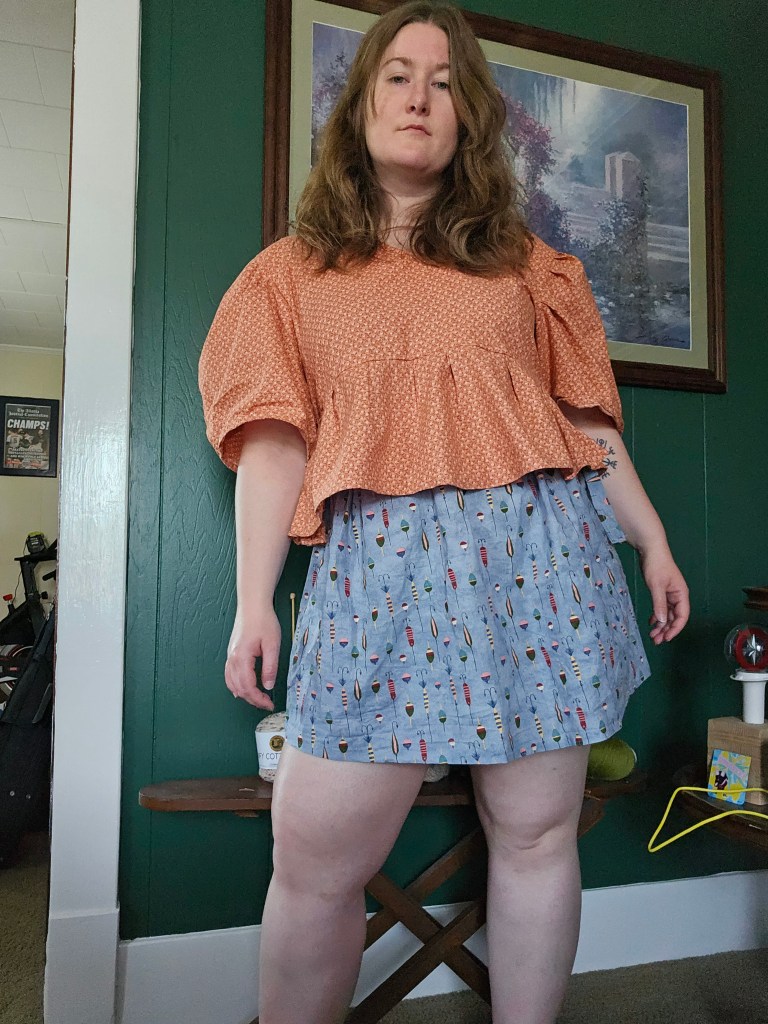
I’ve been sewing my clothes for nearly four years now, which had some unexpected results. I knew I would like the clothes I made better than those off the rack once my tailoring skills caught up to my ideas and that has happened. I didn’t expect the rocky period of making things I liked that didn’t fit into my wardrobe. This has been a problem over the last two years. I think because my style was changing. I think the clothes I was buying at stores were not really me but more a trendy persona to blend in. Going into 2024, I wanted my clothes to be more cohesive.
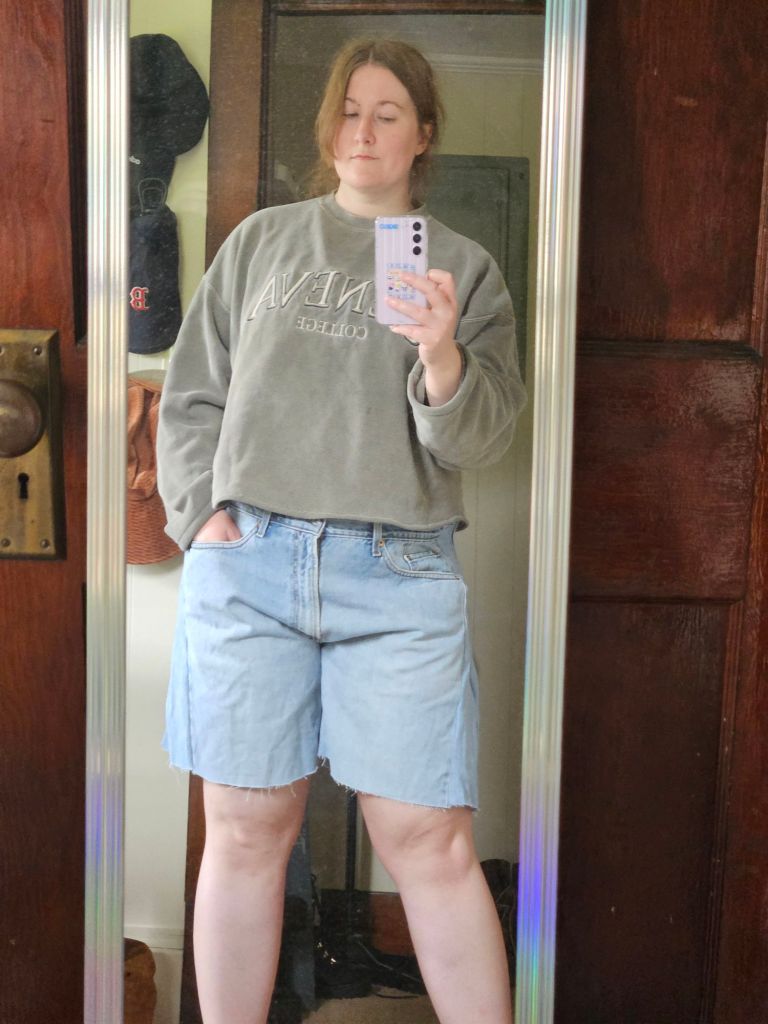
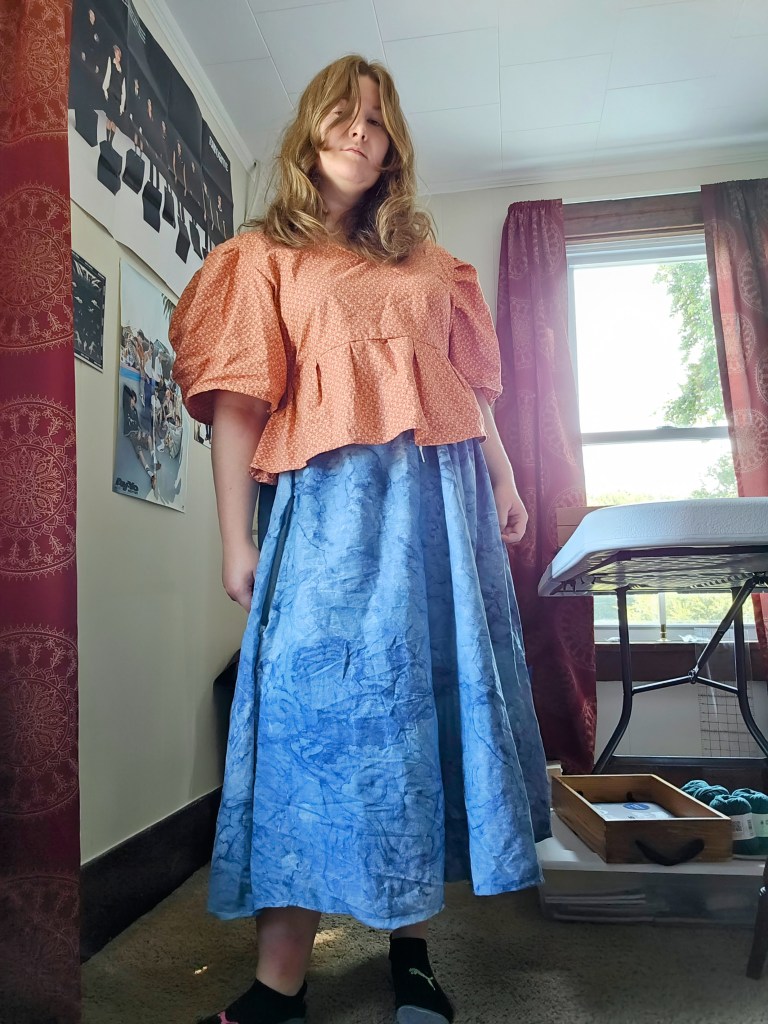
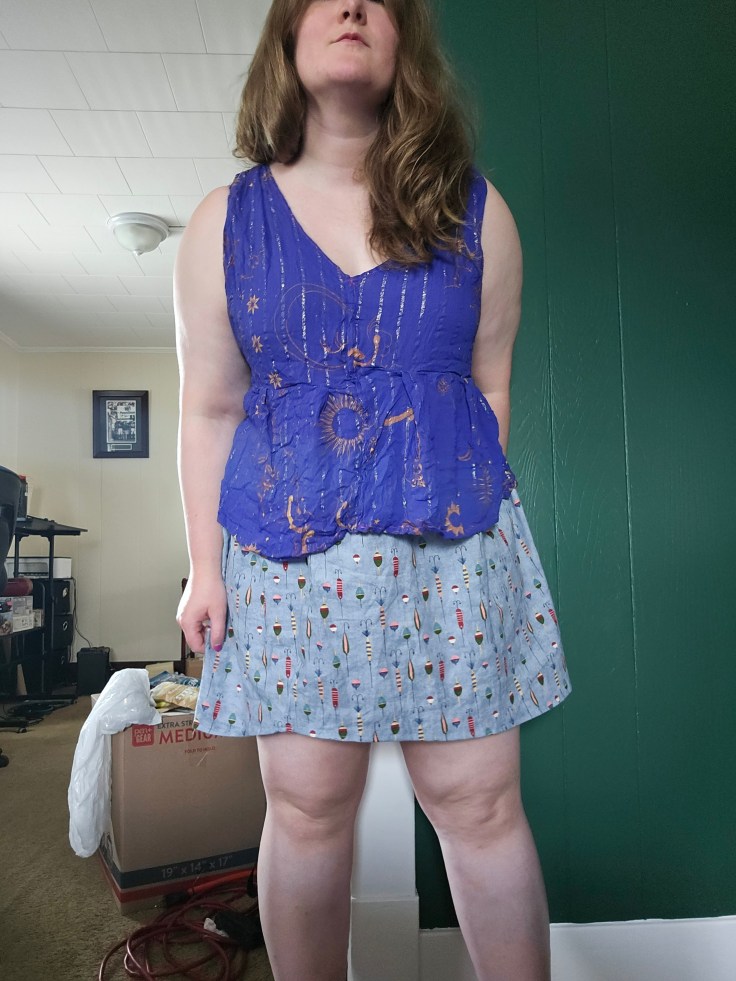
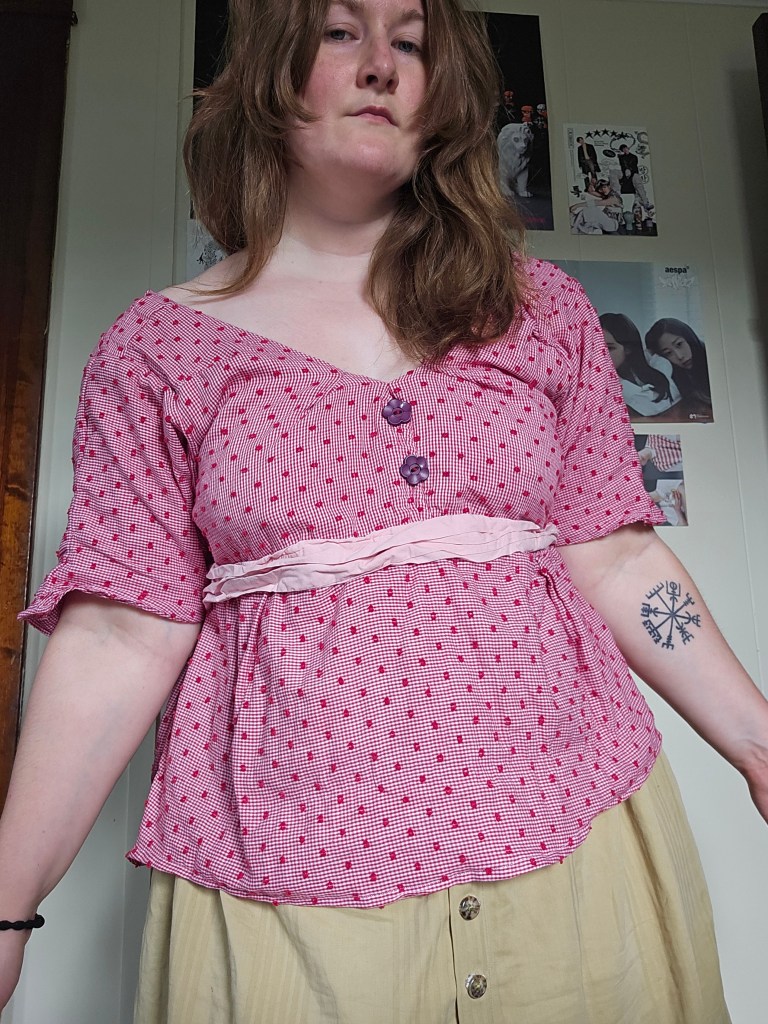
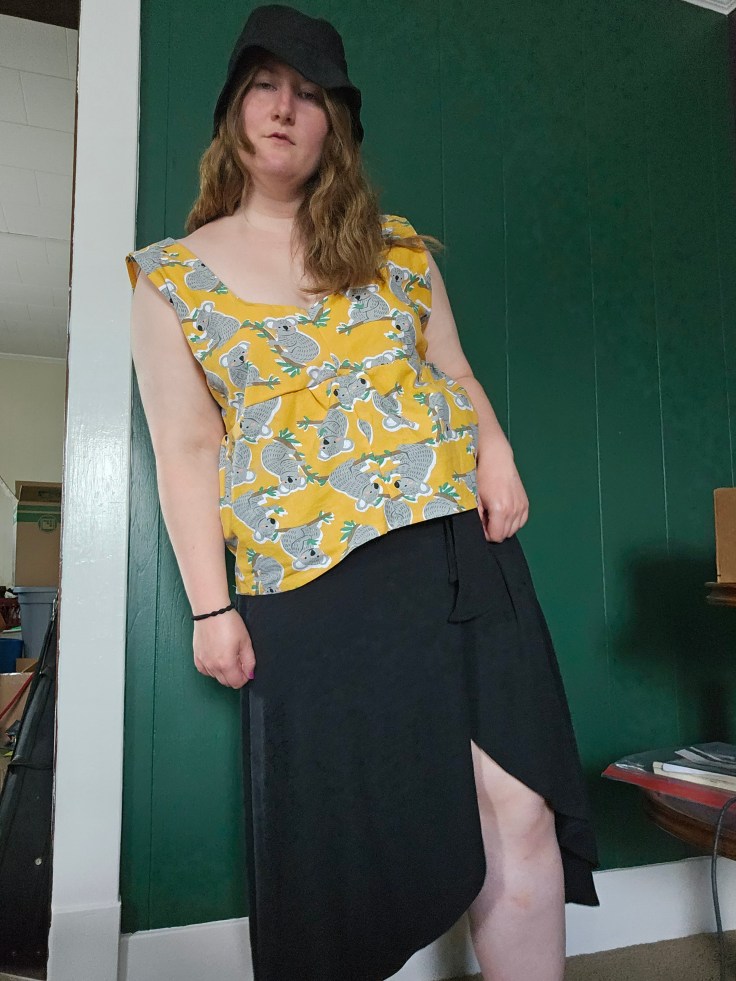
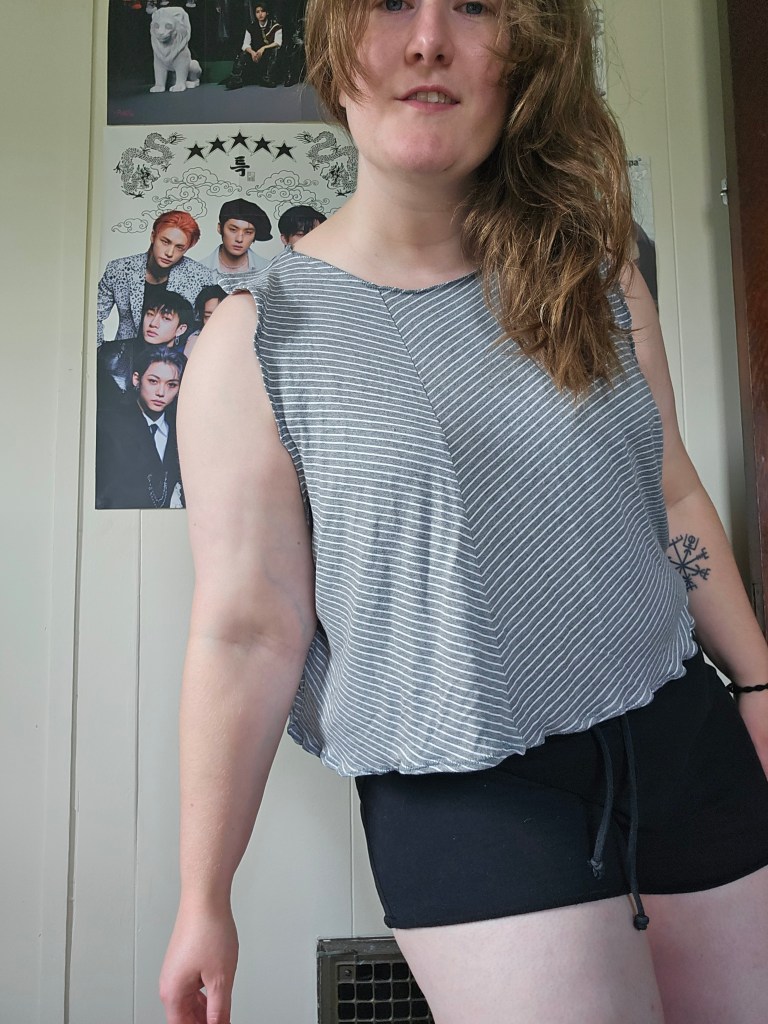
I’ve been more intentional with what I sew and how I will wear it with the pieces already in my wardrobe. I’m also less afraid to upcycle and repurpose existing clothes I’ve bought or made into something that will work with my current clothing and accessories. This summer I’ve felt like I every piece has had a purpose in my wardrobe and everything feels like an accurate reflection of who I am. It’s been a lot of fun to mix and match pieces, even dabbling in layering garments in ways I may not have tried before. With how busy this summer has been unpacking, I’ve been less likely to reach for my accessories, which I’d like to get better at because I know that would truly bring an outfit together.
In the meantime, I think this has been a successful season of making and wearing because I reached for my pieces more than anything else in my wardrobe. It feels good to know they are getting used and can easily mix and match with other garments in my closet to get as much use out of the items I made as possible.
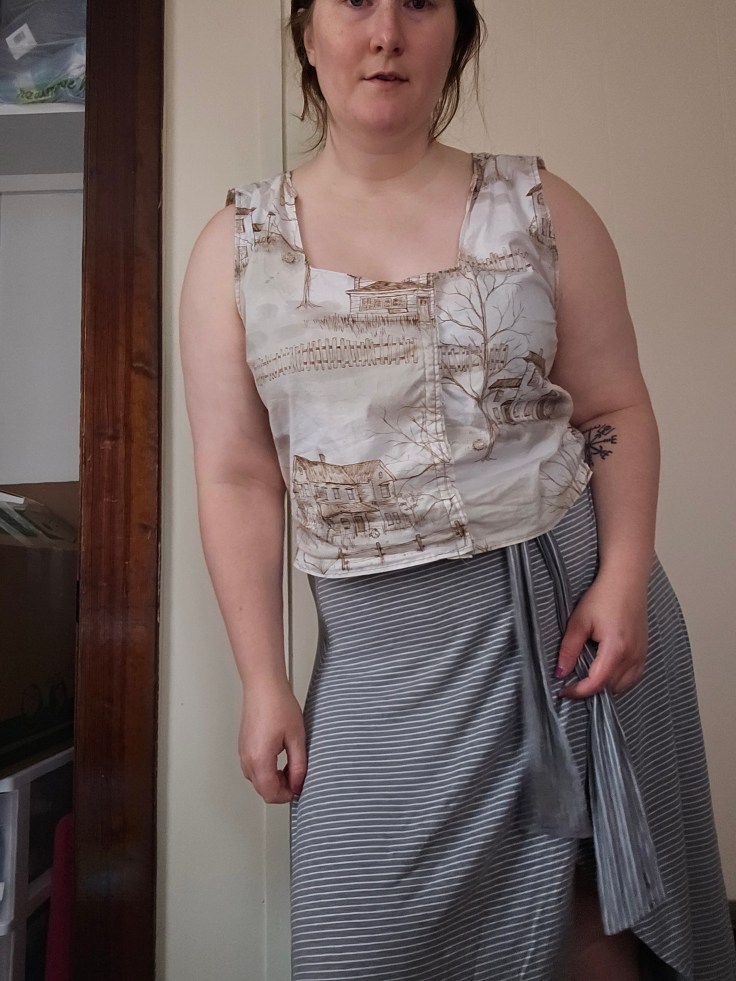
I started keeping track of my outfits because of my Instagram and blog, to catalog my makes and it has been a fantastic way to see what I am wearing and what I should repurpose or re-home. If you are feeling stuck in a style rut I’d highly recommend keeping a record of what you wear and how you wear them. It’s been a helpful tool to find my personal style.
Designing clothing has been a journey of learning how outfits come together within an existing wardrobe. That is my biggest takeaway from the last four years and what I’m excited to apply to my future creations as a designer and maker.
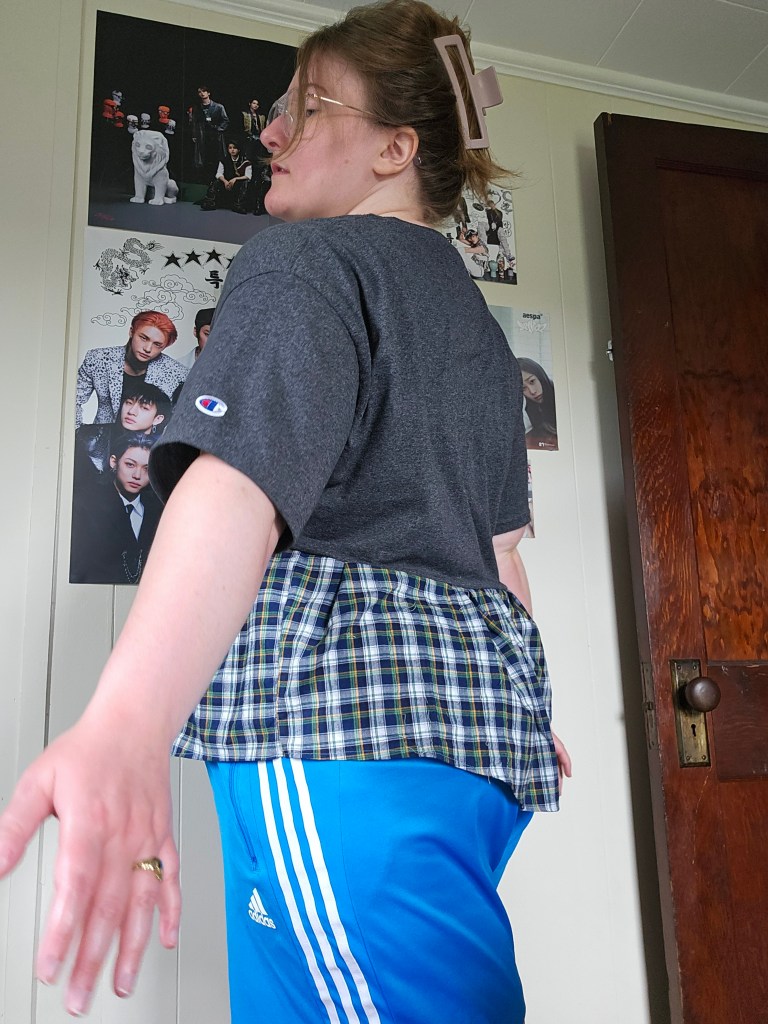
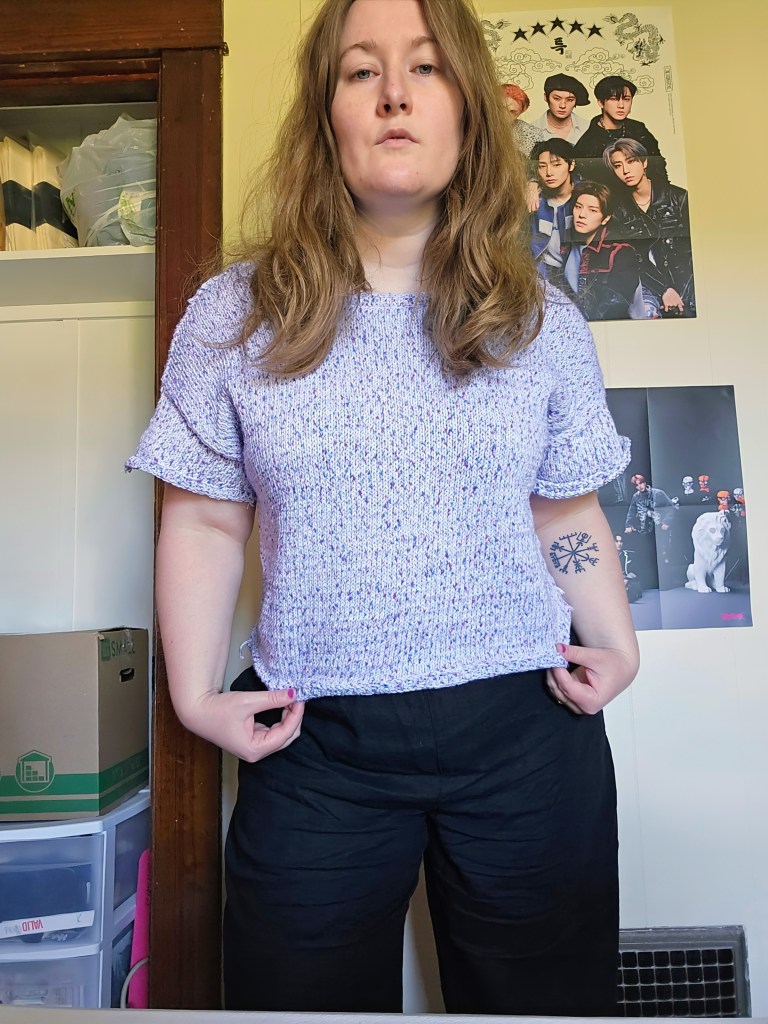
In middle school, I had a black off-the-shoulder sweater with a wide fold-over collar and a coordinating skirt in gray and black stripe. It was the first skirt outfit I tried wearing over pants, a trend that has come back in popularity over the past few years along with the 2000s style. All of this has made me nostalgic for my old sweater, but not interested in buying one like it because I don’t love the new take on 2000s fashion with our current-day fabrics and fast fashion construction. It’s just all off-kilter from the original subject material.
So, I had an idea. What if I tried making one with the yarn in my stash? I had several skeins of this navy tweed from Big Twist that I didn’t buy with a specific purpose, and it took up space. It seemed like a fun color I could coordinate like I did with the Houndstooth Denim dress worn as a maxi skirt. It was an ambitious make.
I’ve only been making sweaters for a few years and had no experience designing a pattern with no collar or shoulder seams. There was a lot to think about. How could I incorporate the big fold-over collar? How do you add sleeves with the new style lines? How do you keep it on the shoulder enough so it doesn’t fall down? As with most of my makes, I dove head first into the project ready to fail if that meant I learned something!
The first obstacle I found was not having enough yarn, shocking right? I was surprised I had multiple skeins of this blue, but it wasn’t enough to get the longer length, so I had a choice to buy more or get creative in this stashbusting project? I decided using what I had was more important than keeping the original vision so I chose this gray yarn I also had in my stash from the Bunny Hat project. It brought an interesting contrast to the tweed and I actually loved the color blocking once it was done.
The arm holes were such a challenge. As I was knitting this piece top down, I first knit the ribbed collar and then reduced down for the body section, leaving enough of the collar on the edge to insert an armhole after I was done with both the front and then back. All was seamed together and for a first try, I’d say it was a success. The geometry definitely worked. I had a free range of motion. It was a win!
What was not a win was my over-calculation when it came to fit. I forgot to accommodate the size needle I was using, a US size 8, which knits up with a larger gauge. I had been using US size 7 more recently and I sized like I would have for this gauge. My second mistake was not accounting for the stretchiness of this yarn. It is an acrylic and nylon blend that gets roomy with wear leading to a sweater that simply didn’t fit.
After the move, several months after this project was done, I tried this on again and realized that I had toned up more than I thought carrying all those boxes because the sweater slips right off my shoulders and off my hips too. It’s a total size failure! Now I’m not sure what to do with it. I’ve already taken in the collar back in April, I don’t think I can take it in again and it is constructed well so frogging this project is not going to be easy. It’s a shame because I think I had a good design here.
I think my only option is to potentially re-home it and make another one following the tutorial that I shared on Instagram which was my first time doing that. I felt such imposter syndrome! To my surprise, it was met positively even though it was not created for circular needles. It showed me that sharing my craft and creating tutorials is becoming a calling, free tutorials, and free knitting and sewing tips because I just want people to do this too.