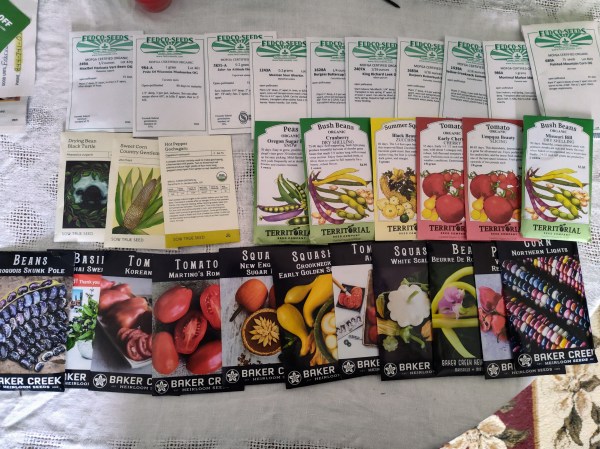
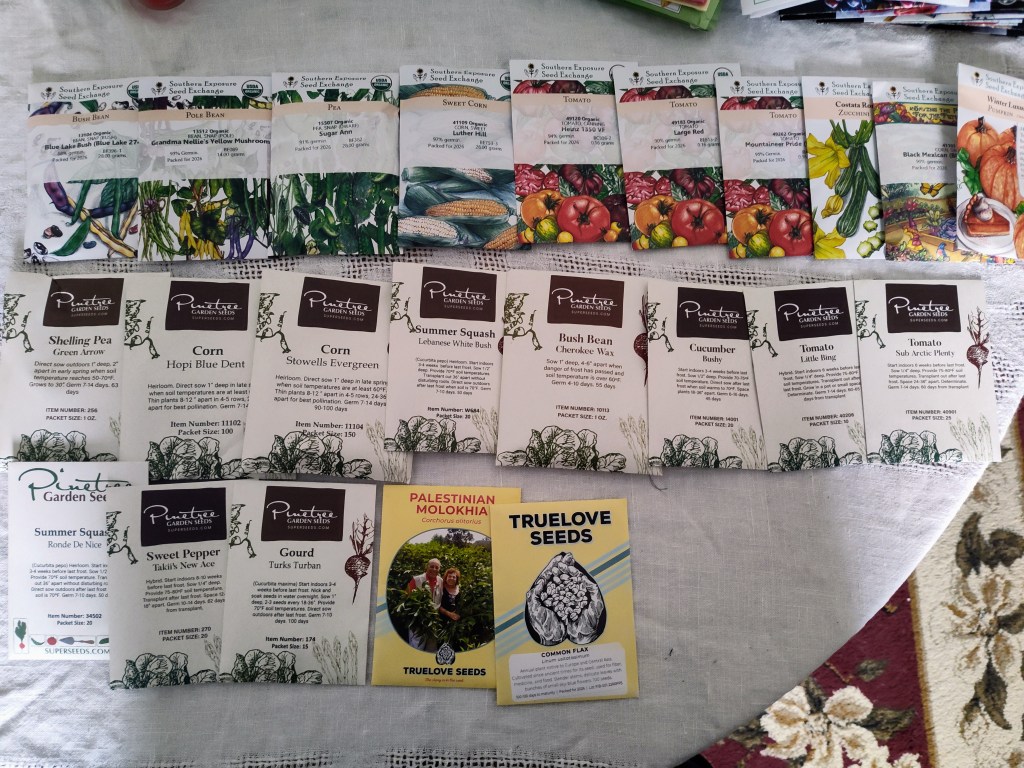
In the final installment for my series highlighting the garden seeds we ordered for our 2026 garden, I’m going over tomatoes. I think we ordered more tomato varieties than any other vegetable. Below, I am including links to the previous installments of the series. Plus, here’s a post that showcases all of the seeds we ordered.
Links to Other Seeds:
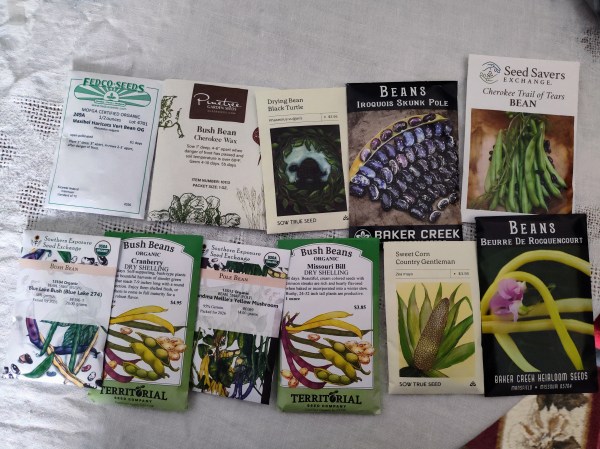
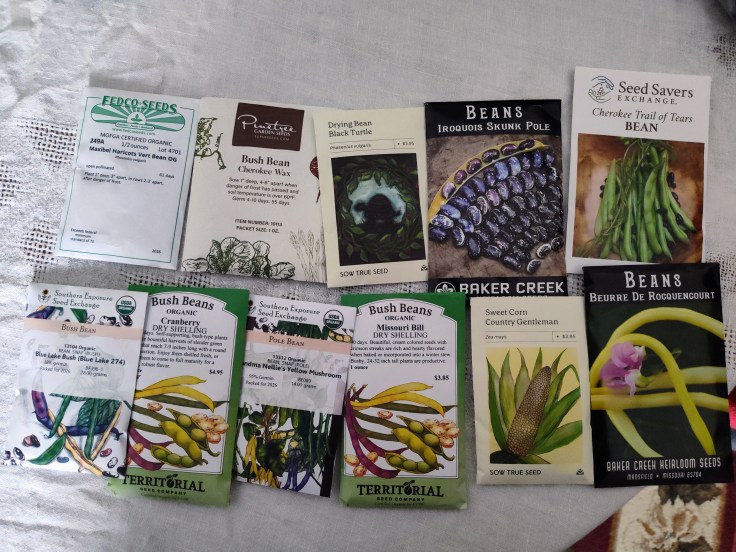
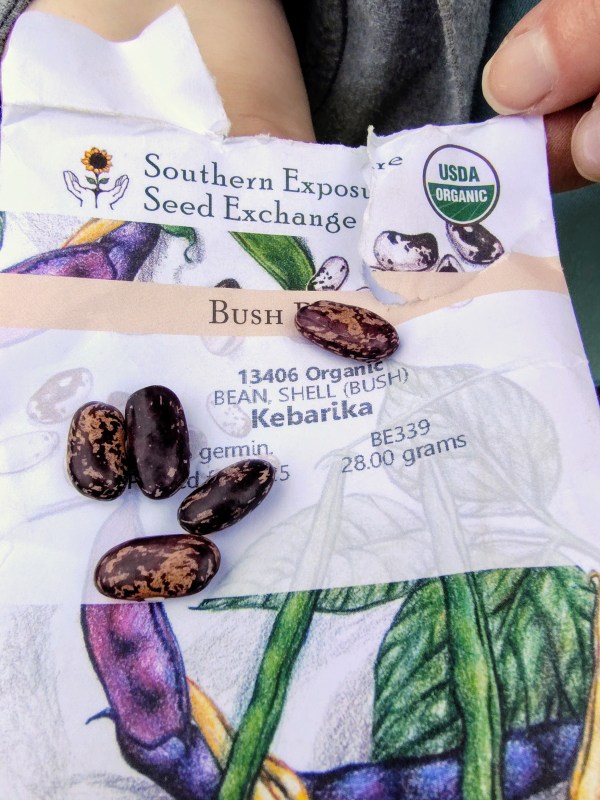
- Beans
- Corn
- Cucumbers, Flax, and Leeks
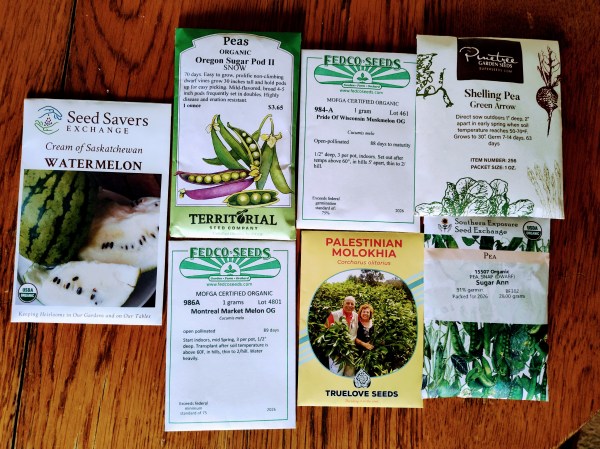
- Melons, Molokhia, and Peas
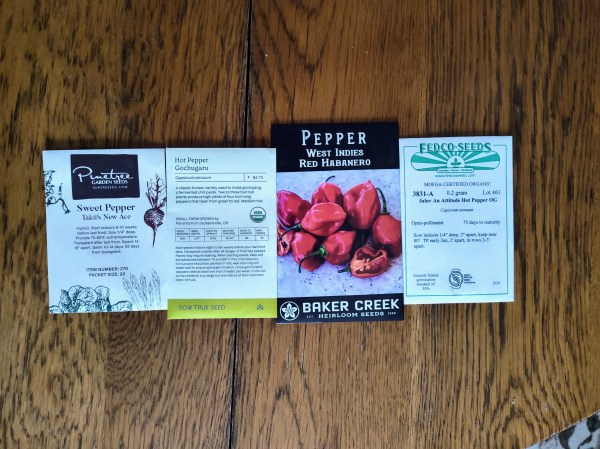
- Peppers & Potatoes
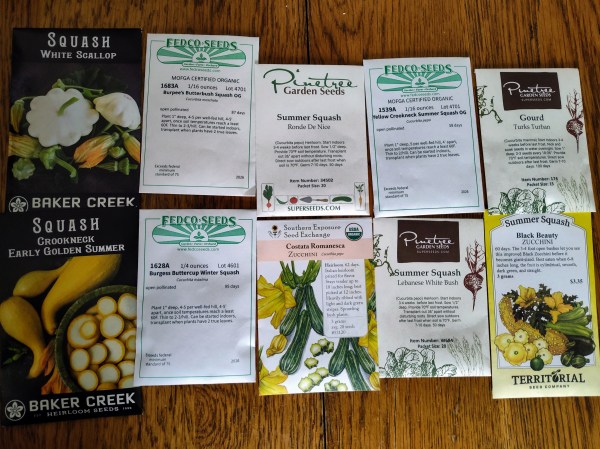
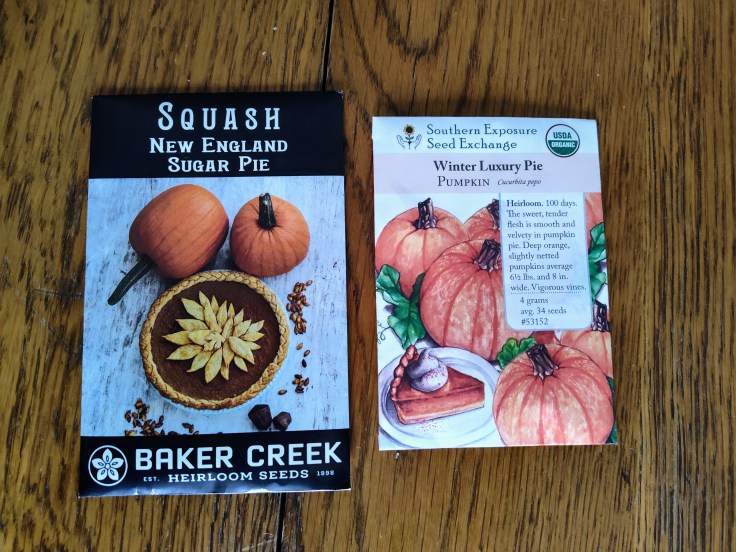
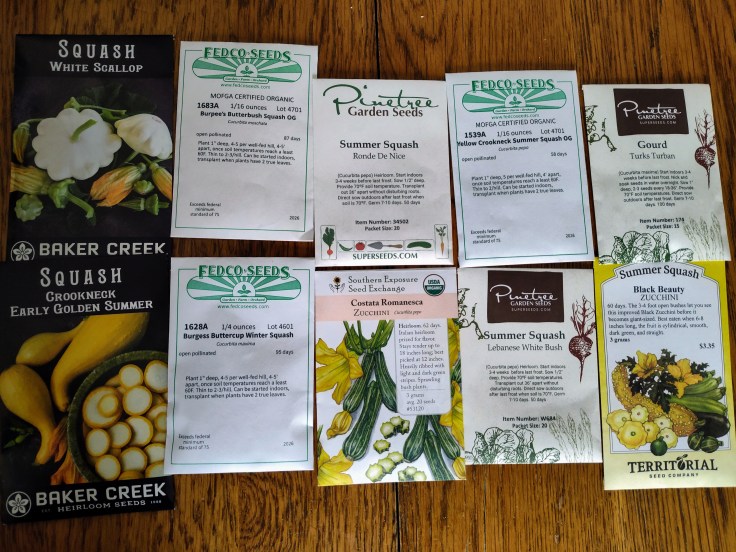
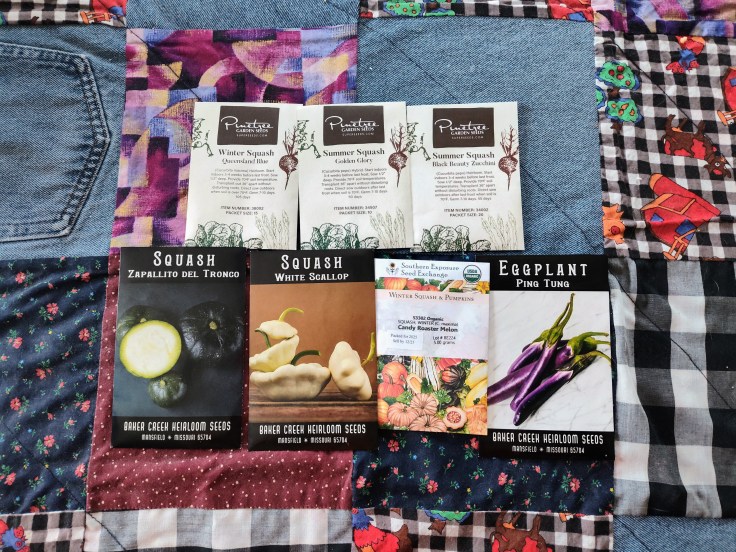
- Pumpkins & Squash
Tomatoes
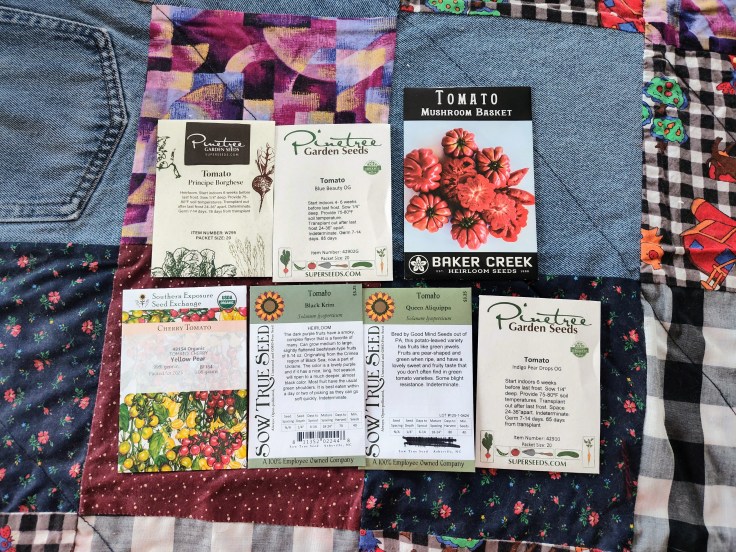
We’re changing up nearly all of our tomatoes from 2025. We had pretty good success with most of them, but we wanted to experience new varieties. In fact, the only variety that isn’t new is the Roma seeds we ordered. In choosing our tomato seeds, we wanted a large range of tomatoes, including multiple cherry tomatoes, paste tomatoes, and slicing tomatoes. One thing we didn’t want was tomatoes of unique or uncommon colors. Last year, we grew yellow pear tomatoes and found it difficult to see the ripe ones in the midst of the leaves. So this year, we’re only growing red tomatoes. I love tomatoes and want to grow as many as we can. I loved being able to make fresh pasta sauce last year and want to take that further this year by being able to can some.
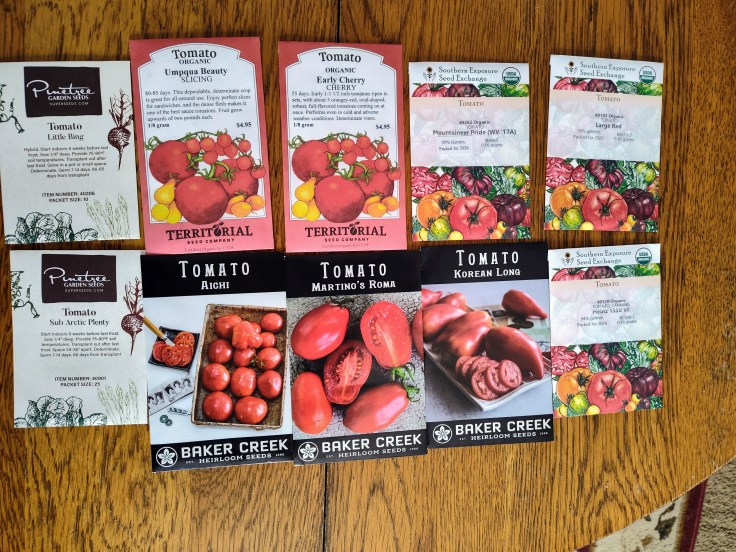
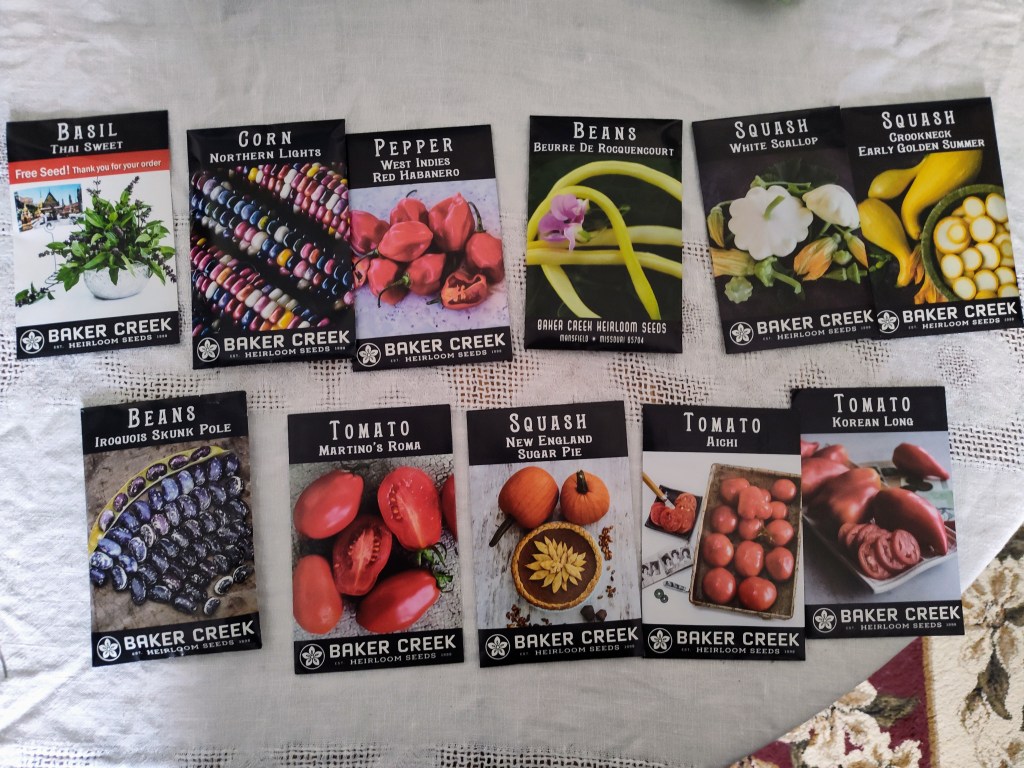
Aichi First
A Japanese heirloom that originated in 1938 in the Aichi Prefecture, the Aichi First variety is a midseason that I would categorize as a slicing or salad tomato with fruits of around a half-pound. This tomato grows on indeterminate plants that mature in 80-90 days. Our seeds came from Baker Creek.
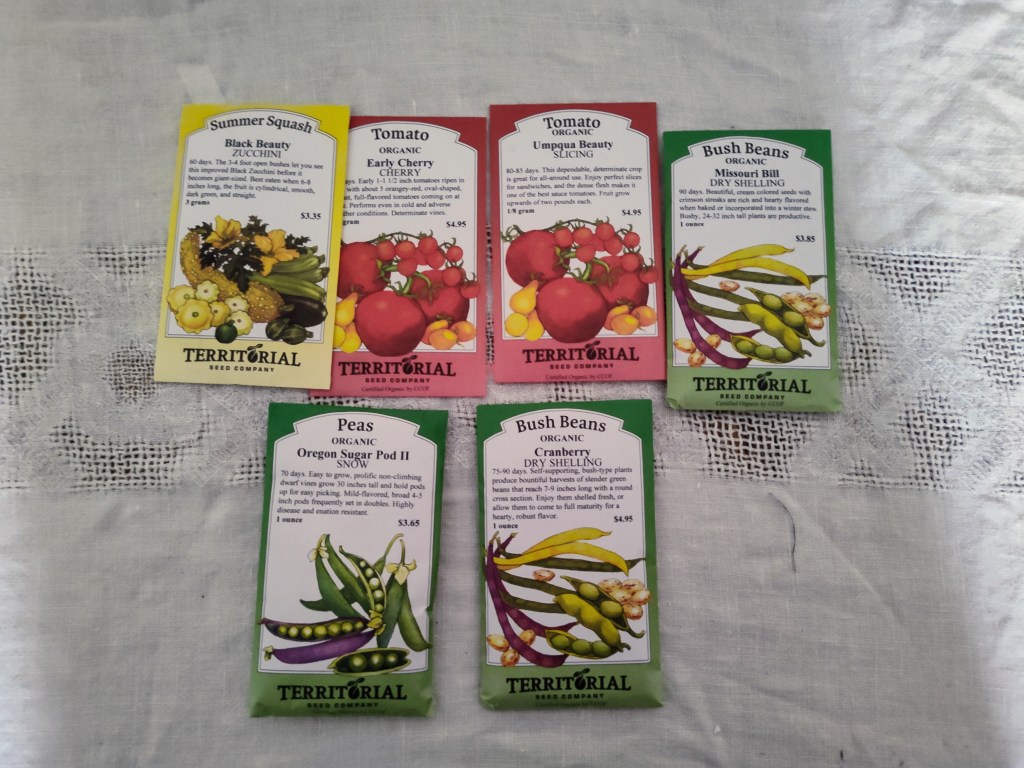
Early Cherry
This cherry tomato variety is one of the earliest ones to ripen in the garden. Its fruit grow in clusters of five on determinate plants. The flavor is described as “robust” and “full.” Successfully grows even in cool weather. These seeds were bought from Territorial.
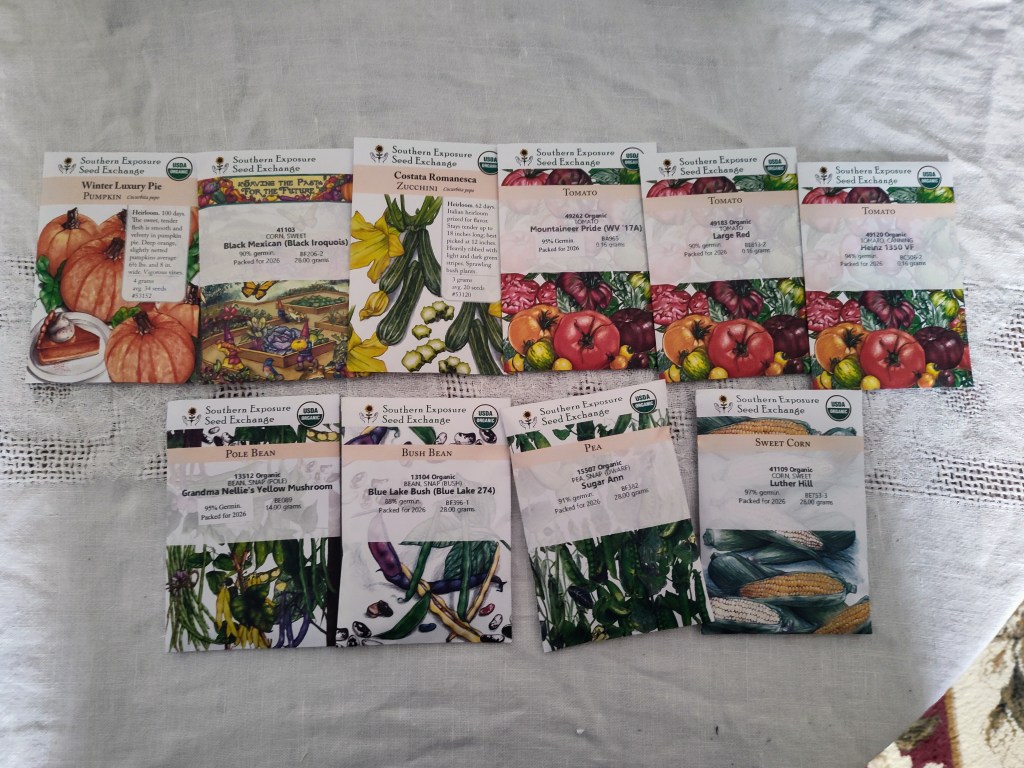
Heinz
Yes, this tomato’s name is connected to the H.J. Heinz Co. This specific strand, the 1350 VF, was developed by the company in 1963. It’s a paste tomato with excellent processing attributes, making it great for canning and cooking into sauce. Grows on determinate plants, which produce 4-to-6-ounce round fruits, unlike the plum shape of Romas. These tomatoes come from Southern Exposure.
Korean Long
A Korean heirloom that is categorized as a paste tomato, the Korean Long tomato has a unique shape that is elongated (like a plum tomato) with a curved tail that comes to a point. Even though it’s a paste tomato, it has an excellent flavor when eaten fresh. A very meaty tomato that can weigh up to one pound each. Grows on indeterminate plants. These seeds came from Baker Creek.
Large Red
This is an old American heirloom that dates back to the pre-Civil War days, when it was listed in the 1843 Shaker seed company, which was based in their village in New Lebanon, New York. It quickly became one of the most popular varieties sold in the country. The indeterminate plants produce large 2×4-inch round tomatoes that have heavy ribbing rather than a smooth surface. Like most tomatoes with a storied past, the Large Red has a complex flavor that is sweet and tangy. These seeds come from Southern Exposure. And if you want to learn more about Shakers, their villages, and their businesses, check out this video from Kendra Gaylord.
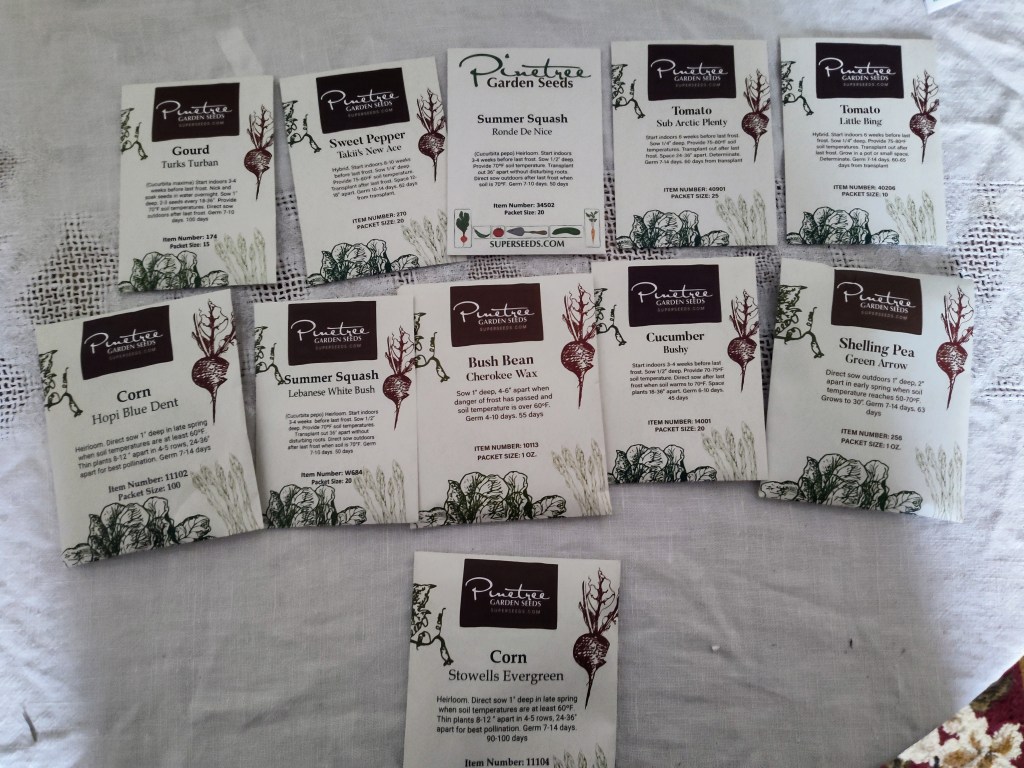
Little Bing
We were drawn to this cherry tomato variety because of Chandler…Bing! As you can probably guess based on the name, Little Bing is a compact plant that will thrive in containers and top out at 24 inches tall. It produces lots of red cherry-sized tomatoes that are flavorful. It’s also an early-season variety that matures in 60 to 65 days. Our seeds came from Pinetree Gardens.
Martino’s Roma
When people think about tomatoes for making sauce, I’m confident that two varieties come to mind: San Marzano and Roma. Martino’s Roma is an Italian heirloom that is a perfect paste tomato. It’s a determinate variety, and the plants don’t need cages, just minimal staking. The plants produce 2-to-3-ounce fruits that are dry and meaty with few seeds. It’s a perfect variety for sauces, pastes, and salsas. Our seeds came from Baker Creek.
Mountaineer Pride
Although Mountaineer Pride isn’t an heirloom, it is the descendant of a variety that was developed in 1963 called West Virginia 63. Mountaineer Pride and its predecessor were developed by West Virginia University professor Mannon Gallegly. Mountaineer Pride wasn’t released until 2017, but it was now larger and with better disease resistance than the original variety. It grows on indeterminate vines with medium-sized fruits that have firm skin and store well. These seeds came from Southern Exposure.
Sub Arctic Plenty
This tomato is one of the earliest varieties to reach maturity, doing so in only 60 days. It was developed in Canada, so you can feel confident that it will grow in cool weather and late springs. It’s a determinate plant, and they can be planted close together so that staking isn’t needed. The fruit grow in clusters of two-ounce tomatoes, so bigger than a cherry but smaller than a salad tomato. These seeds came from Pinetree Gardens.
Umpqua Beauty
The images of these tomatoes in the Territorial seed catalog and on their website show one of the most beautiful tomatoes I’ve ever seen. They’re perfectly round with smooth, vibrant red skin and pink flesh with few cavities. The Umpqua Beauty comes from the Umpqua River Valley in southern Oregon, and both were named for the Umpqua Native American tribe that has lived there for more than a thousand years. The tomato is a determinate variety with fruit that can grow up to two pounds and are versatile. It is great as a slicing tomato on sandwiches and salads and also makes a great paste tomato due to the low number of seed cavities it has. I’m very excited to grow these.
And there you have it: Our 2026 collection of seeds. Were there any that stood out? Are you growing any of the same varieties or are there any that you think we should grow?