With a new year comes new goals, like should I get organized and make this the year I return to writing as my full-time focus? I’ve been mulling over this for the past six months. I started watching more book-focused media and picked up physical books again, all in the quest to jump back into fiction writing after a one-time try in 2017 – also known as Udal Cuain. It was the ultimate escape during a time when every part of my life was falling apart, and we were struggling. My family was struggling; it was isolating, but instead, I crafted a world that I could escape into. I couldn’t afford therapy, so I wrote about what was on my mind. And it helped. It felt like a high I had never experienced before, but then it stopped helping. Life got a lot more complicated, but also better, more on track, and I walked away from it. Then I lost the draft for 6 years until I found it last January.
Life has been messy again, and the world feels like it is literally on fire, and I can feel the pull to want a coping mechanism.
This is where our story begins.
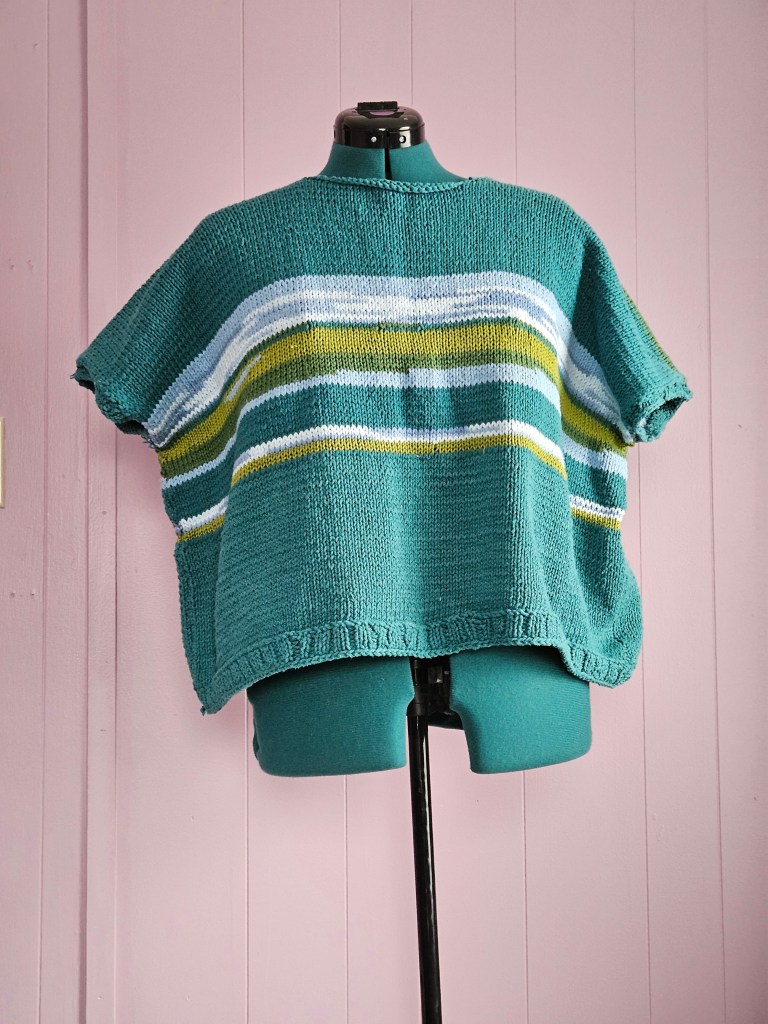
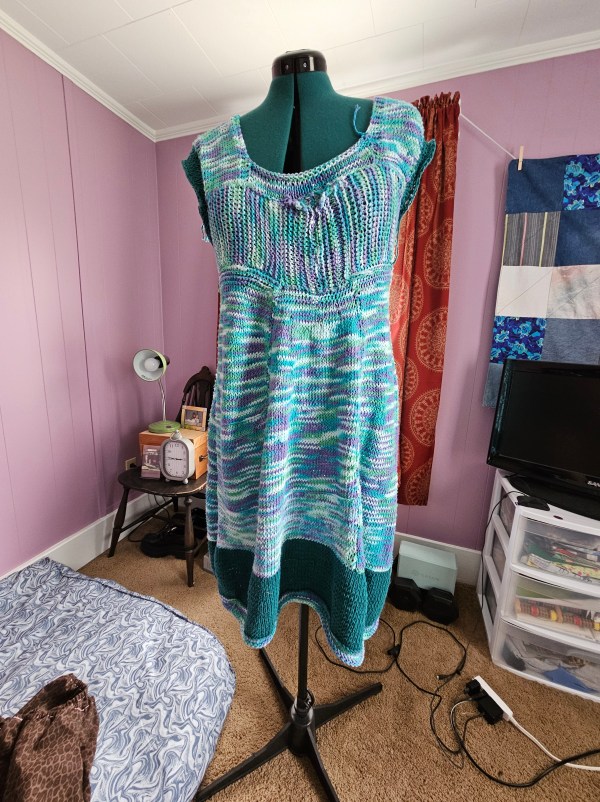
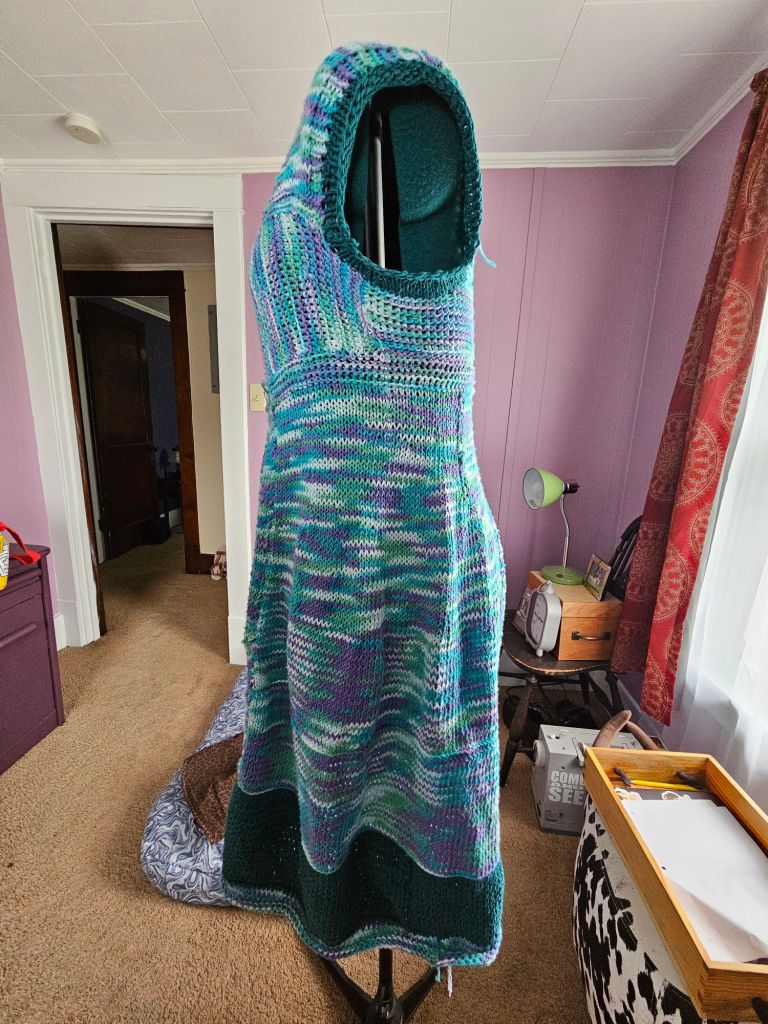
As I share often on this blog, I have become a sewist and fiber artist. I began this journey to a career pivot after a layoff in 2020, and it has become my whole world, particularly knitting and crochet. I find the more I dive into the craft of yarn, the more I feel creative release and the ability to tell stories with my stitches. You can even protest with it. I have been a visual artist my whole life, the frequency depending on how many notebooks, pencils, or paints I have access to. It is my first love. So where does writing fit in?
I was always a writer who enjoyed essays. I like writing about something, researching the subject, and I adore historical research. I enjoyed poetry in school, but my affection for literature came much later. Mainly by force, if you want to take AP English, you must read this many books over the summer. I’m still not the most passionate reader, I definitely take breaks between reading sprints, and sometimes I won’t pick up a book for months, because my hands are always busy with a project. This has put my desire to write another novel, a more polished one, in conflict with my life and potentially my calling.
This week, I sat down to brainstorm another round of novel ideas. This is my third or fourth round of this since 2023. Every time, I think of some good options, narrow my list down, start plotting, and hit a wall. My heart is not in it. I don’t see the characters or care to take my time to meet them. I want to get on with it and then analyze the deeper meaning. The other thing that happens regularly is that I freeze, and I think about how the world has changed since 2017 – mainly BookTok.
I don’t read Romantasy, I’m not going to write spice because that’s not my interest. Don’t look to me for trauma or disturbing plot lines; I don’t want to write that. I am white, cis, and straight, so will I offend by not having representation? I also don’t have the proper experience to offer diverse representation. I don’t know what I have to say in a book, like in a bigger picture – I don’t know what the deeper meaning is that I am looking to point to that I couldn’t just write about in an essay or create with visual or fiber art. This is where the title should start making sense. I don’t think worldbuilding and dialogue are my paint and canvas, and I don’t think we spend enough time considering where our gifts are best suited right now because of social media content.
We are so concerned with getting our work plugged into the algorithm, jumping on trends, cross-posting, and getting successful that we aren’t considering if the medium is best for our art. We are trying to fit in, and that’s killing creativity and the editing eye to know that’s not for me. I feel like it is obvious now, since reflecting on why I have writer’s block, but taking the time to look objectively feels so hard to do when we are fighting the AI monster. But it is okay to specialize. It is okay to find your niche and not appeal to everyone. It is better to work within your wheelhouse and say something authentically you and express it in a medium that feels true to yourself than worry about keeping up with others.
Maybe the best thing we can do as creative people is edit and focus on where we feel the most alive. I feel the most alive planning a personal knitting project that features motifs that represent my life and my loves. I love blogging and talking about serious things, not in literary techniques but in societal critique. I spent the day today, sketching and drafting pet portraits, and I am the most relaxed I have been in months. It’s the same high I felt writing Udal Cuain. I didn’t feel that way while brainstorming a novel. I felt nervous. So I don’t think it’s for me anymore.
Have you ever fallen into this trap? How did you find your way out? Thanks for spending time with me today. Until next time. Stay safe out there and know you are loved.