
In this week’s update, I share a planter box I made over the weekend to grow some beans in, and we had a lot of germination take place. We also got to experience how gardening can help spark conversation and make friends.
Building a Planter Box
When we were picking our seeds for the year, we bought a packet of Chinese Red Noodle long bean seeds. These plants produce pods up to 18 inches long, and the plants can grow up to 7 feet. Safe to say that they need some support to climb that tall. But because these grow so tall, we couldn’t plant the seeds in the same space as our other beans since they grow to different heights. Instead, we decided to plant them outside our garden beds in a raised box and in a location where they can have ample space to reach their full height. A lot of gardeners would buy something for this purpose, but because I love woodworking and building things, I had to make it.
It would have been nice to make the planter box out of cedar, red oak, teak, or fir, but I didn’t want to waste the red oak I have on this project and didn’t have any cedar, teak, or fir. Instead, I had a bunch of pressure-treated lumber left over from our screened-in porch project. Pressure-treated lumber often gets a bad reputation, but it is a versatile product that is affordable and will last a long time if maintained. Decades ago, it wouldn’t have been safe to use in gardening applications, but it’s now perfectly safe as long as you aren’t chewing on it.
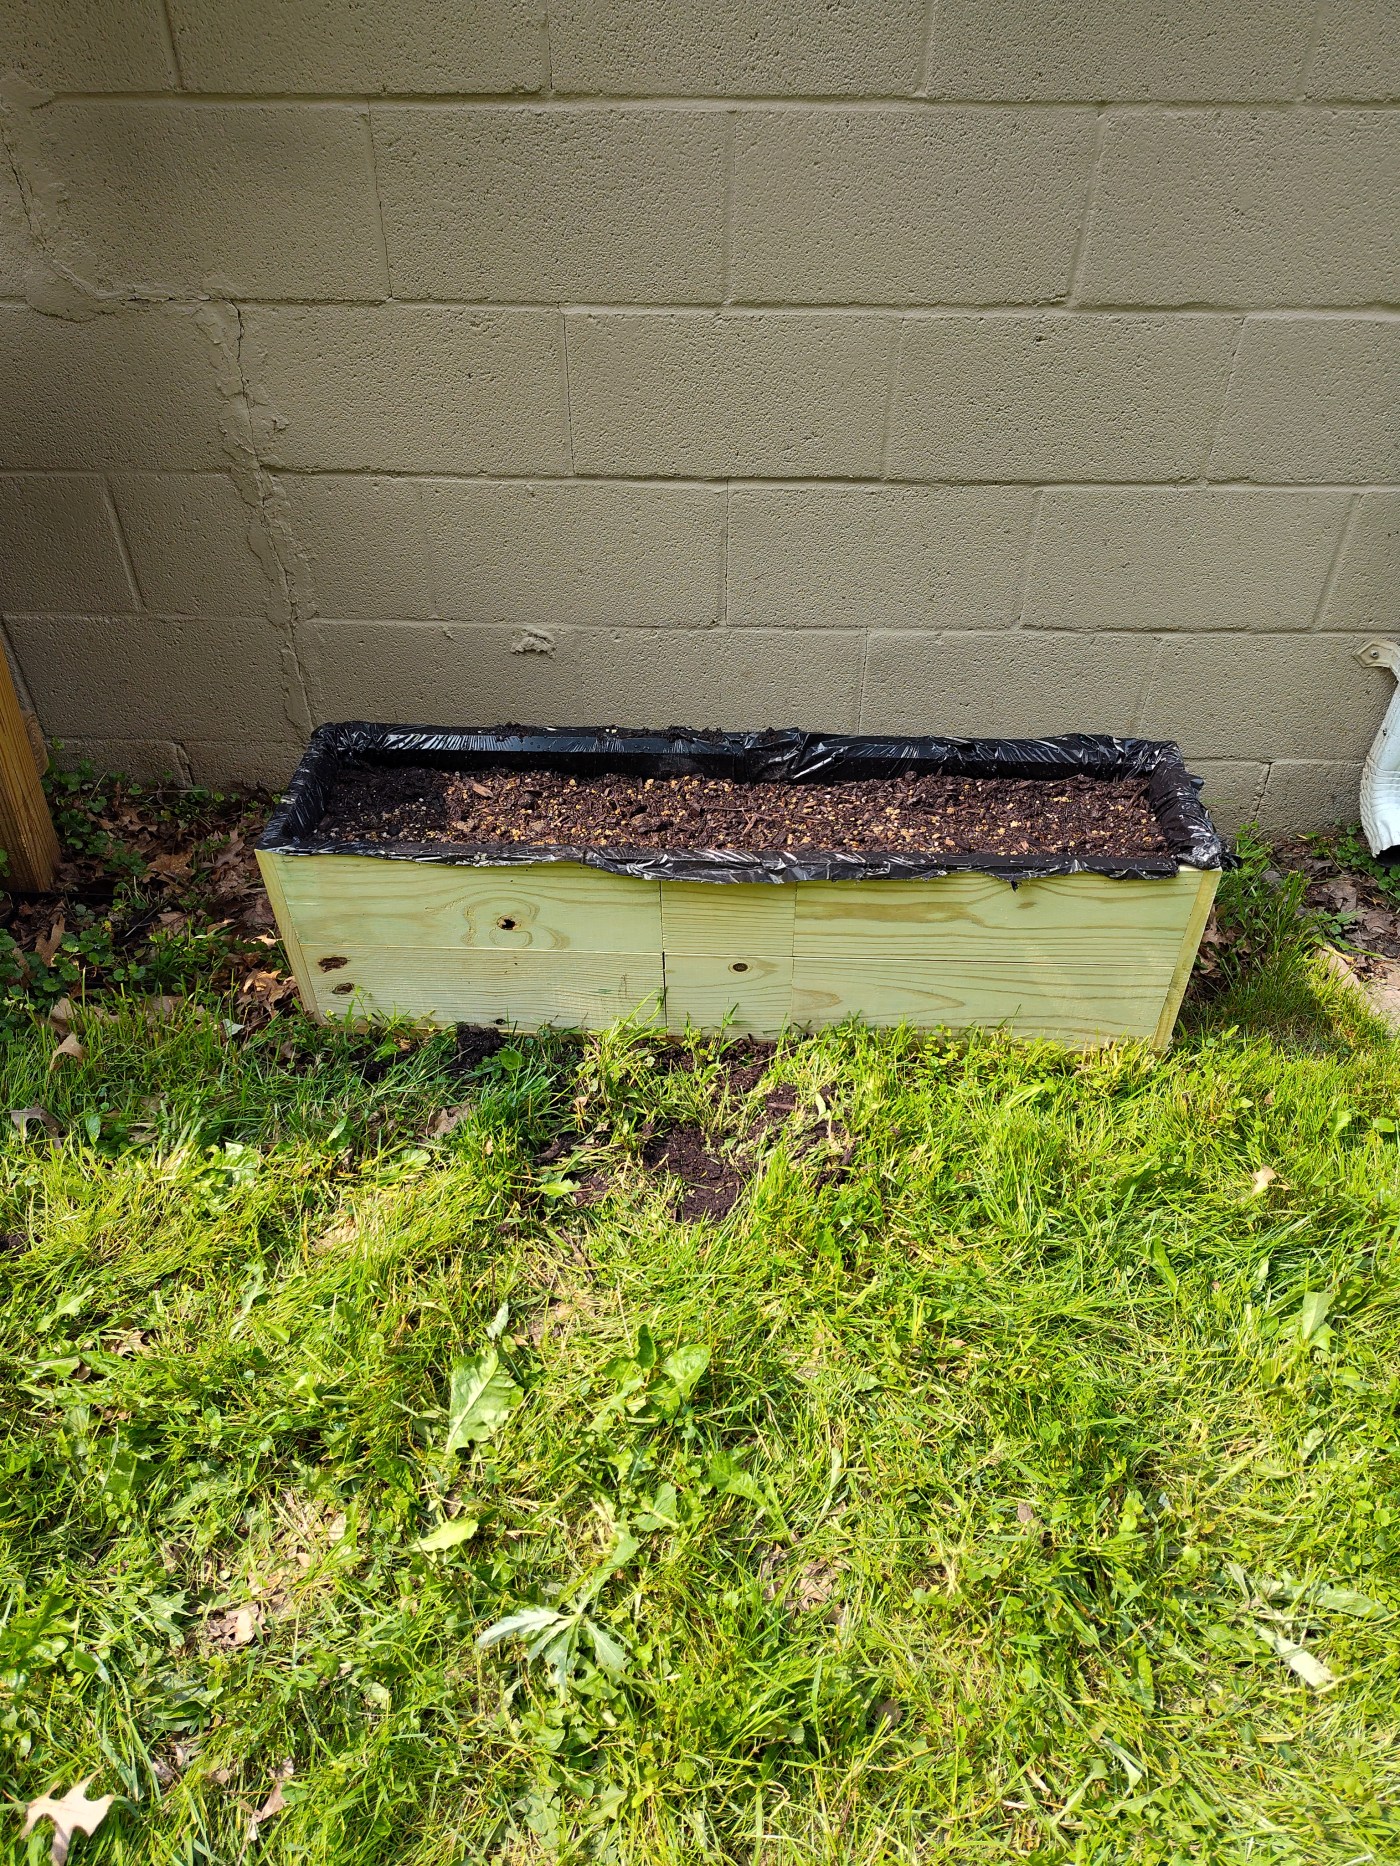
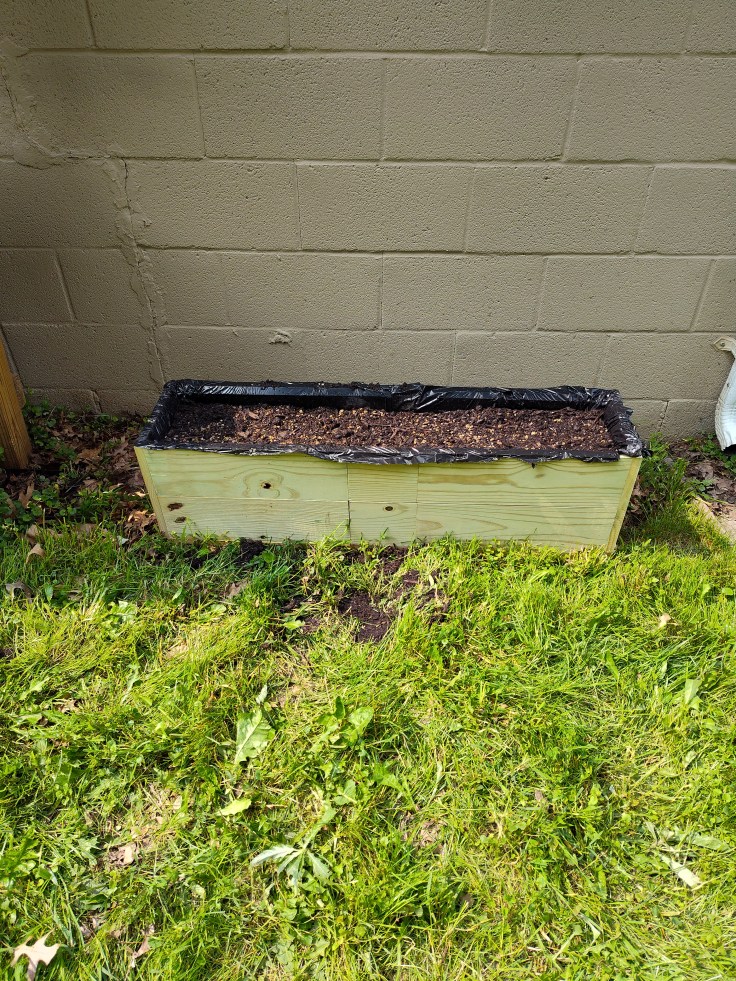
My goal was to use as many scrap pieces as I could without having to cut too many of the full-size pieces. That’s why there are smaller pieces between the two longer pieces on the sides. This allowed me to only take a little bit from one of the remaining full-size 1x6s I have left. All told, the box is 11 inches front-to-back, 40 inches wide, and 10 inches tall. There are vertical supports inside to attach the stacked side pieces to each other, corner supports to connect the four sides, and horizontal supports to strengthen the sides. There are also a few holes in the bottom for drainage and feet on the bottom to lift the box off the ground. It’s quite heavy and should serve our needs.

Once the box was done, we lined it with a couple of black garbage bags. A lot of gardeners will buy black plastic that is sold specifically for gardening, but it’s essentially the same thing as the thick garbage bags people use for collecting lawn clippings. They both serve the same purpose: lining the box so there’s some separation between the lumber and the soil. It should also help the box last longer and create less of a mess.
With the liner installed, we cut drainage holes into the bottom and filled it with soil and Garden Tone and planted the seeds. After a thorough watering, it was ready to go. The seeds are supposed to take 5-8 days to germinate, so we’ll monitor them. The box was placed on the side of our garage/my woodshop where the plants will be in direct sunlight for most of the day. The only time it won’t get sunlight is at the very end of the day. To accommodate the trellis system, I’m going to build two brackets that will hang on the garage. The brackets will have holes in them to hold a dowel or bamboo stake, which will have garden twine tied to it. That twine will hang down to the planter box so the plants can climb.
Germination Update
In last week’s update, I mentioned that we were going to restart some of our seeds. That was the result of some of the starts not doing well and the rain preventing us from transplanting them for a few weeks. It led to some plants being leggy. There was also the fact that I messed up starting some of them, and I wanted to get a second chance with them. Last week, I restarted all of our tomato varieties, peppers (Cal Wonder and Scotch Bonnet), melons, cucumbers, eggplants, tomatillos, and ground cherries. I took extra time this go around by pre-moistening the soil and pressing it down a bit to pack the cells a bit more. The soil remains light and airy, but there’s more soil now for the roots to grow in.
In the 5 or 6 days since sowing the seeds, most of the varieties have germinated. The majority of the tomatoes and nearly all the melons have already sprouted and are looking healthy. This morning, I moved the cells with germinated plants in them off the heat mat and into another tray under the grow light. I’m attempting to be a bit more proactive with moving the starts sooner this time. The goal is to have the starts inside for a few weeks so that they can develop strong root structures before moving them outside.
In the garden beds, we have also started to see the successful germination of seeds, including corn, beans, carrots, and beets. The root crops have been growing pretty well for a few weeks now, but things have been a bit slower with the corn and beans. Corn is a slow germinating plant, so patience is key, but with the heavy rains we had not long after sowing, as well as the cool weather, I don’t think we were overly confident in their germination. However, on Sunday, we noticed that both had sprouted. The corn stalks were only about an inch above the soil, and the beans about two inches, but sure enough, they’re growing. That is incredible news! And with how fast bean plants grow, we should see them take off pretty quickly since we’re supposed to finally get some seasonally-appropriate temperatures this week.
Meeting a Neighbor
Yesterday, when we were working in the garden, our neighbor from across the street walked over and introduced herself. She is an older lady whom we hadn’t met yet, but she wanted to say hello and bring us a few cucumber starts that she had. It was such a wonderful gift and a great way to get to know a neighbor. Gardening is a great way to make friends and spark conversation.
Up Next
That’s it for this week’s update. Between now and next week’s post, we’re going to finish tilling the last bed, plant some sunflowers in front of the corn rows, and sow some butterfly pea seeds in a store-bought planter box. Thanks for reading, and Happy Gardening!
